wood and glass

Adventures with wood and glass

This past summer I took a two-week intensive course on flameworking with Gianni Toso. We were working with soft glass, which is fun. However, several of my glass friends and instructors have insisted that I should be working with borosilicate glass - especially for making the stands I use for my carved leaf bowls. So, I jumped into that realm this semester by taking an independent study course in glass at The Ohio State University.

I'm sold. I will continue to play with soft glass, but I can foretell that my future work will be mostly in boro. The funny thing is that when I order borosilicate color rods from one of my suppliers, they send me stickers that are about marijuana use. I do not intend to ever make bongs or other smoking apparati. I do get a kick out of the stickers, though.

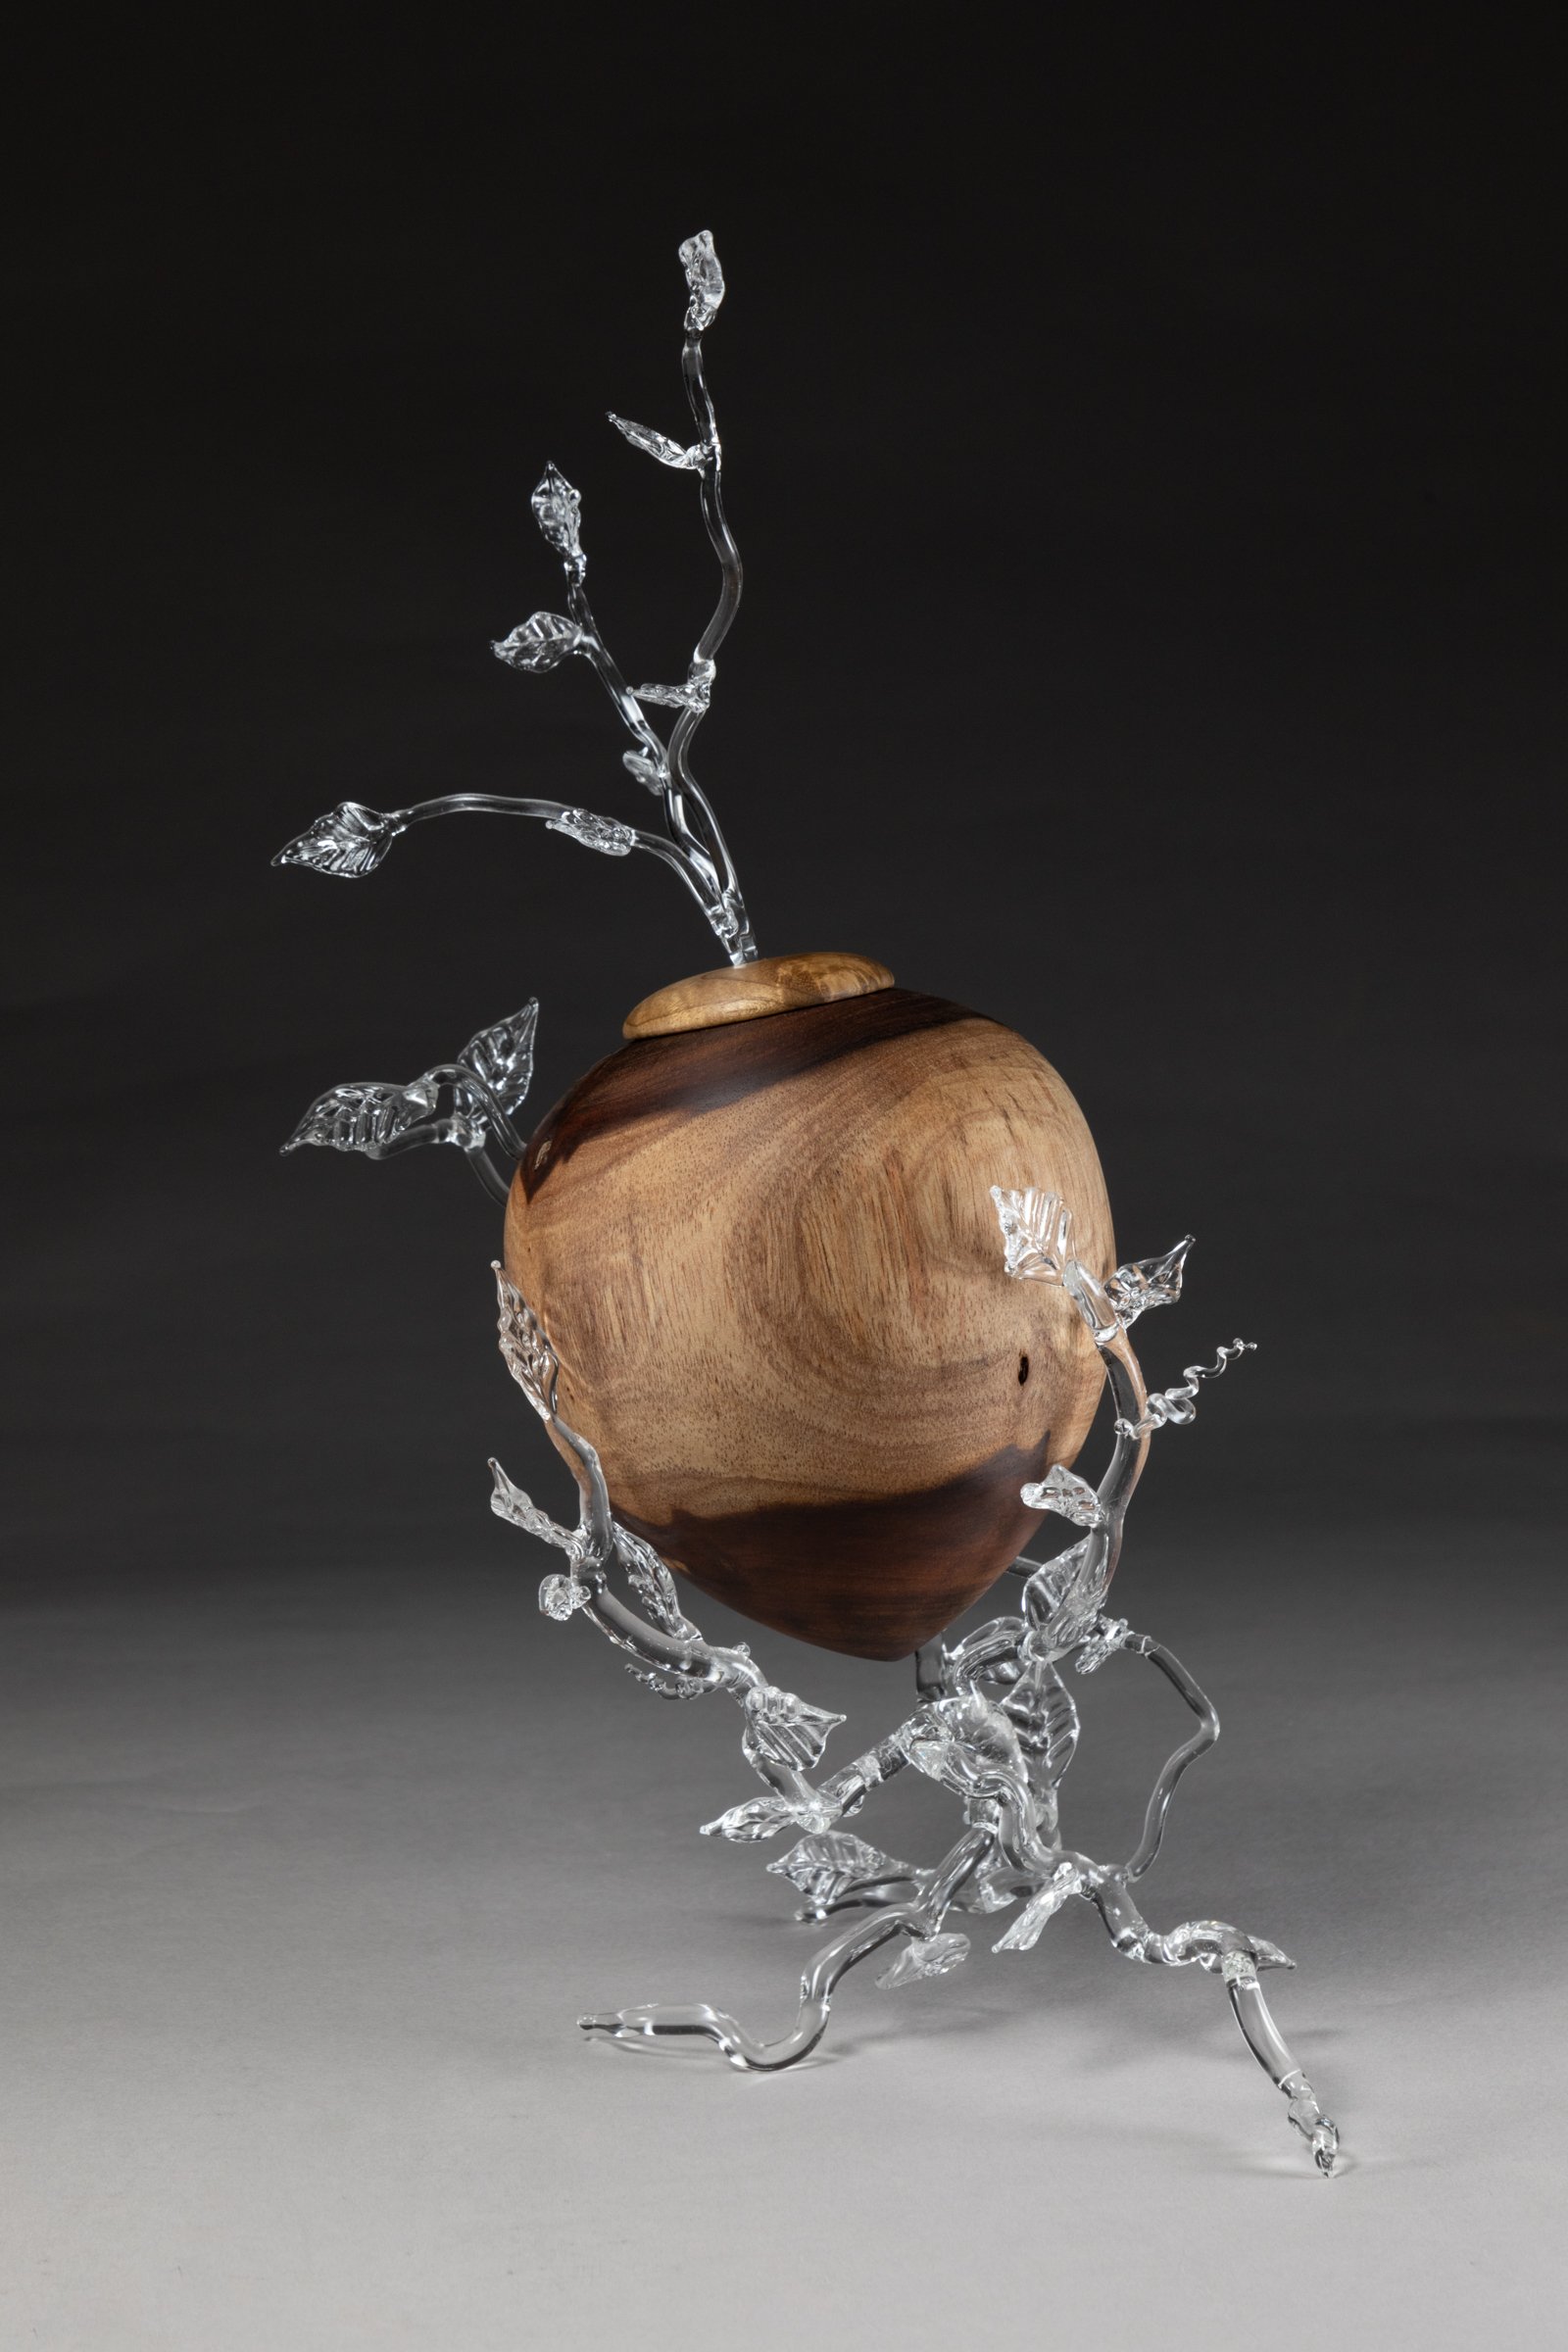
My first wood and borosilicate glass sculpture is Bole-tangle, which is 11 X 6 X 5.5 inches, and made from black walnut and Oregon myrtle. The hollow form is light-weight. I made this to look as if the glass vines were growing in and out of the vessel.

In this view, you can see where the vine emerges from the hollow form and lid.

On the lower left side of the vessel, the vine appears to enter the wood.

One major thing I learned is how to repair broken borosilicate glass. It turns out that there are different kinds of connections in boro - hot seals and cold seals. A hot seal is when the glass that is connected is totally melted together. A cold seal does not have this feature and can break with just a gentle tap. So, I learned, by lots of practice, how to make hot seals.

I also found out how much I enjoy making leaves and vine-like structures.

I like the tension and motion of this piece. It has generated a bunch of ideas for future work.

I'm addicted to glass...

So far I've learned glass blowing, kiln-formed glass, and now I'm learning how to flamework glass. I started with soft glass but am now learning how to work with borosilicate glass.

Autumn is the time of year when I take every opportunity I can to make glass blown pumpkins. I have several styles available on my Etsy store [1]. Here are some examples:

[1]: Handmade Glass Blown Pumpkins https://etsy.me/3dFGdps

The Ohio State University Glass Club will have their Pumpkin Sale Oct 10-11, 2022. It will be in the lobby area of Hopkins Hall from 9 AM to 5PM.

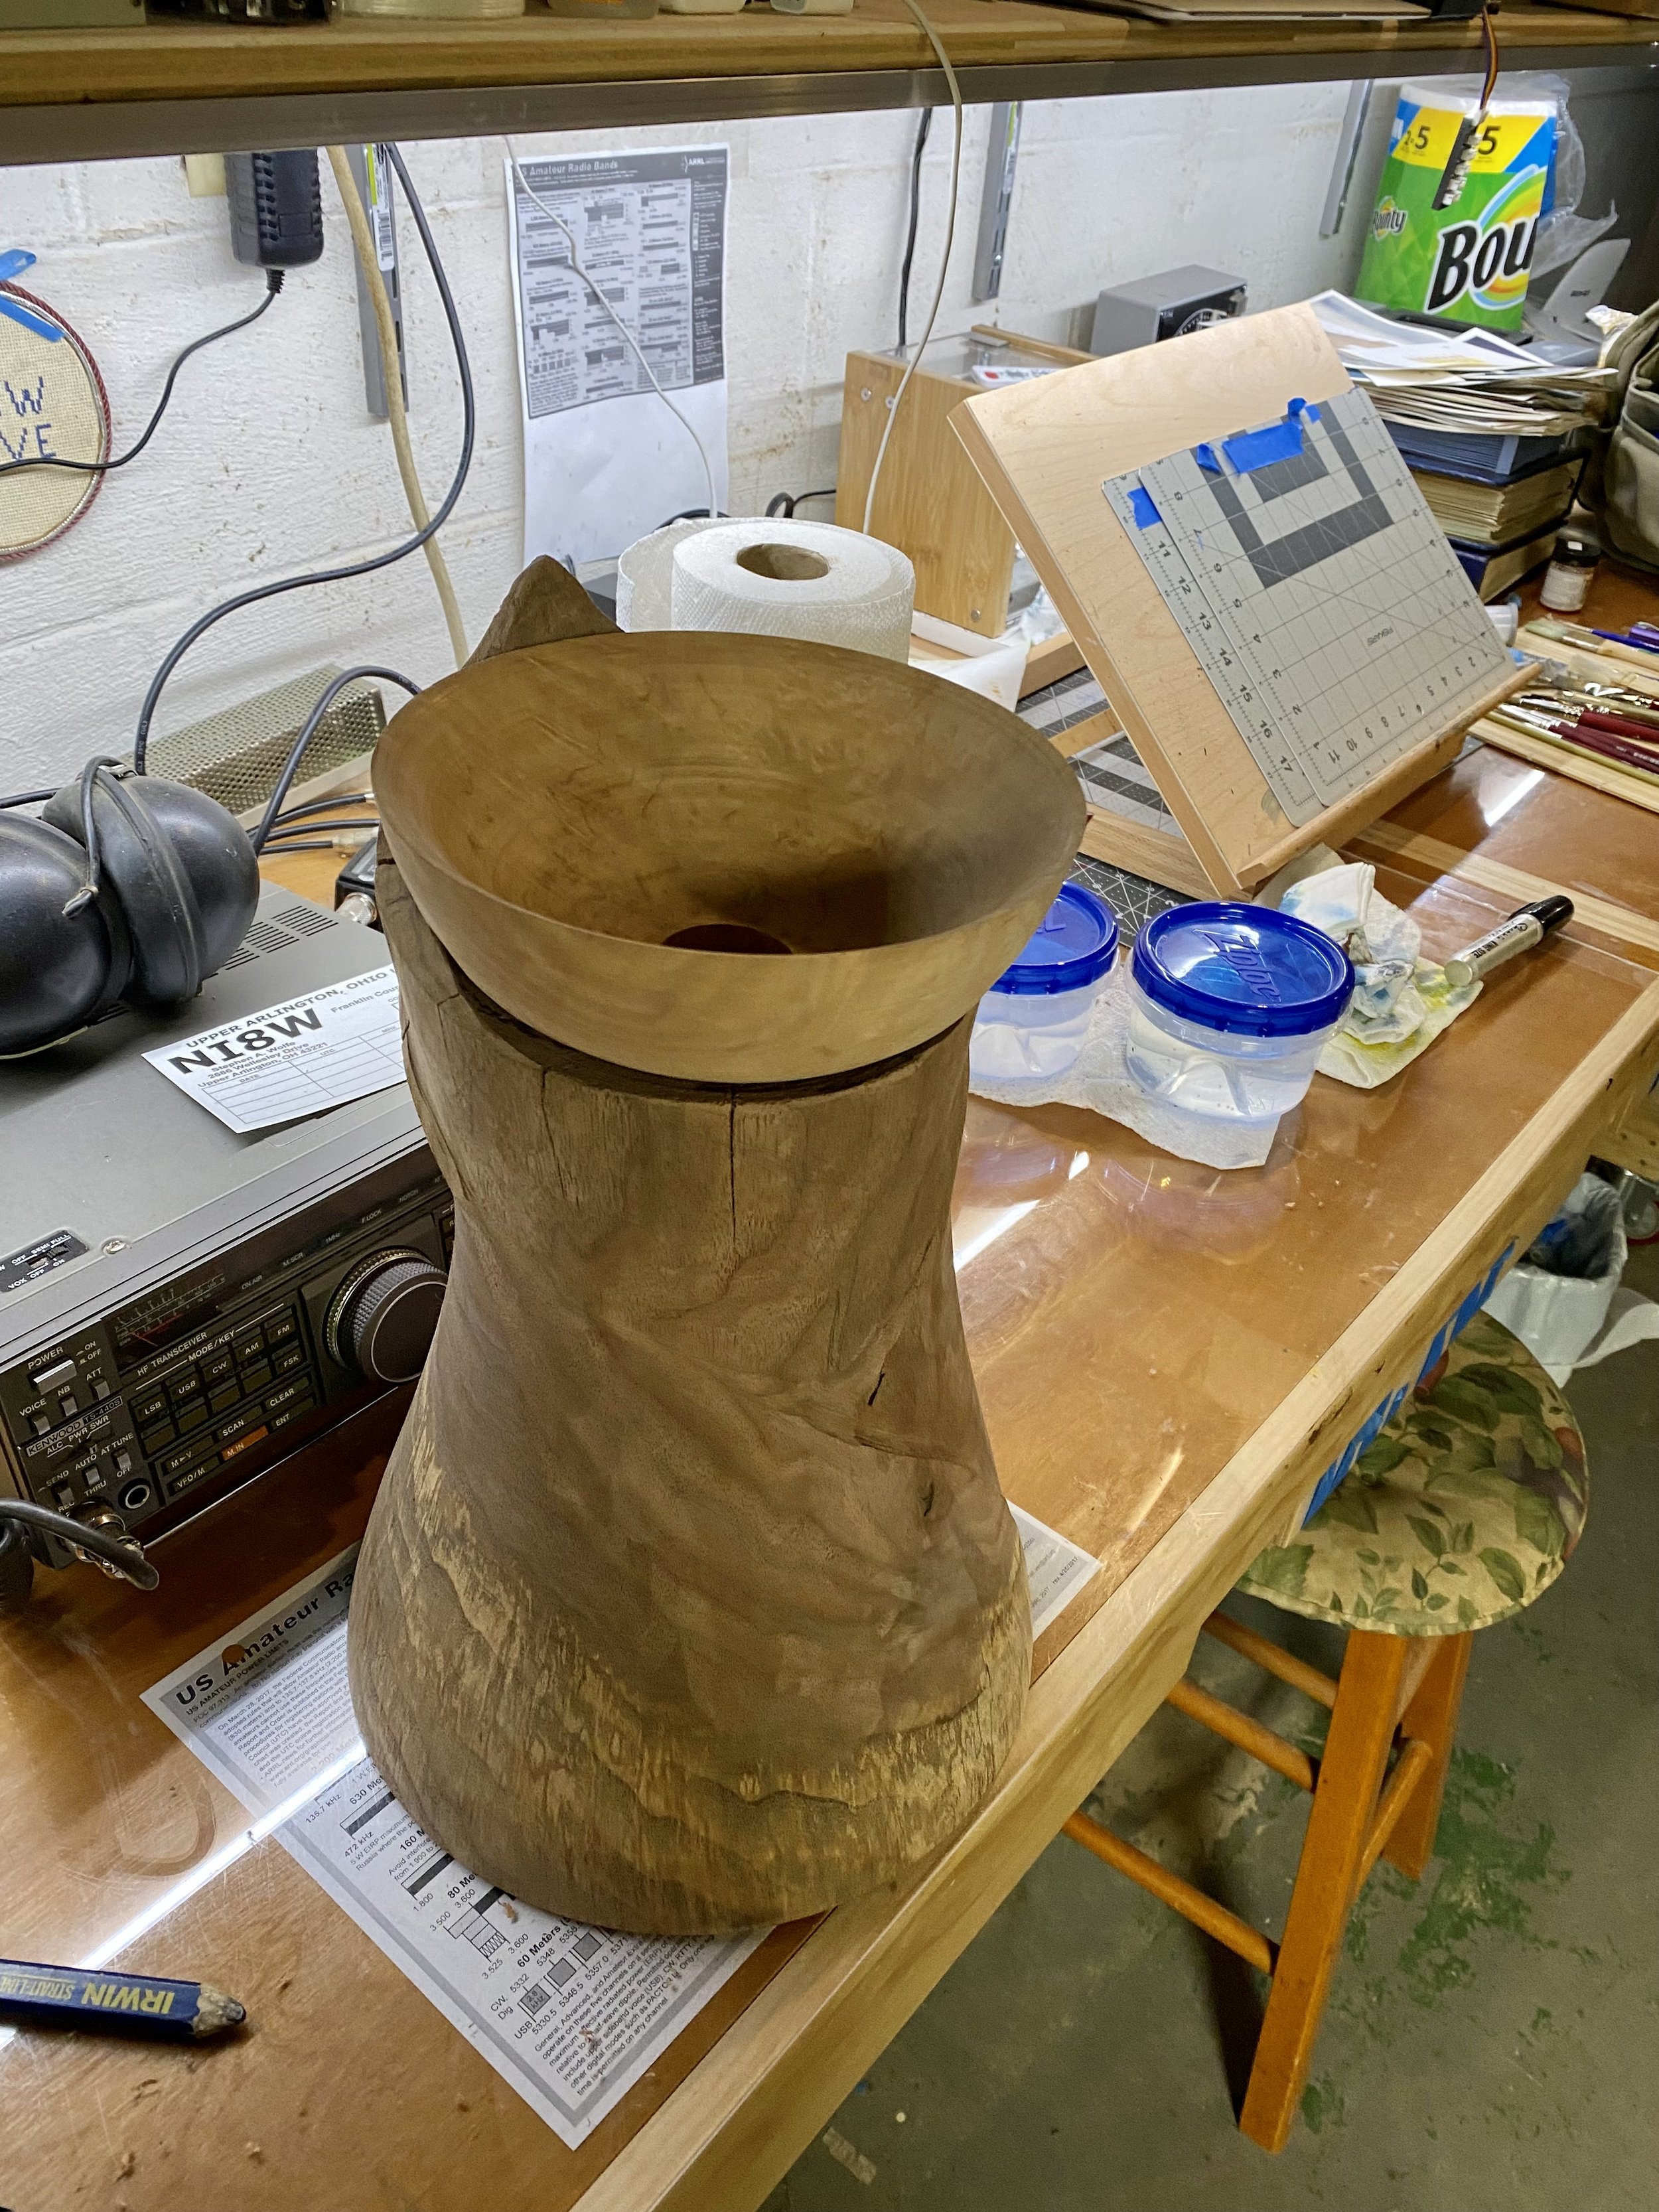
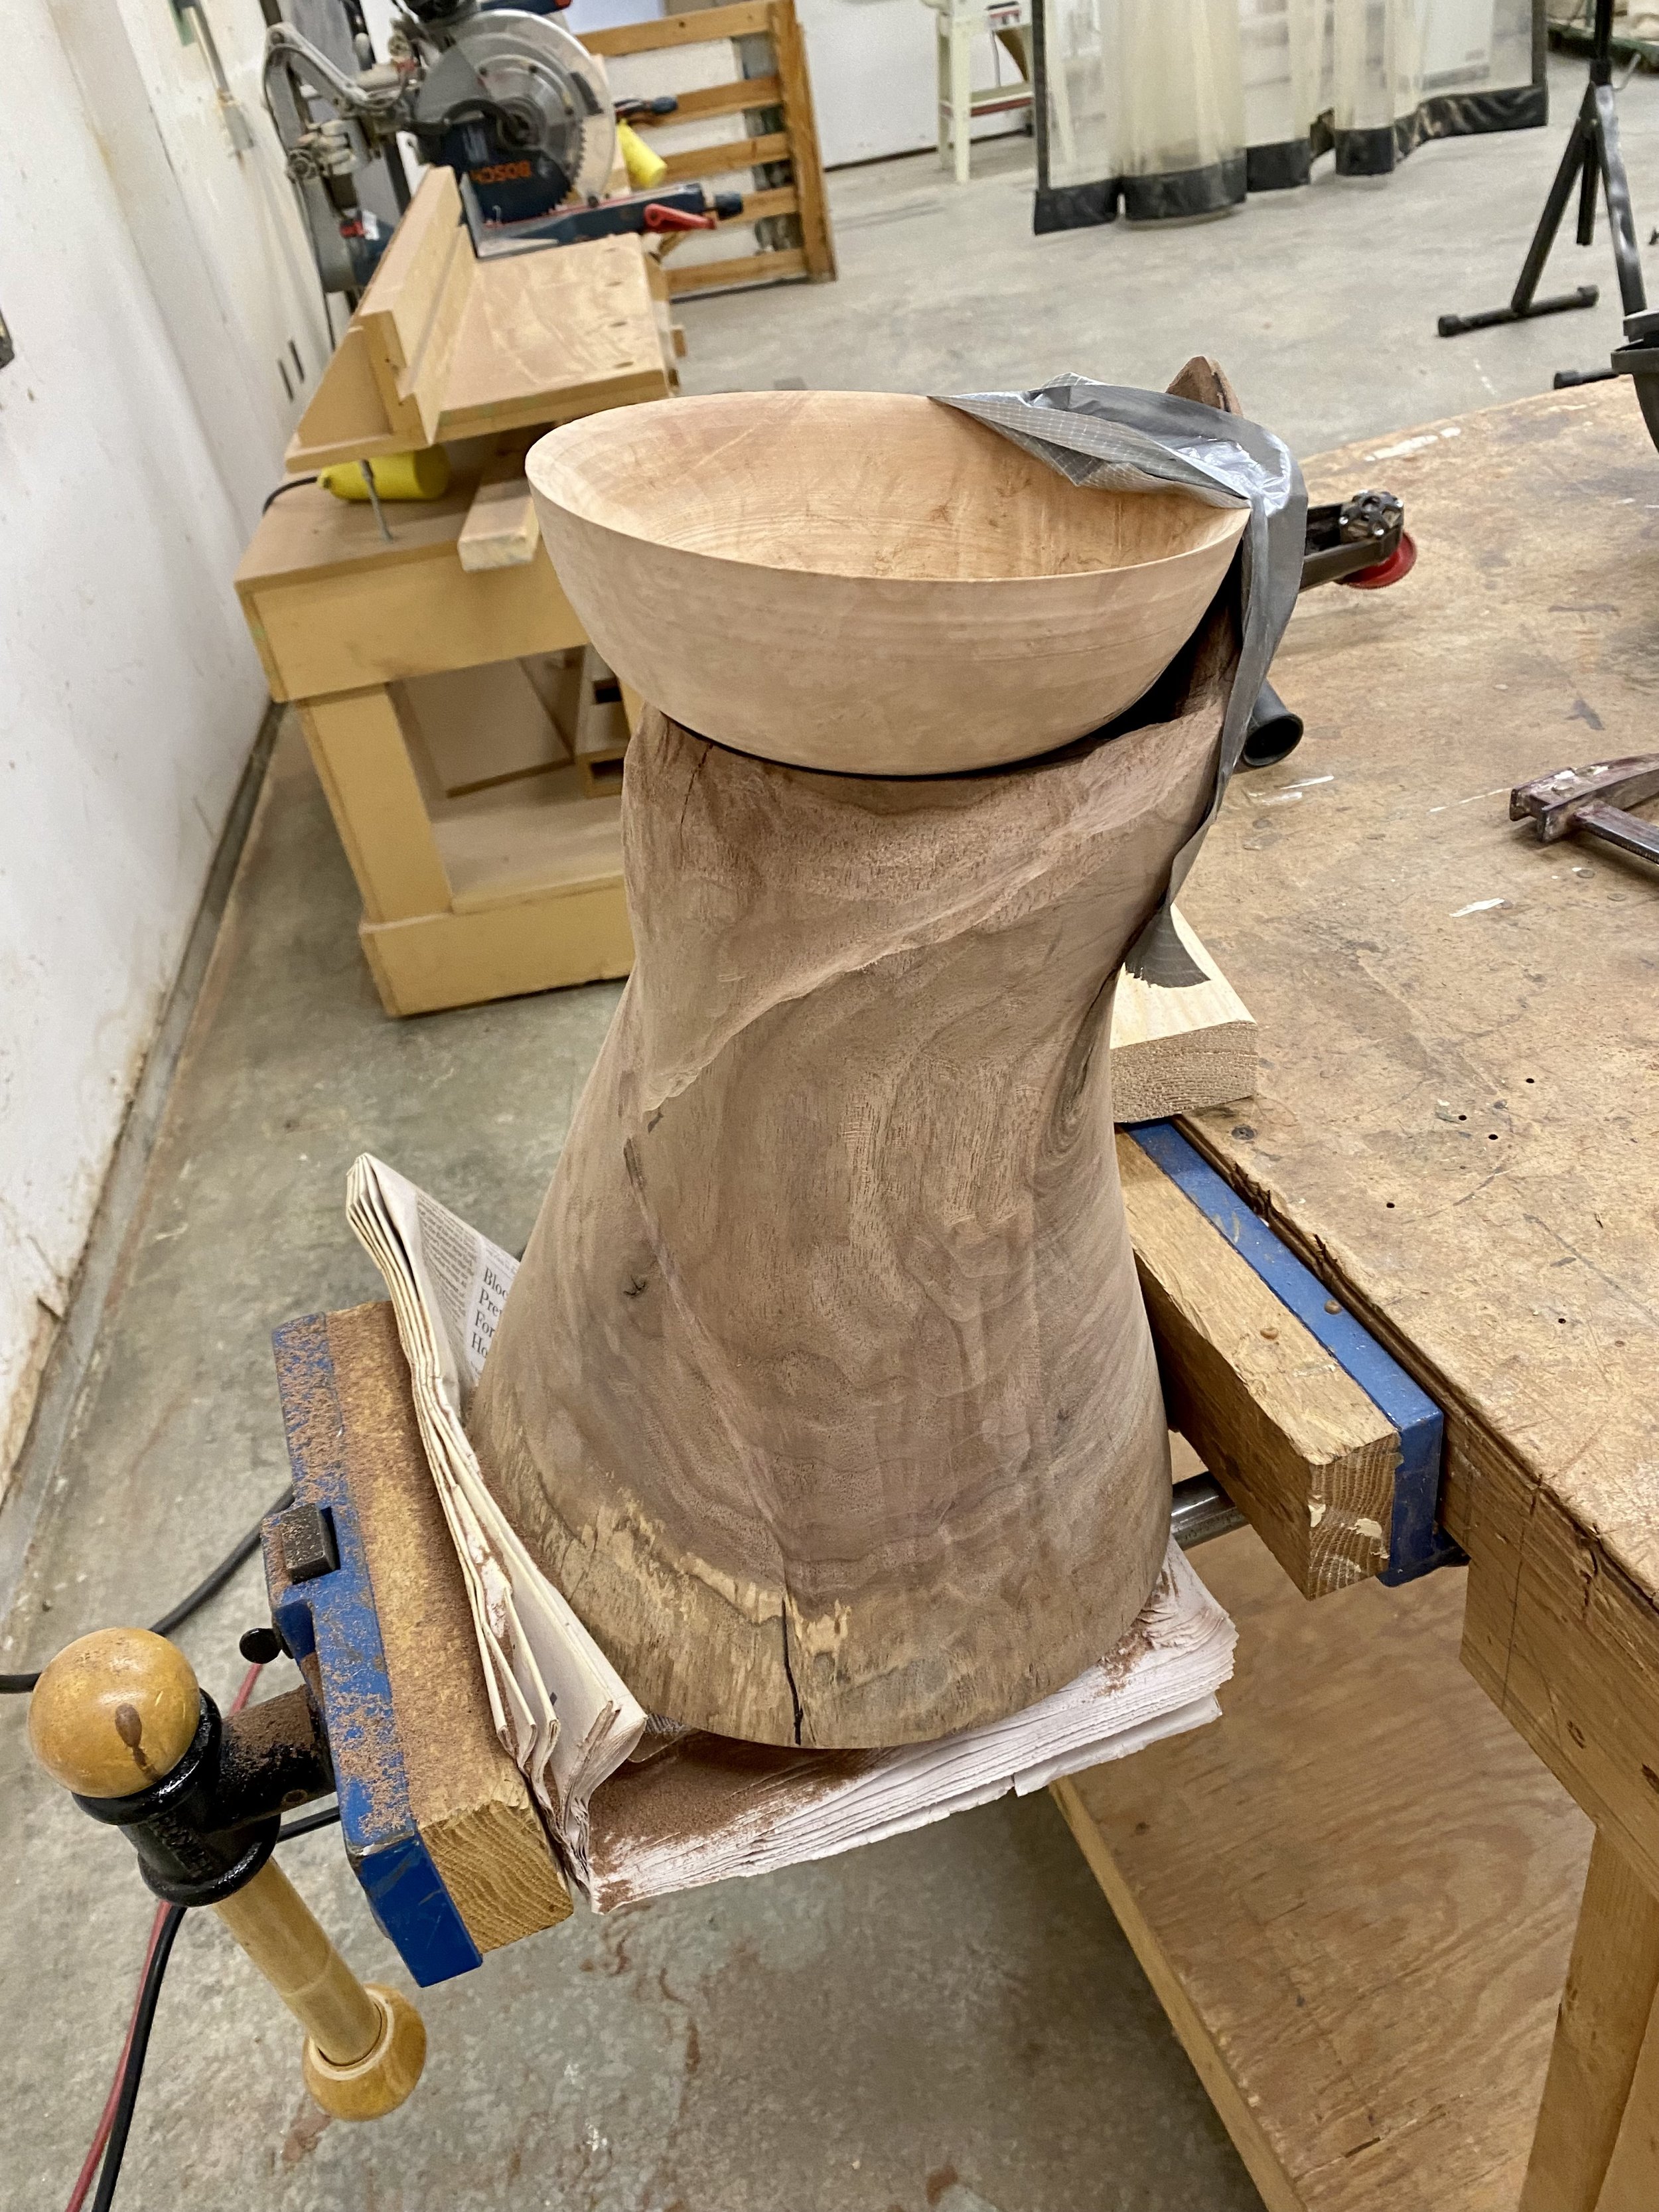
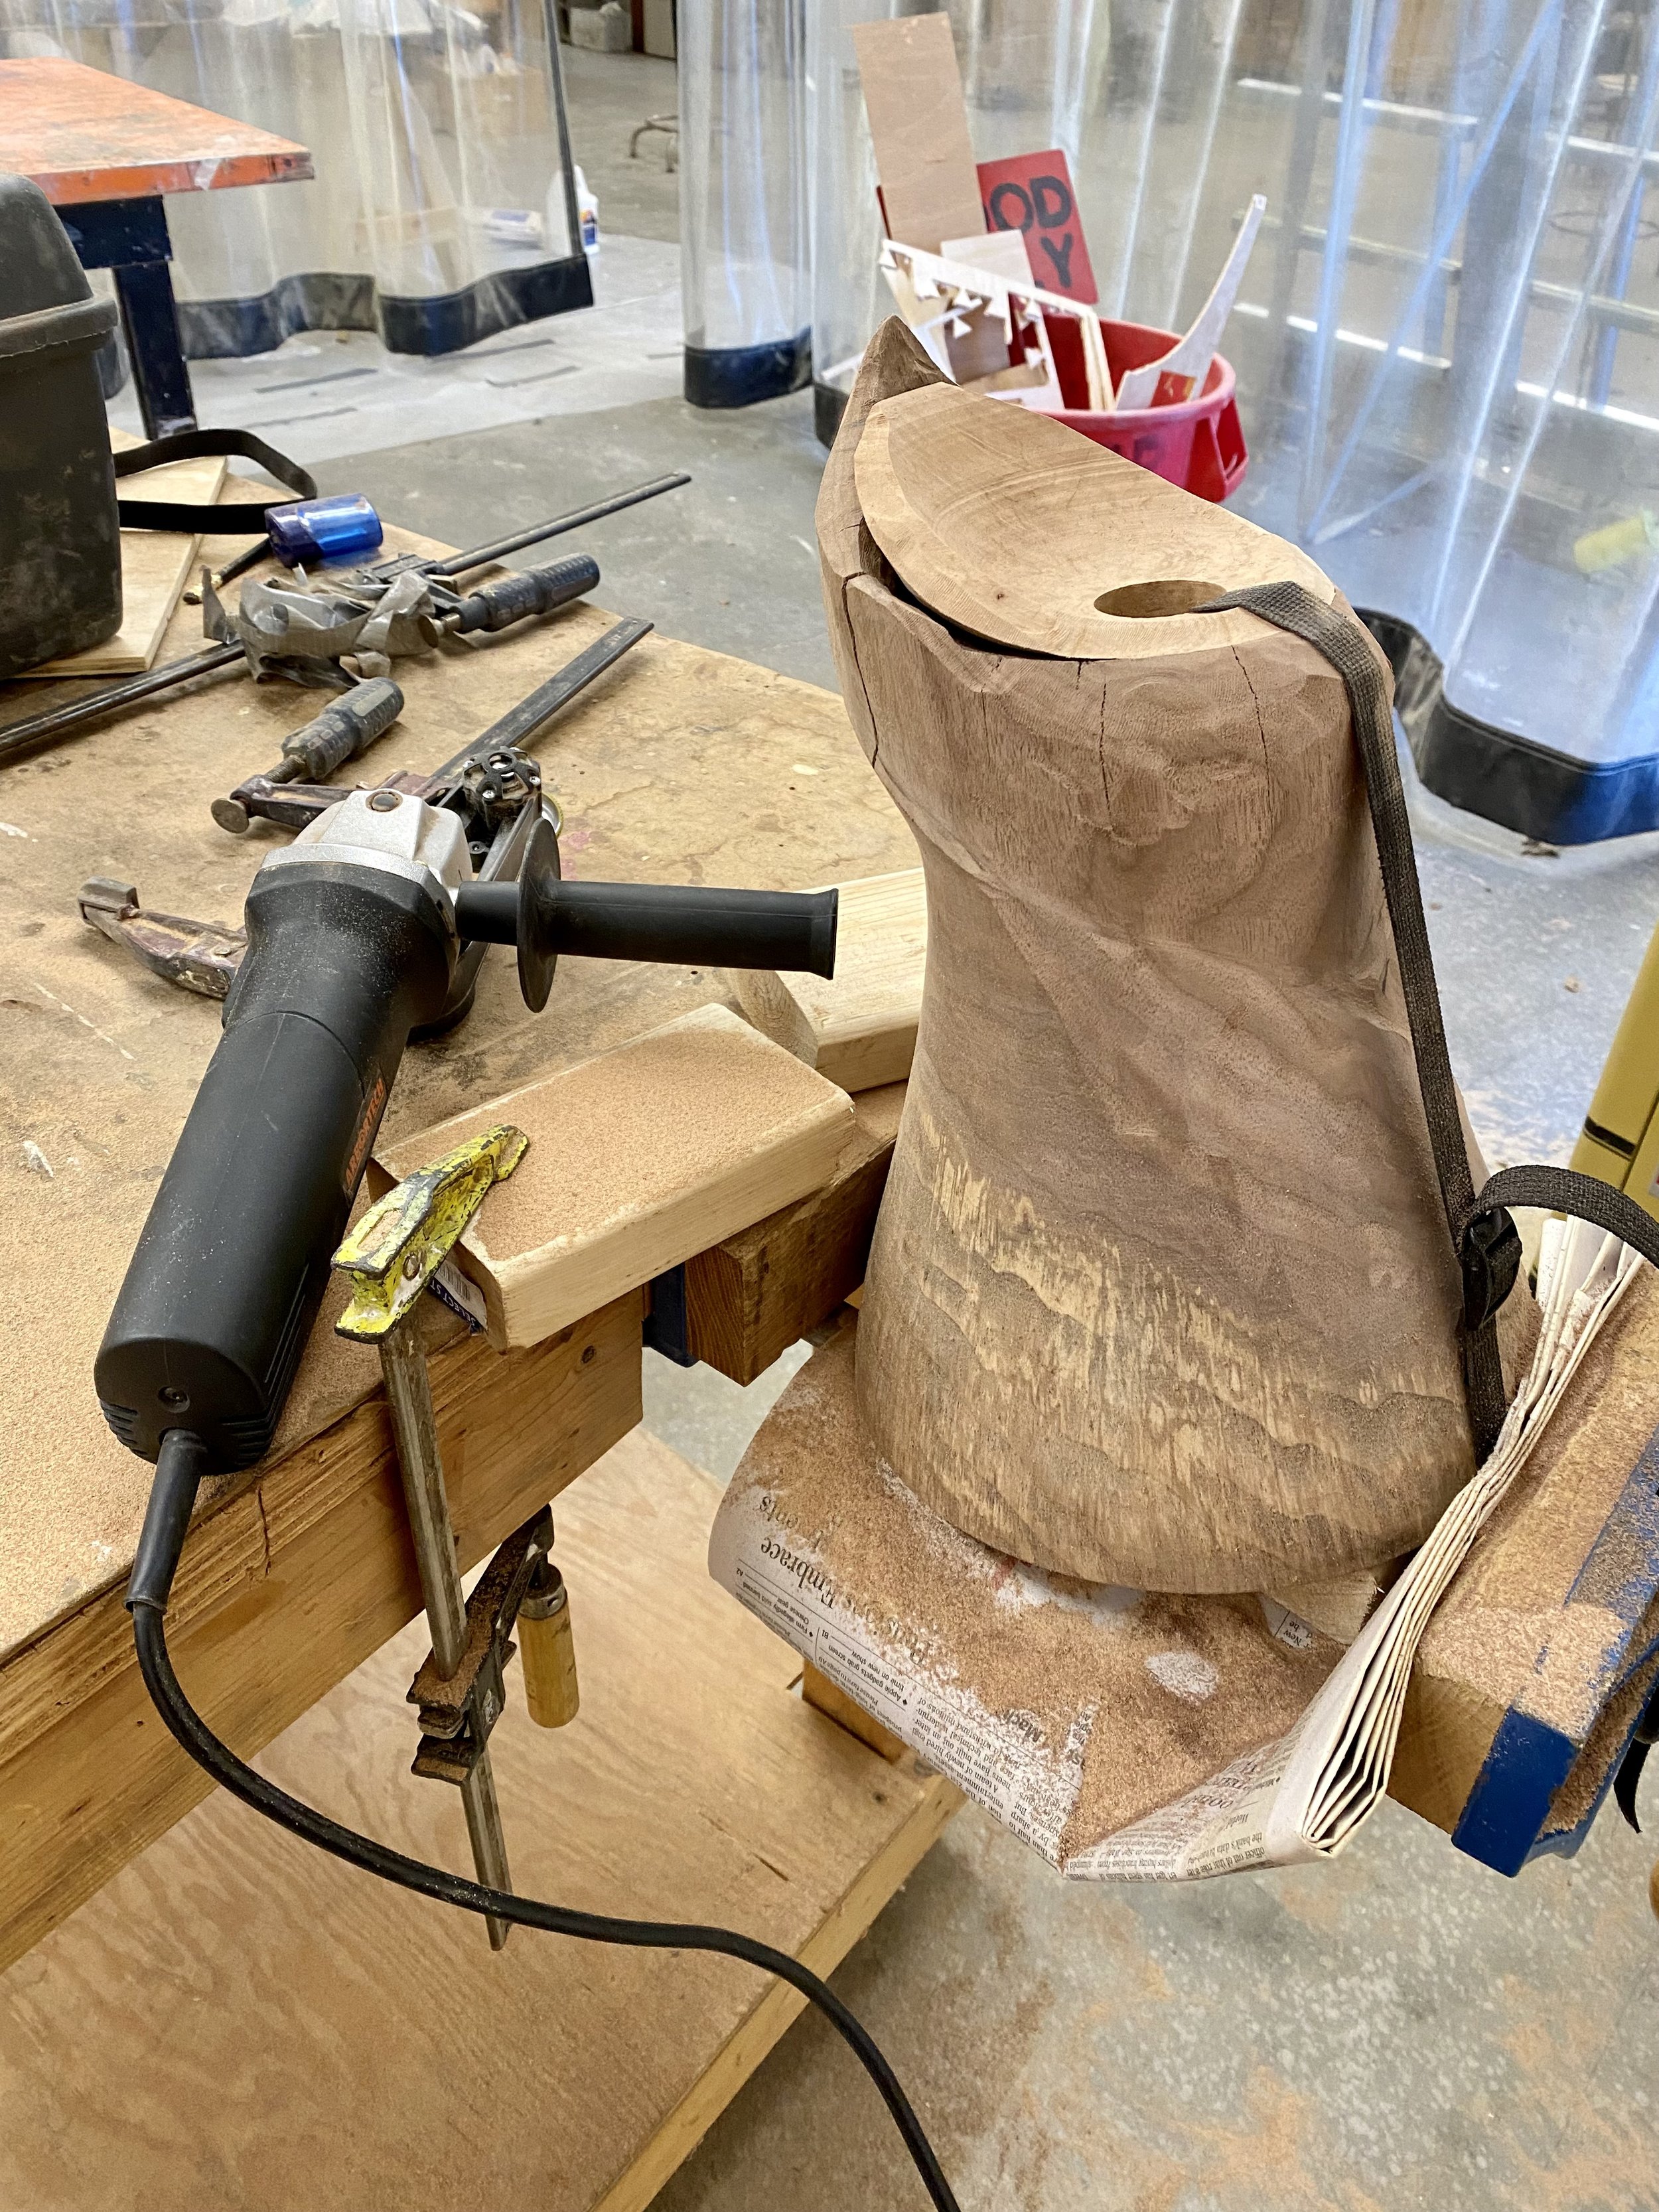
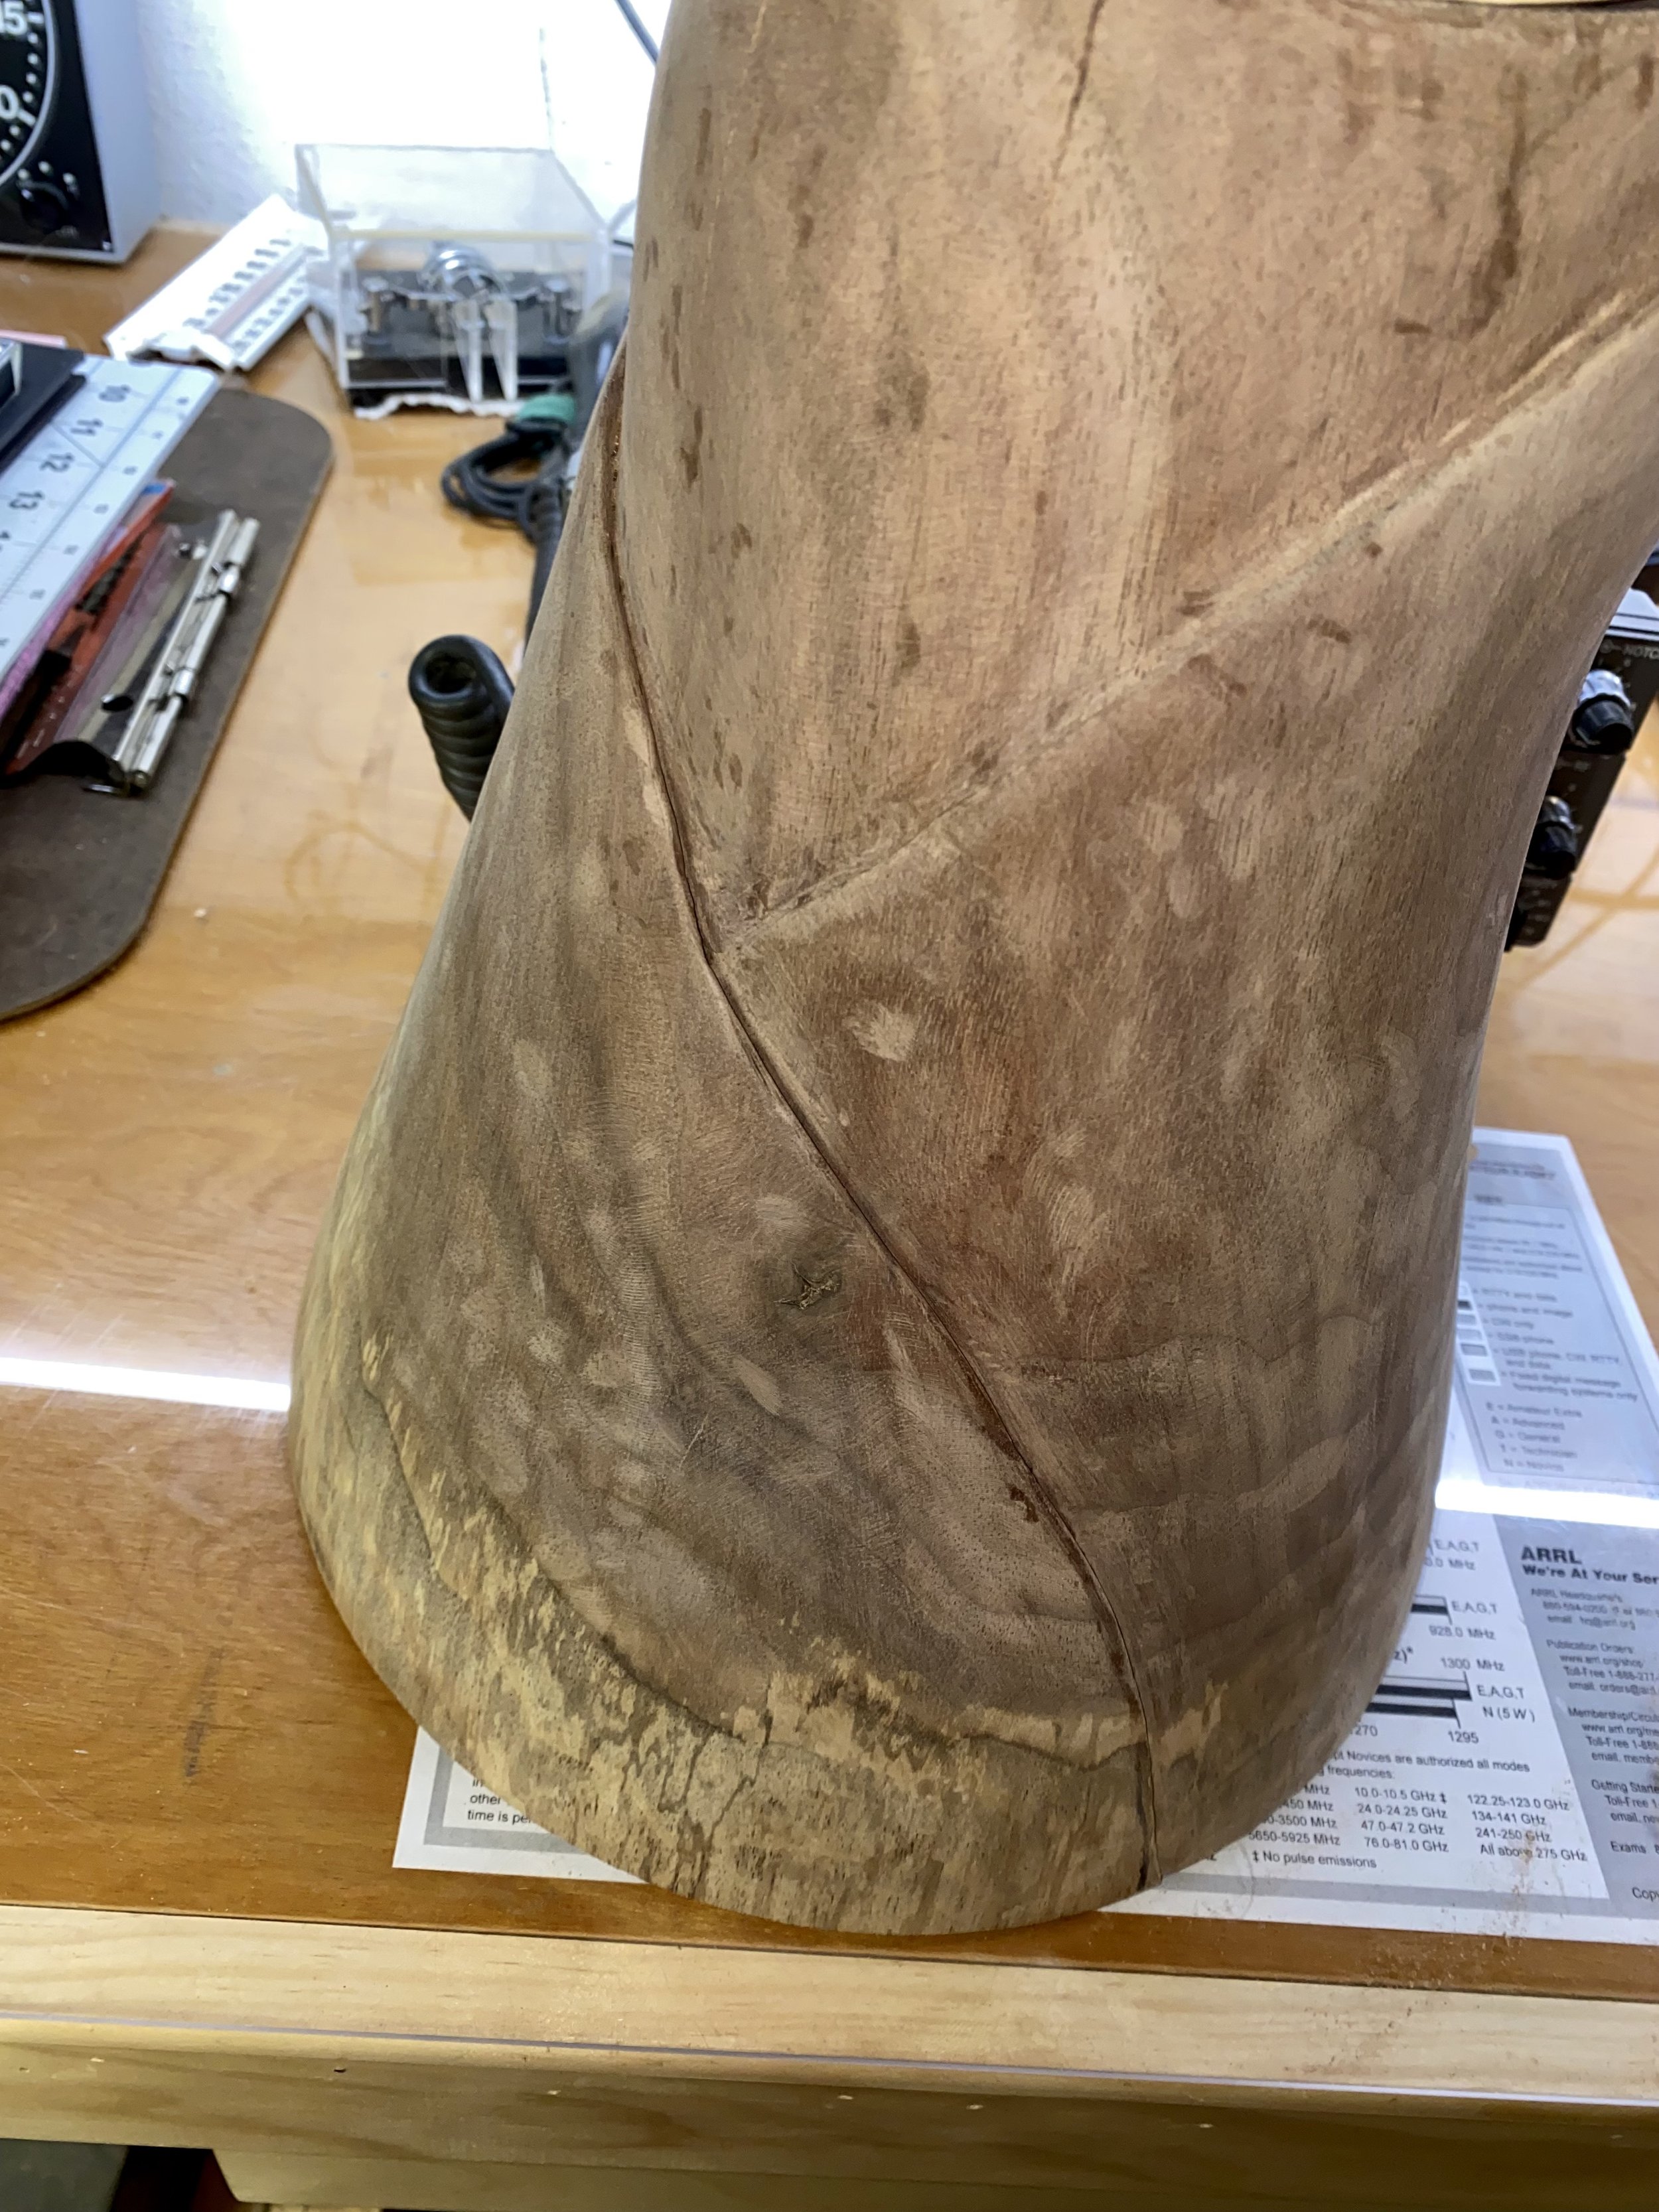
The other thing I’m working on is a hollow vessel on a sculptural glass stand. Here is a teaser:

Ambrosia

I finished this work in time to submit it to the 2022 AAW juried show, Bridging the Gap. The title refers to the ambrosia beetles that infected the silver maple wood.

The size is 8.5 H X 11 W X 10.75 D (inches). A piece like this takes a lot of patience. I started it over winter break, in December 2021. I finished it on 3/27/22.

There's a lot of fussing that went into making the details as good as I could - lots of undercuts, lots of challenges. The geometry of the shape makes it challenging as well. I'm happy with the result.

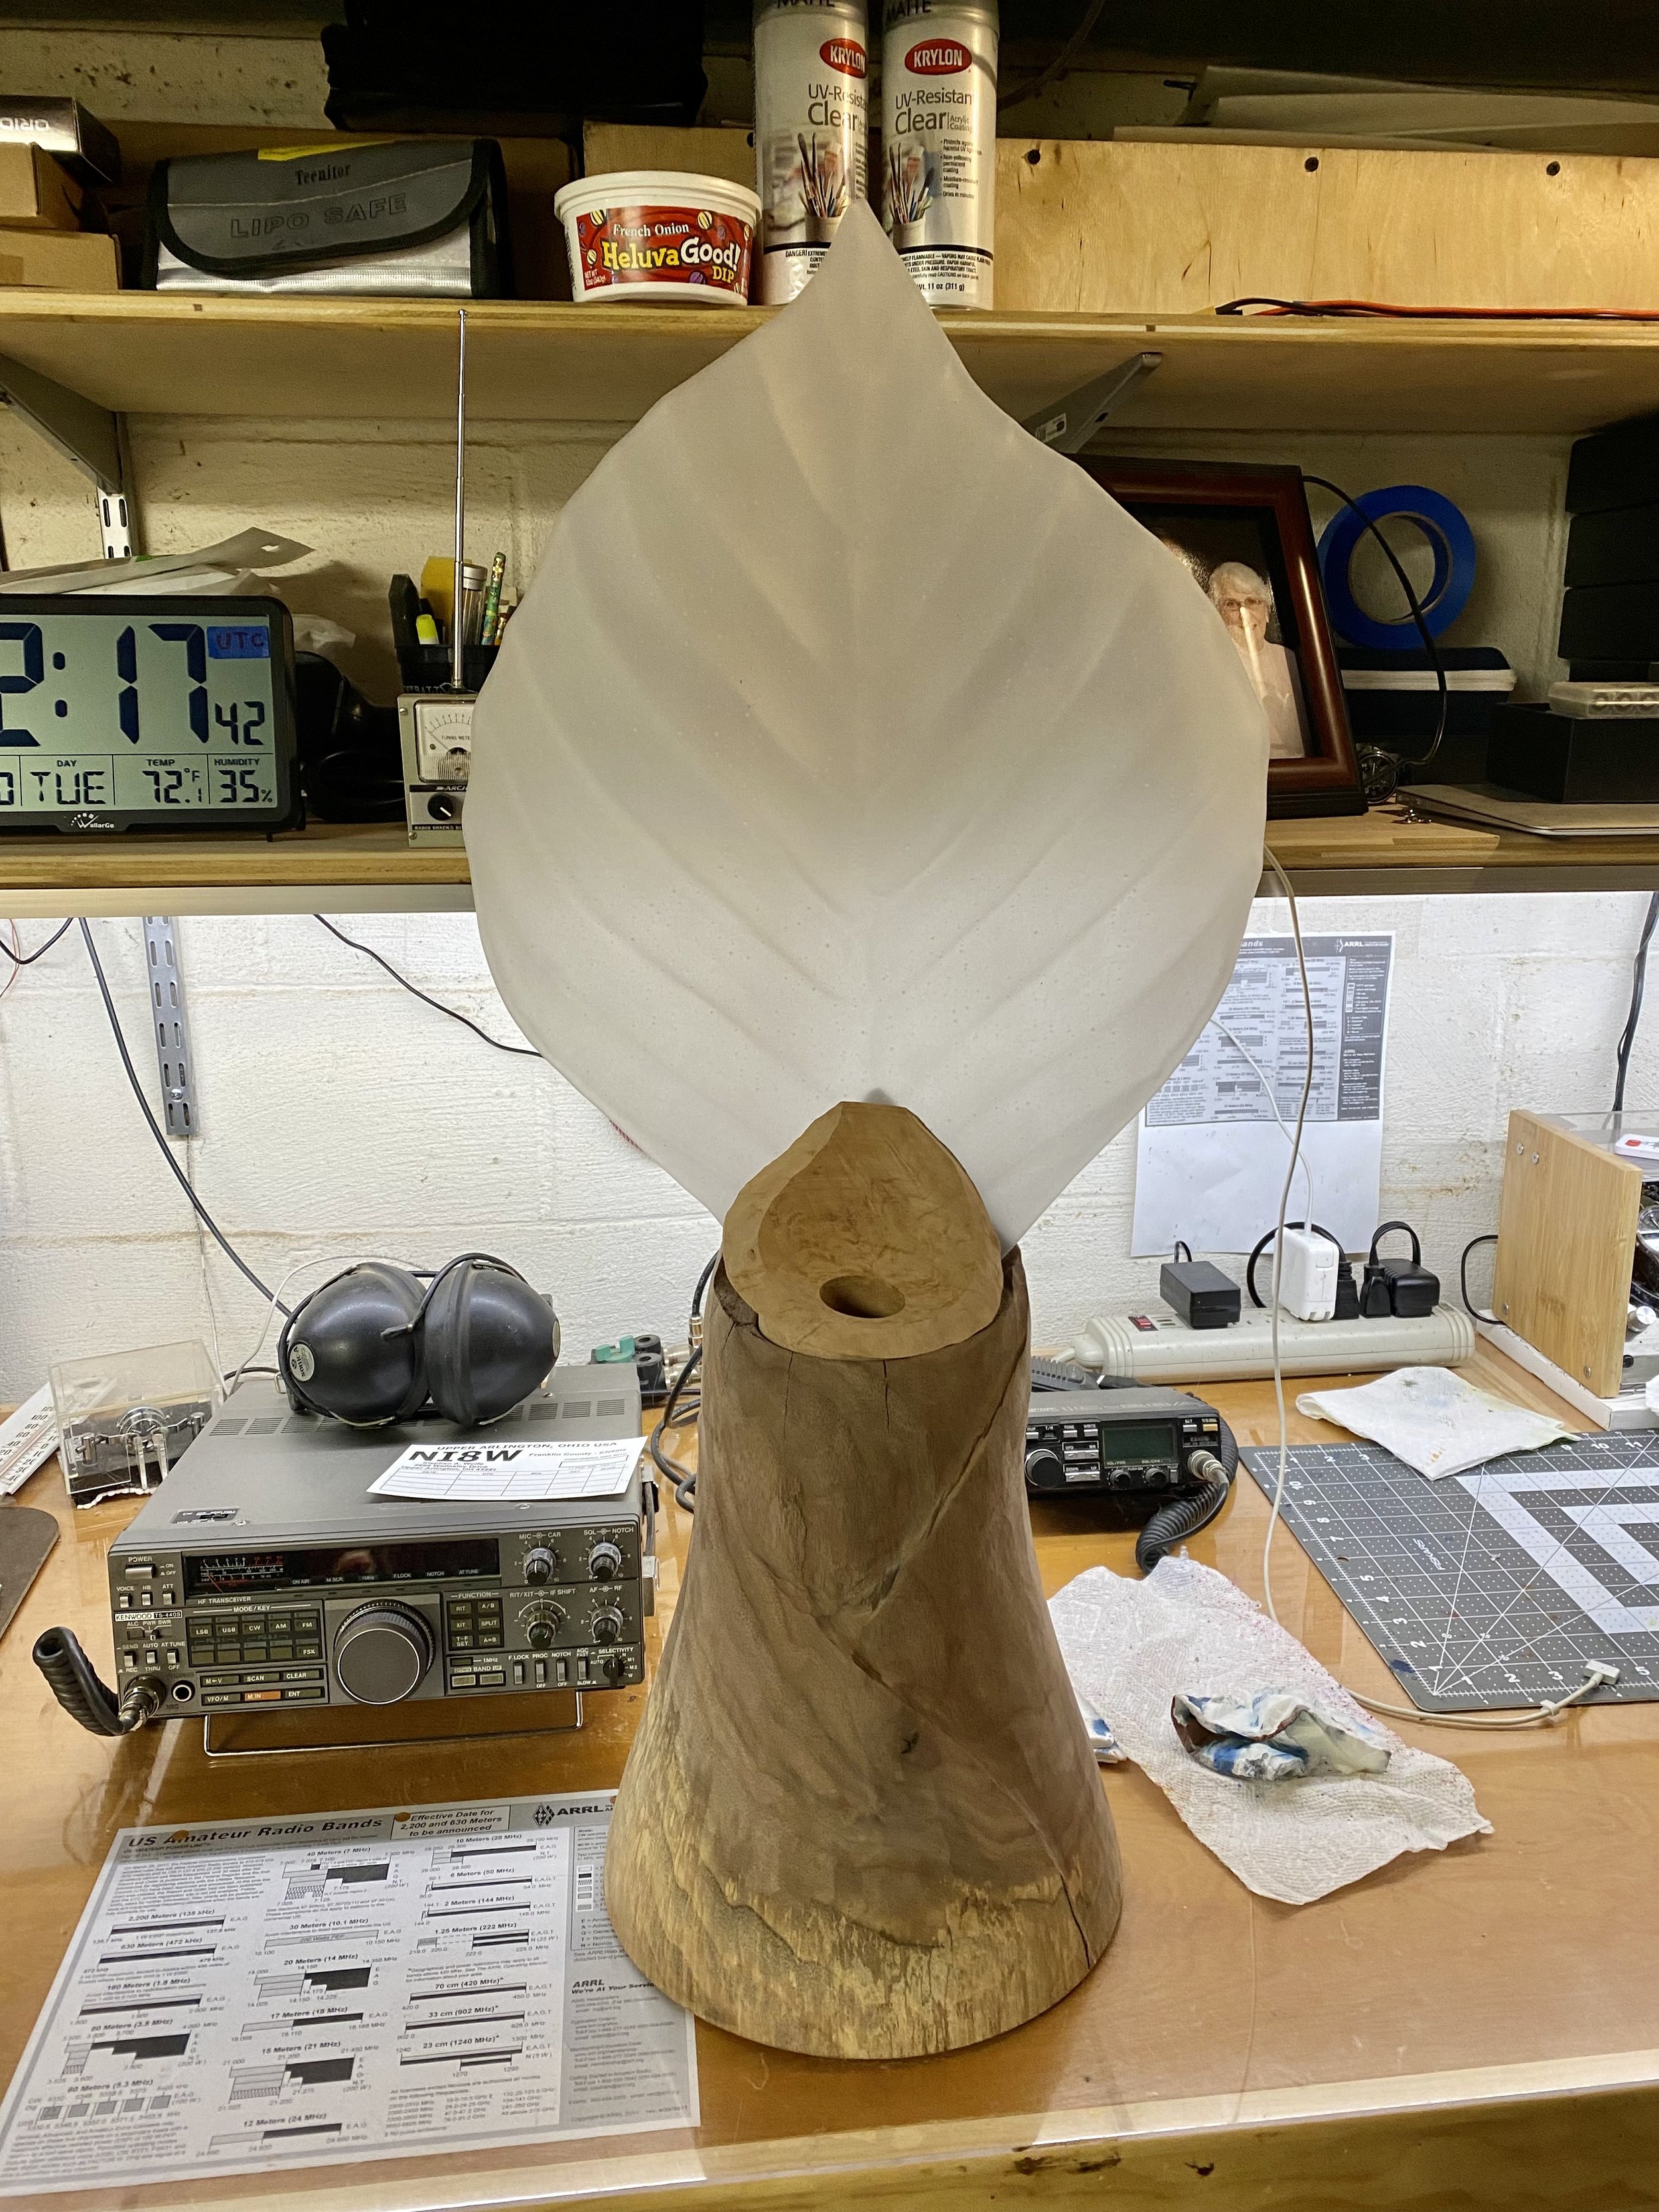
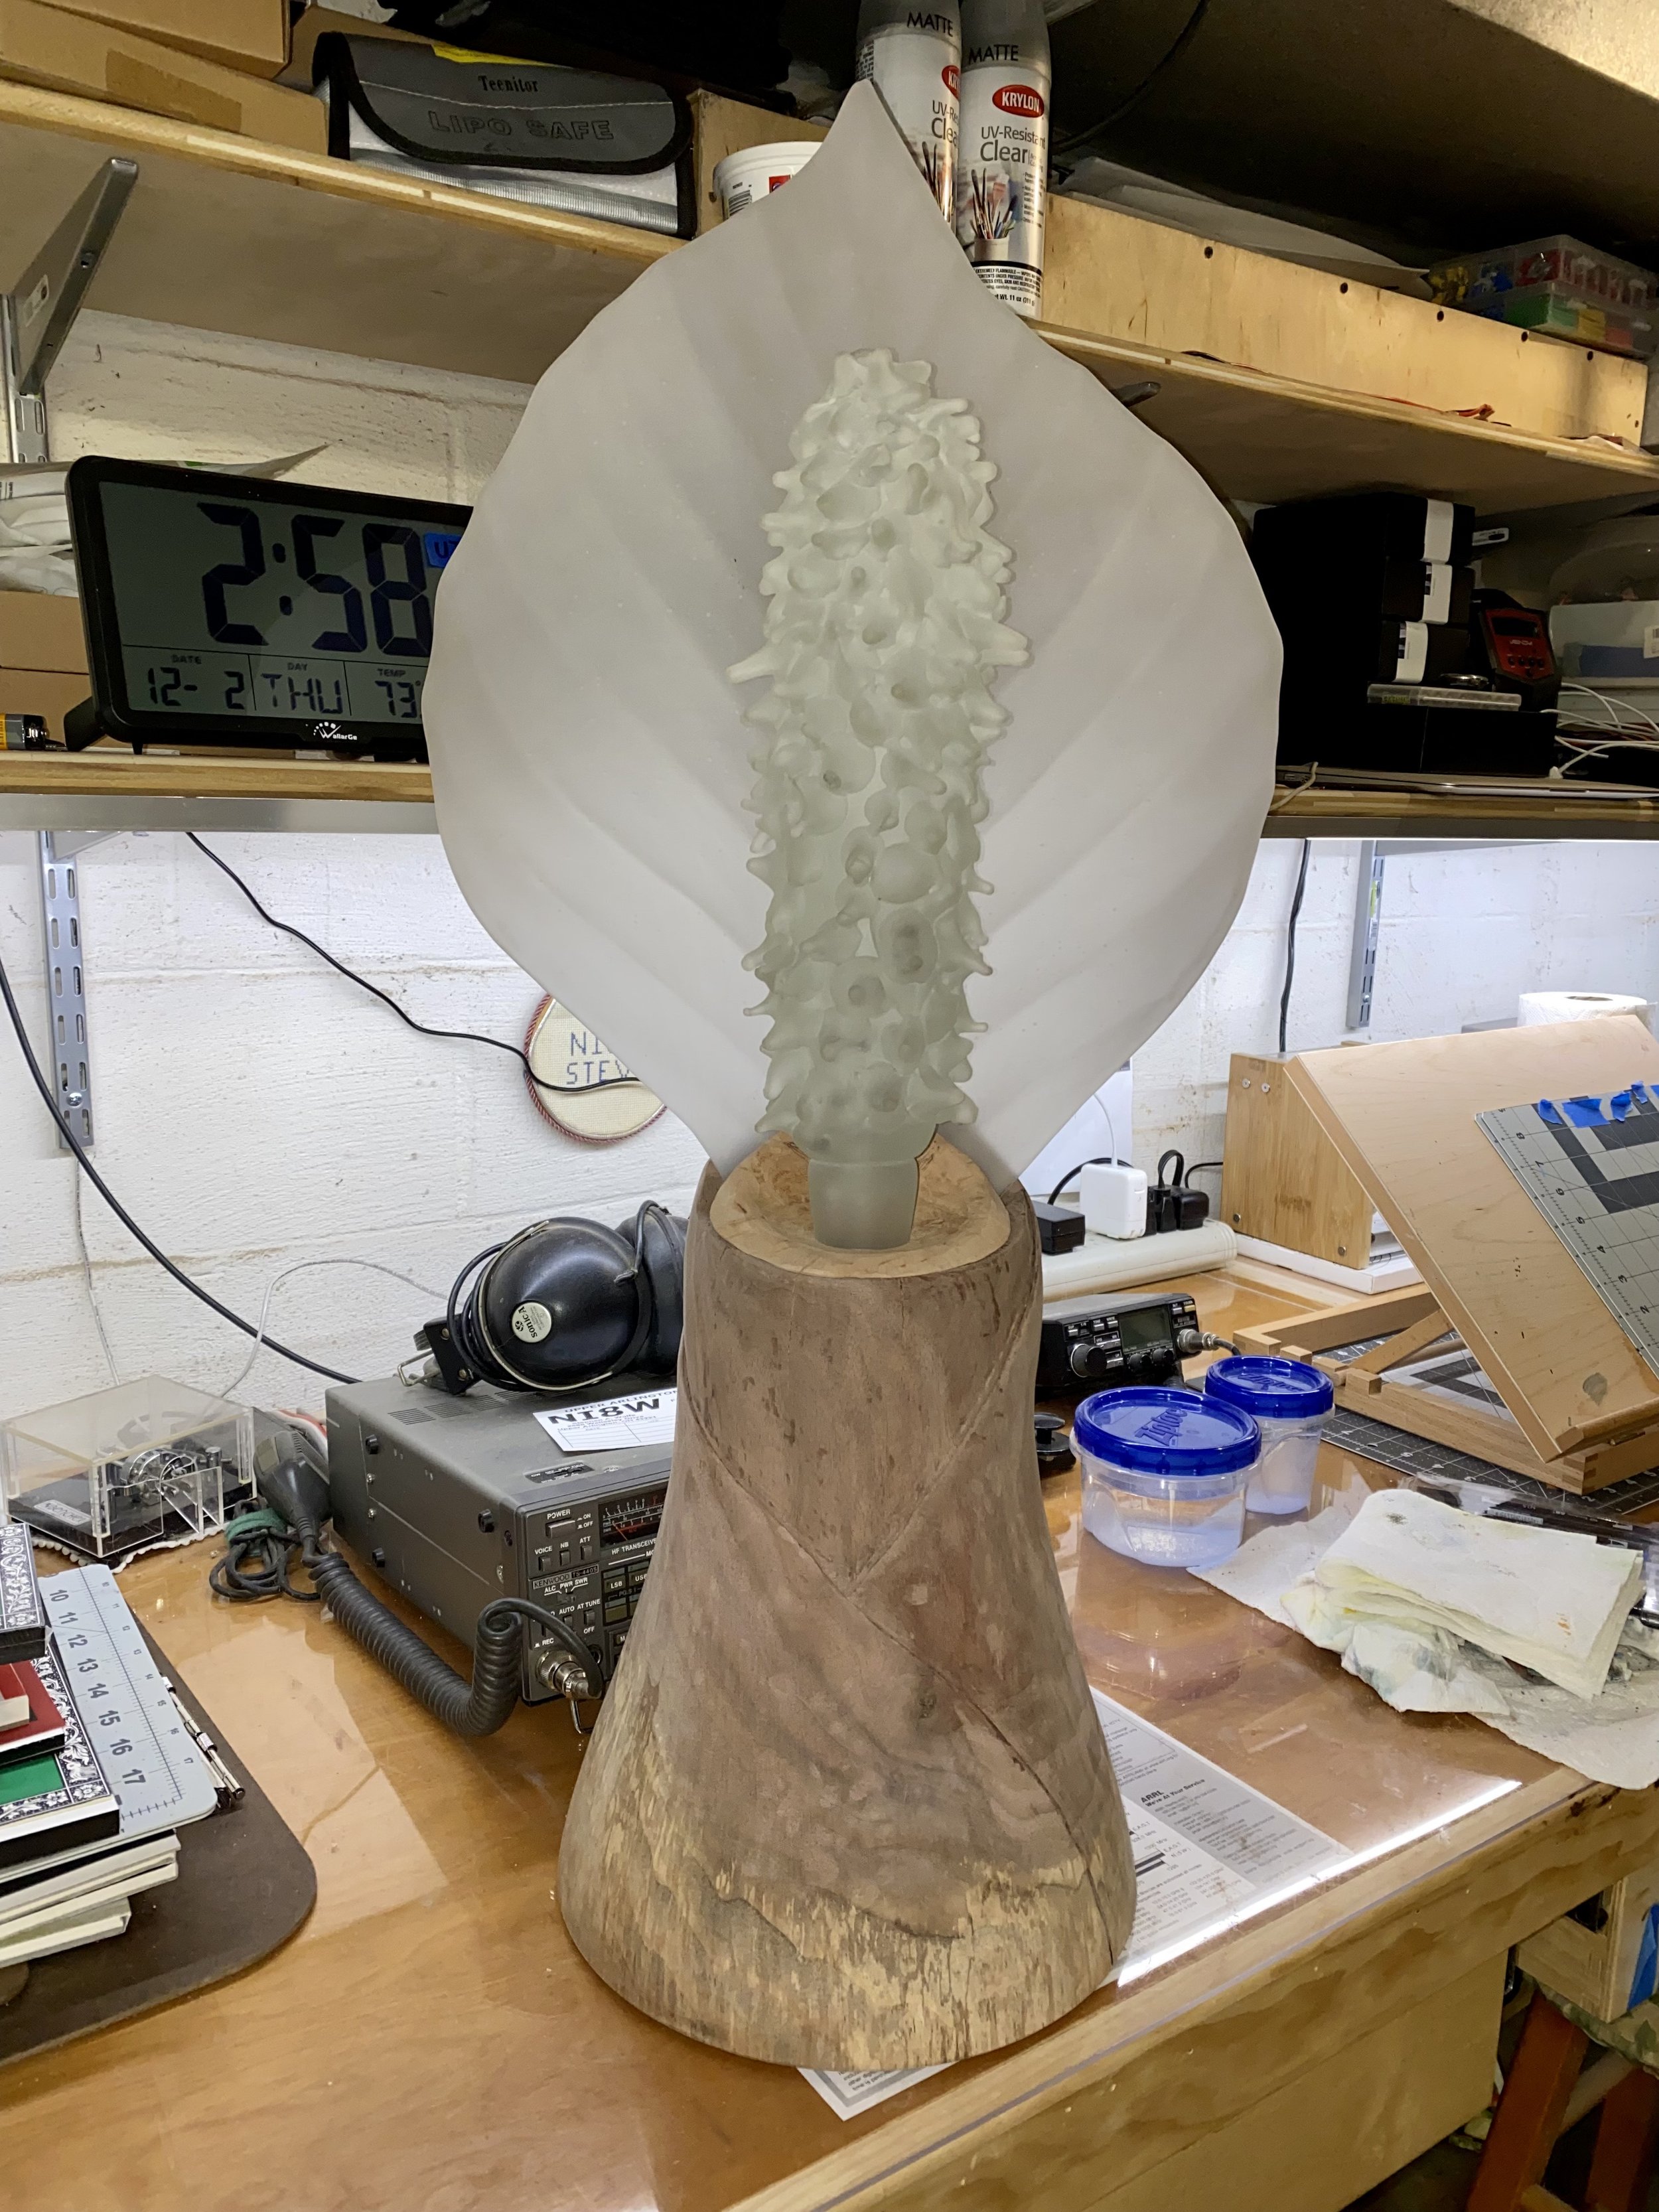
Vitrispathis albus - My Latest Wood and Glass sculpture

I usually start a new project by thinking about it for awhile and then just jumping into the work. This piece took a different path. I started with a sketch of the overall piece and then worked on each element of the design, in sketches and then figuring out the logistics.
2021. Wood, turned and carved; acrylic paint; fused and sandblasted glass; blown and sculpted sandblasted glass; LEDs.

31.5 X 15.25 X 13 inches.

Side view

Back view

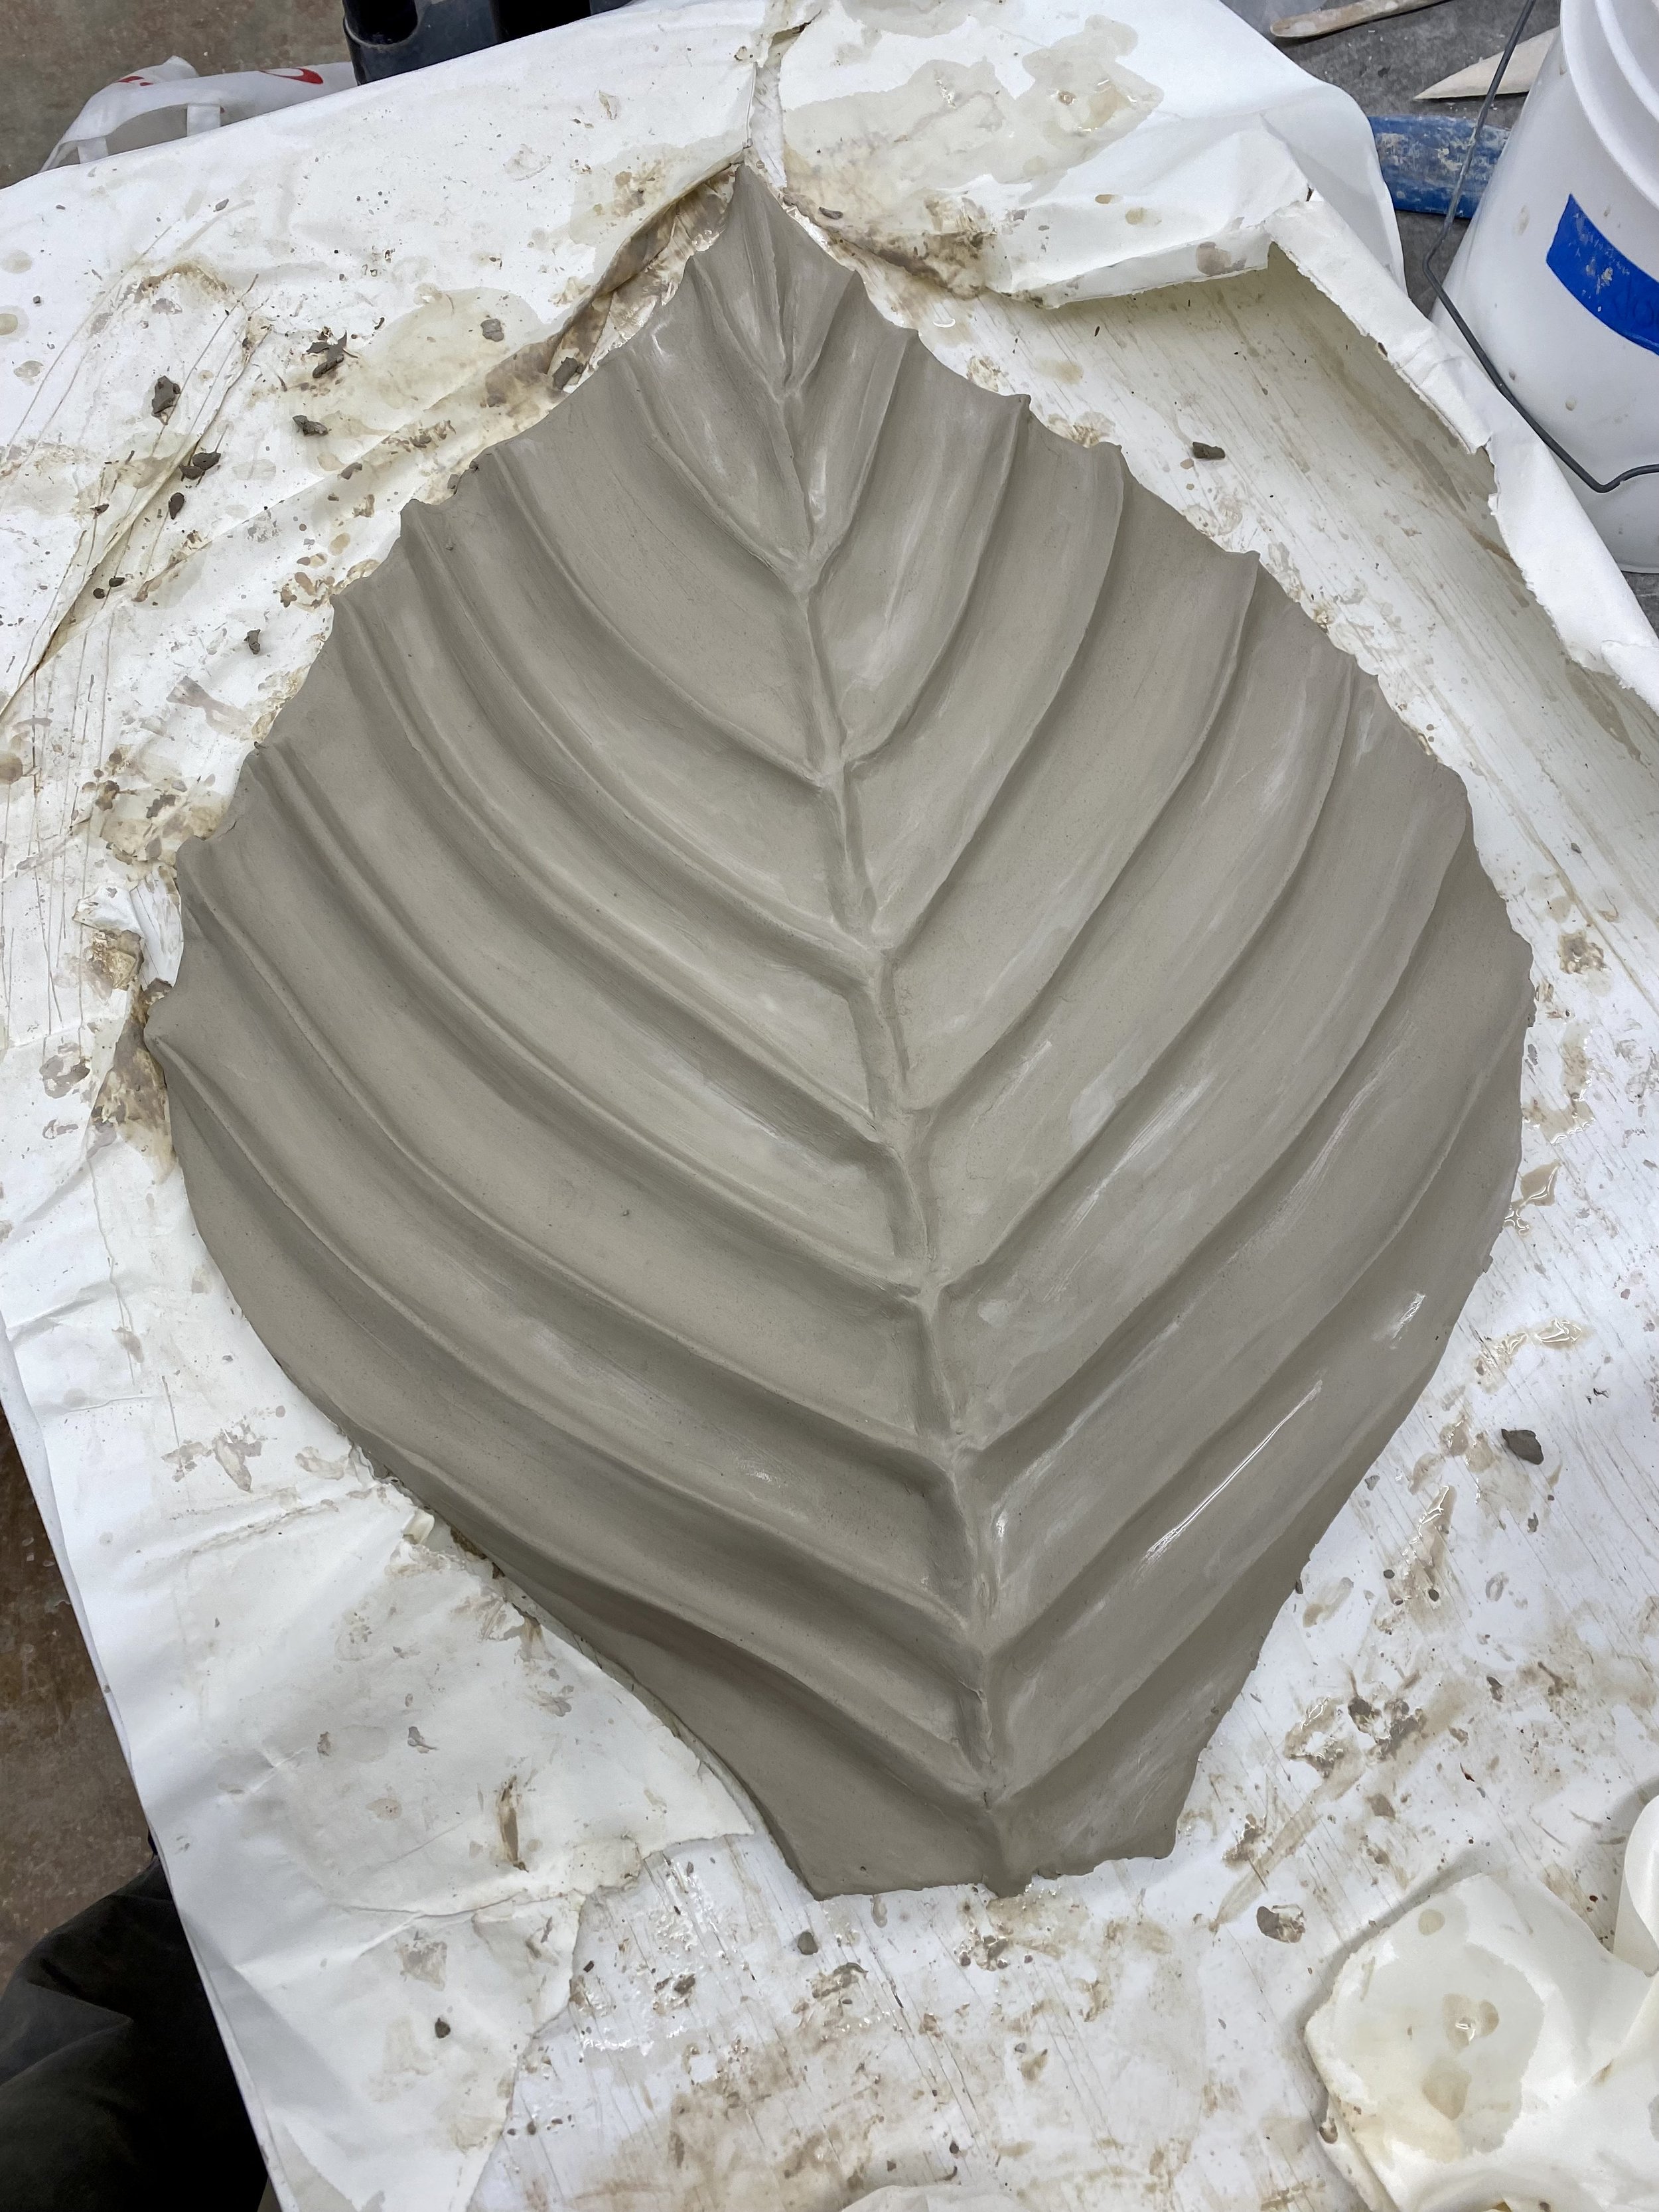
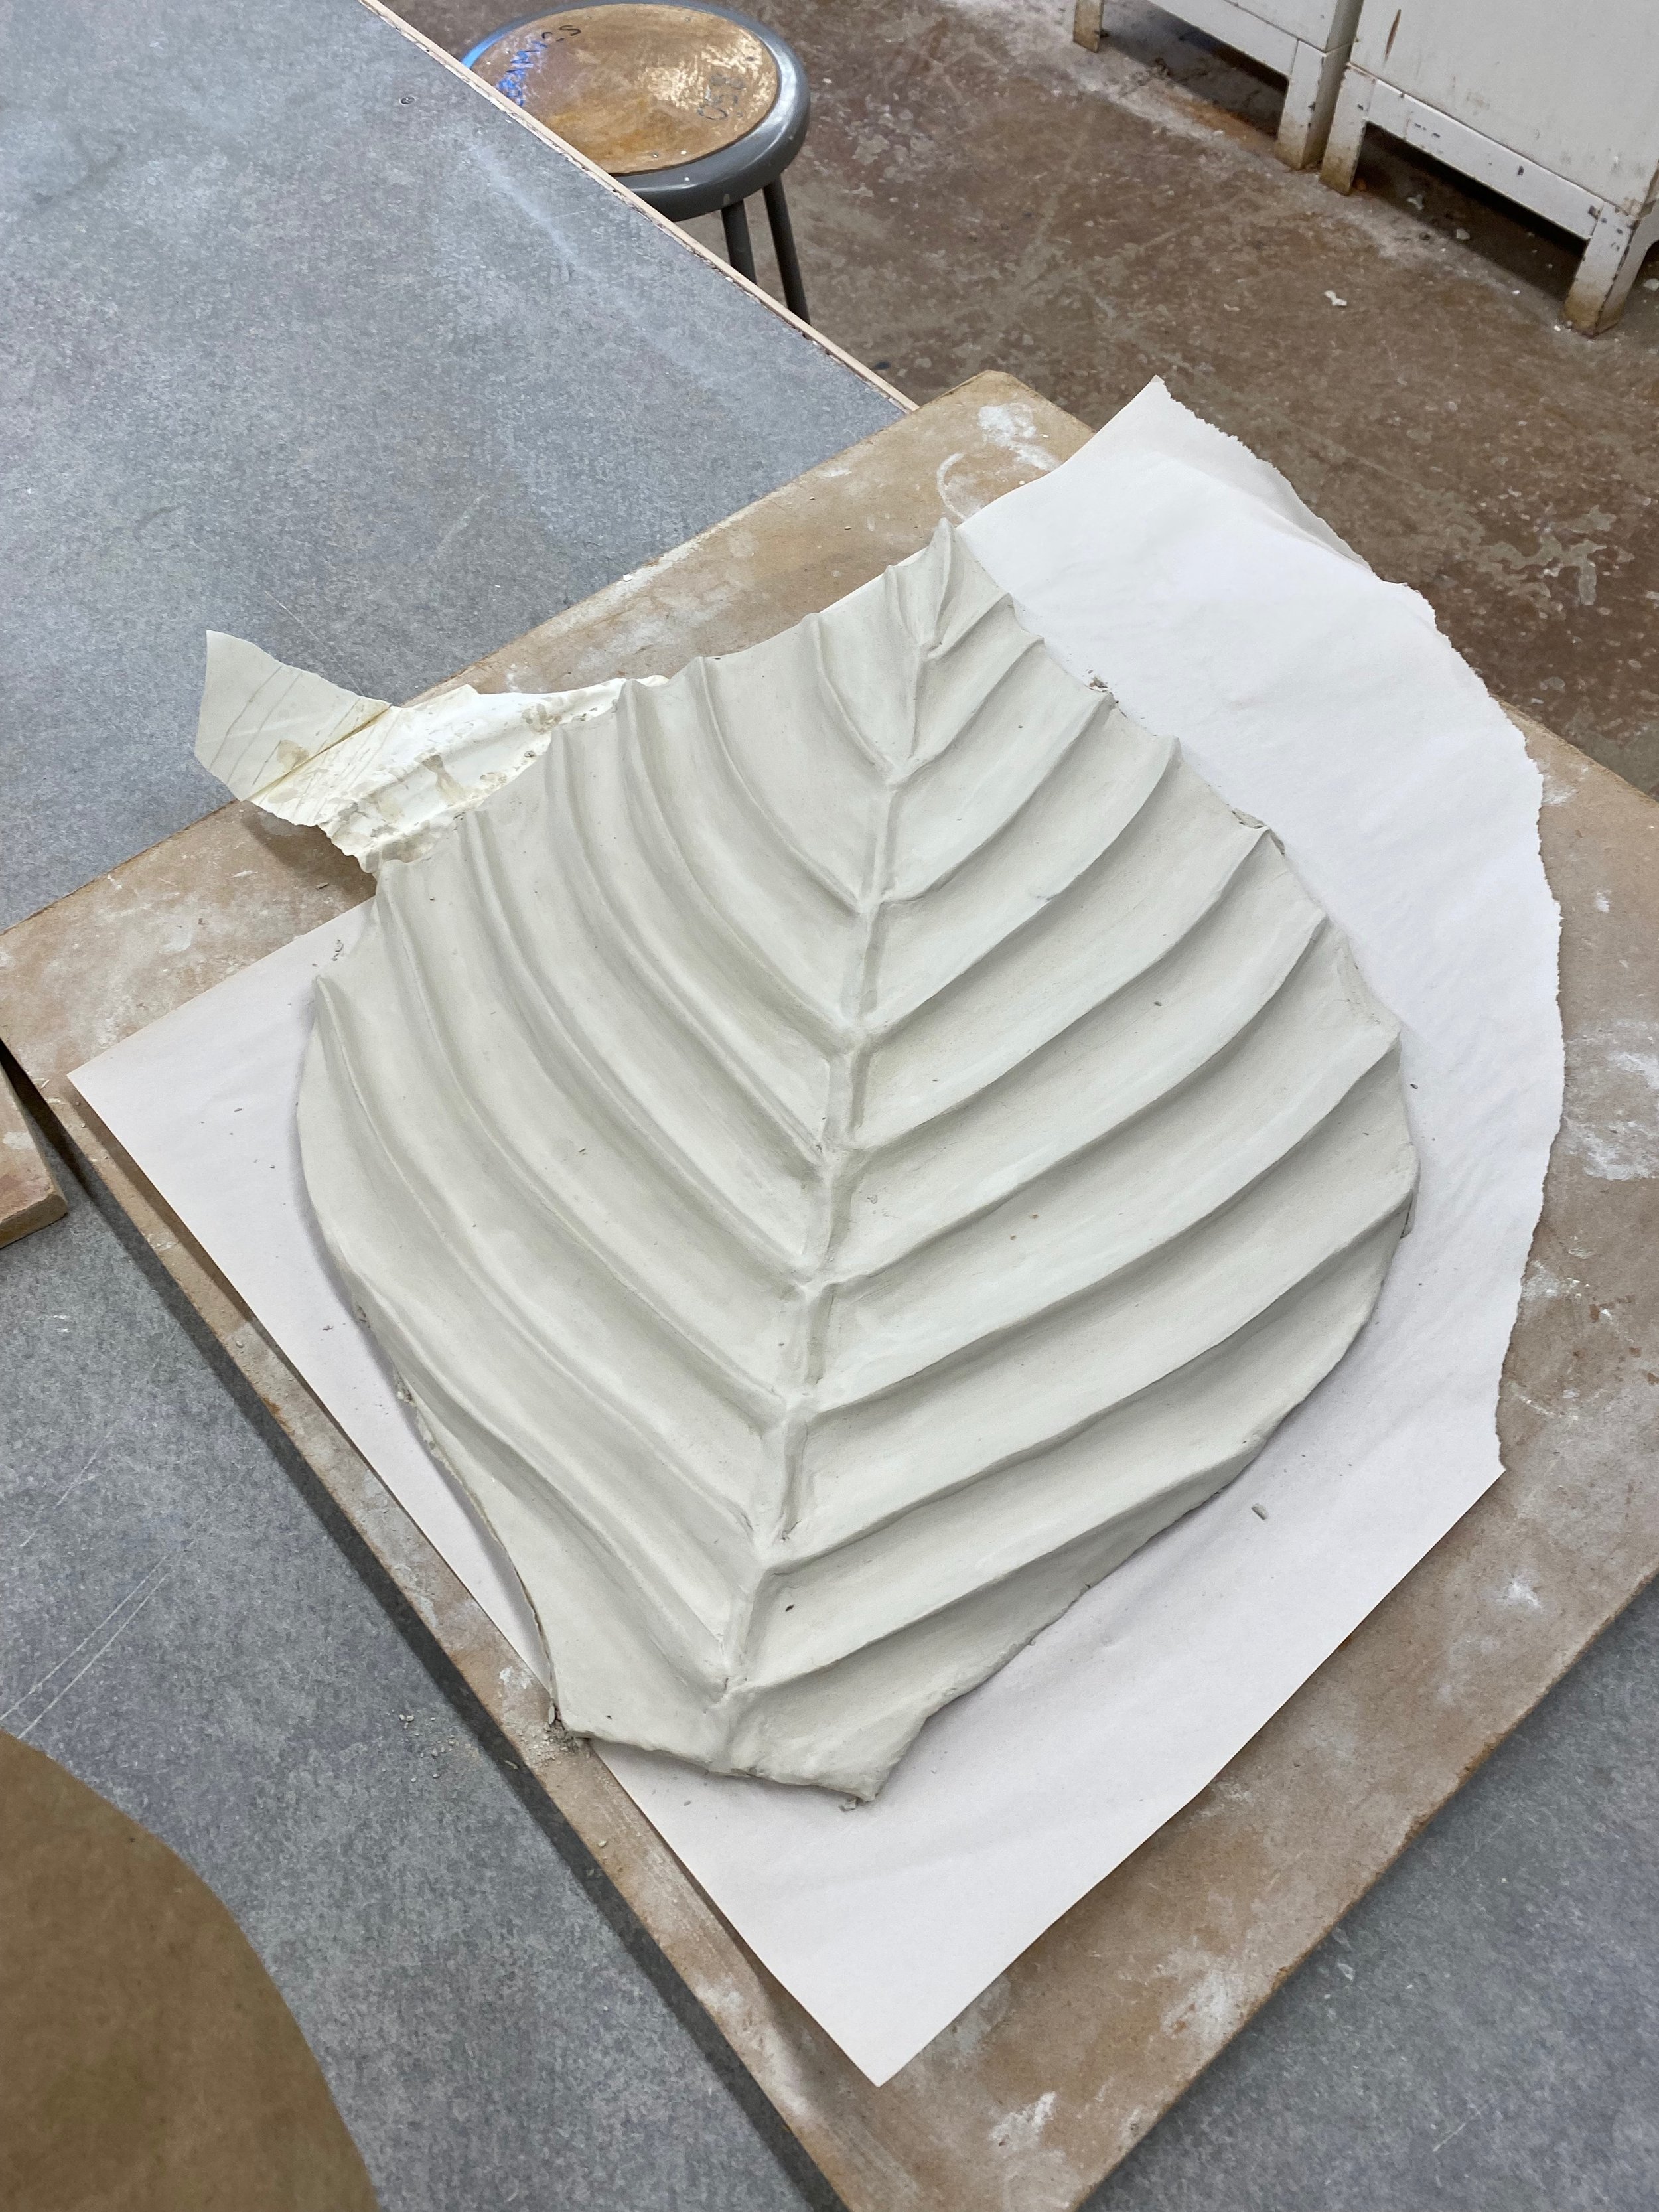
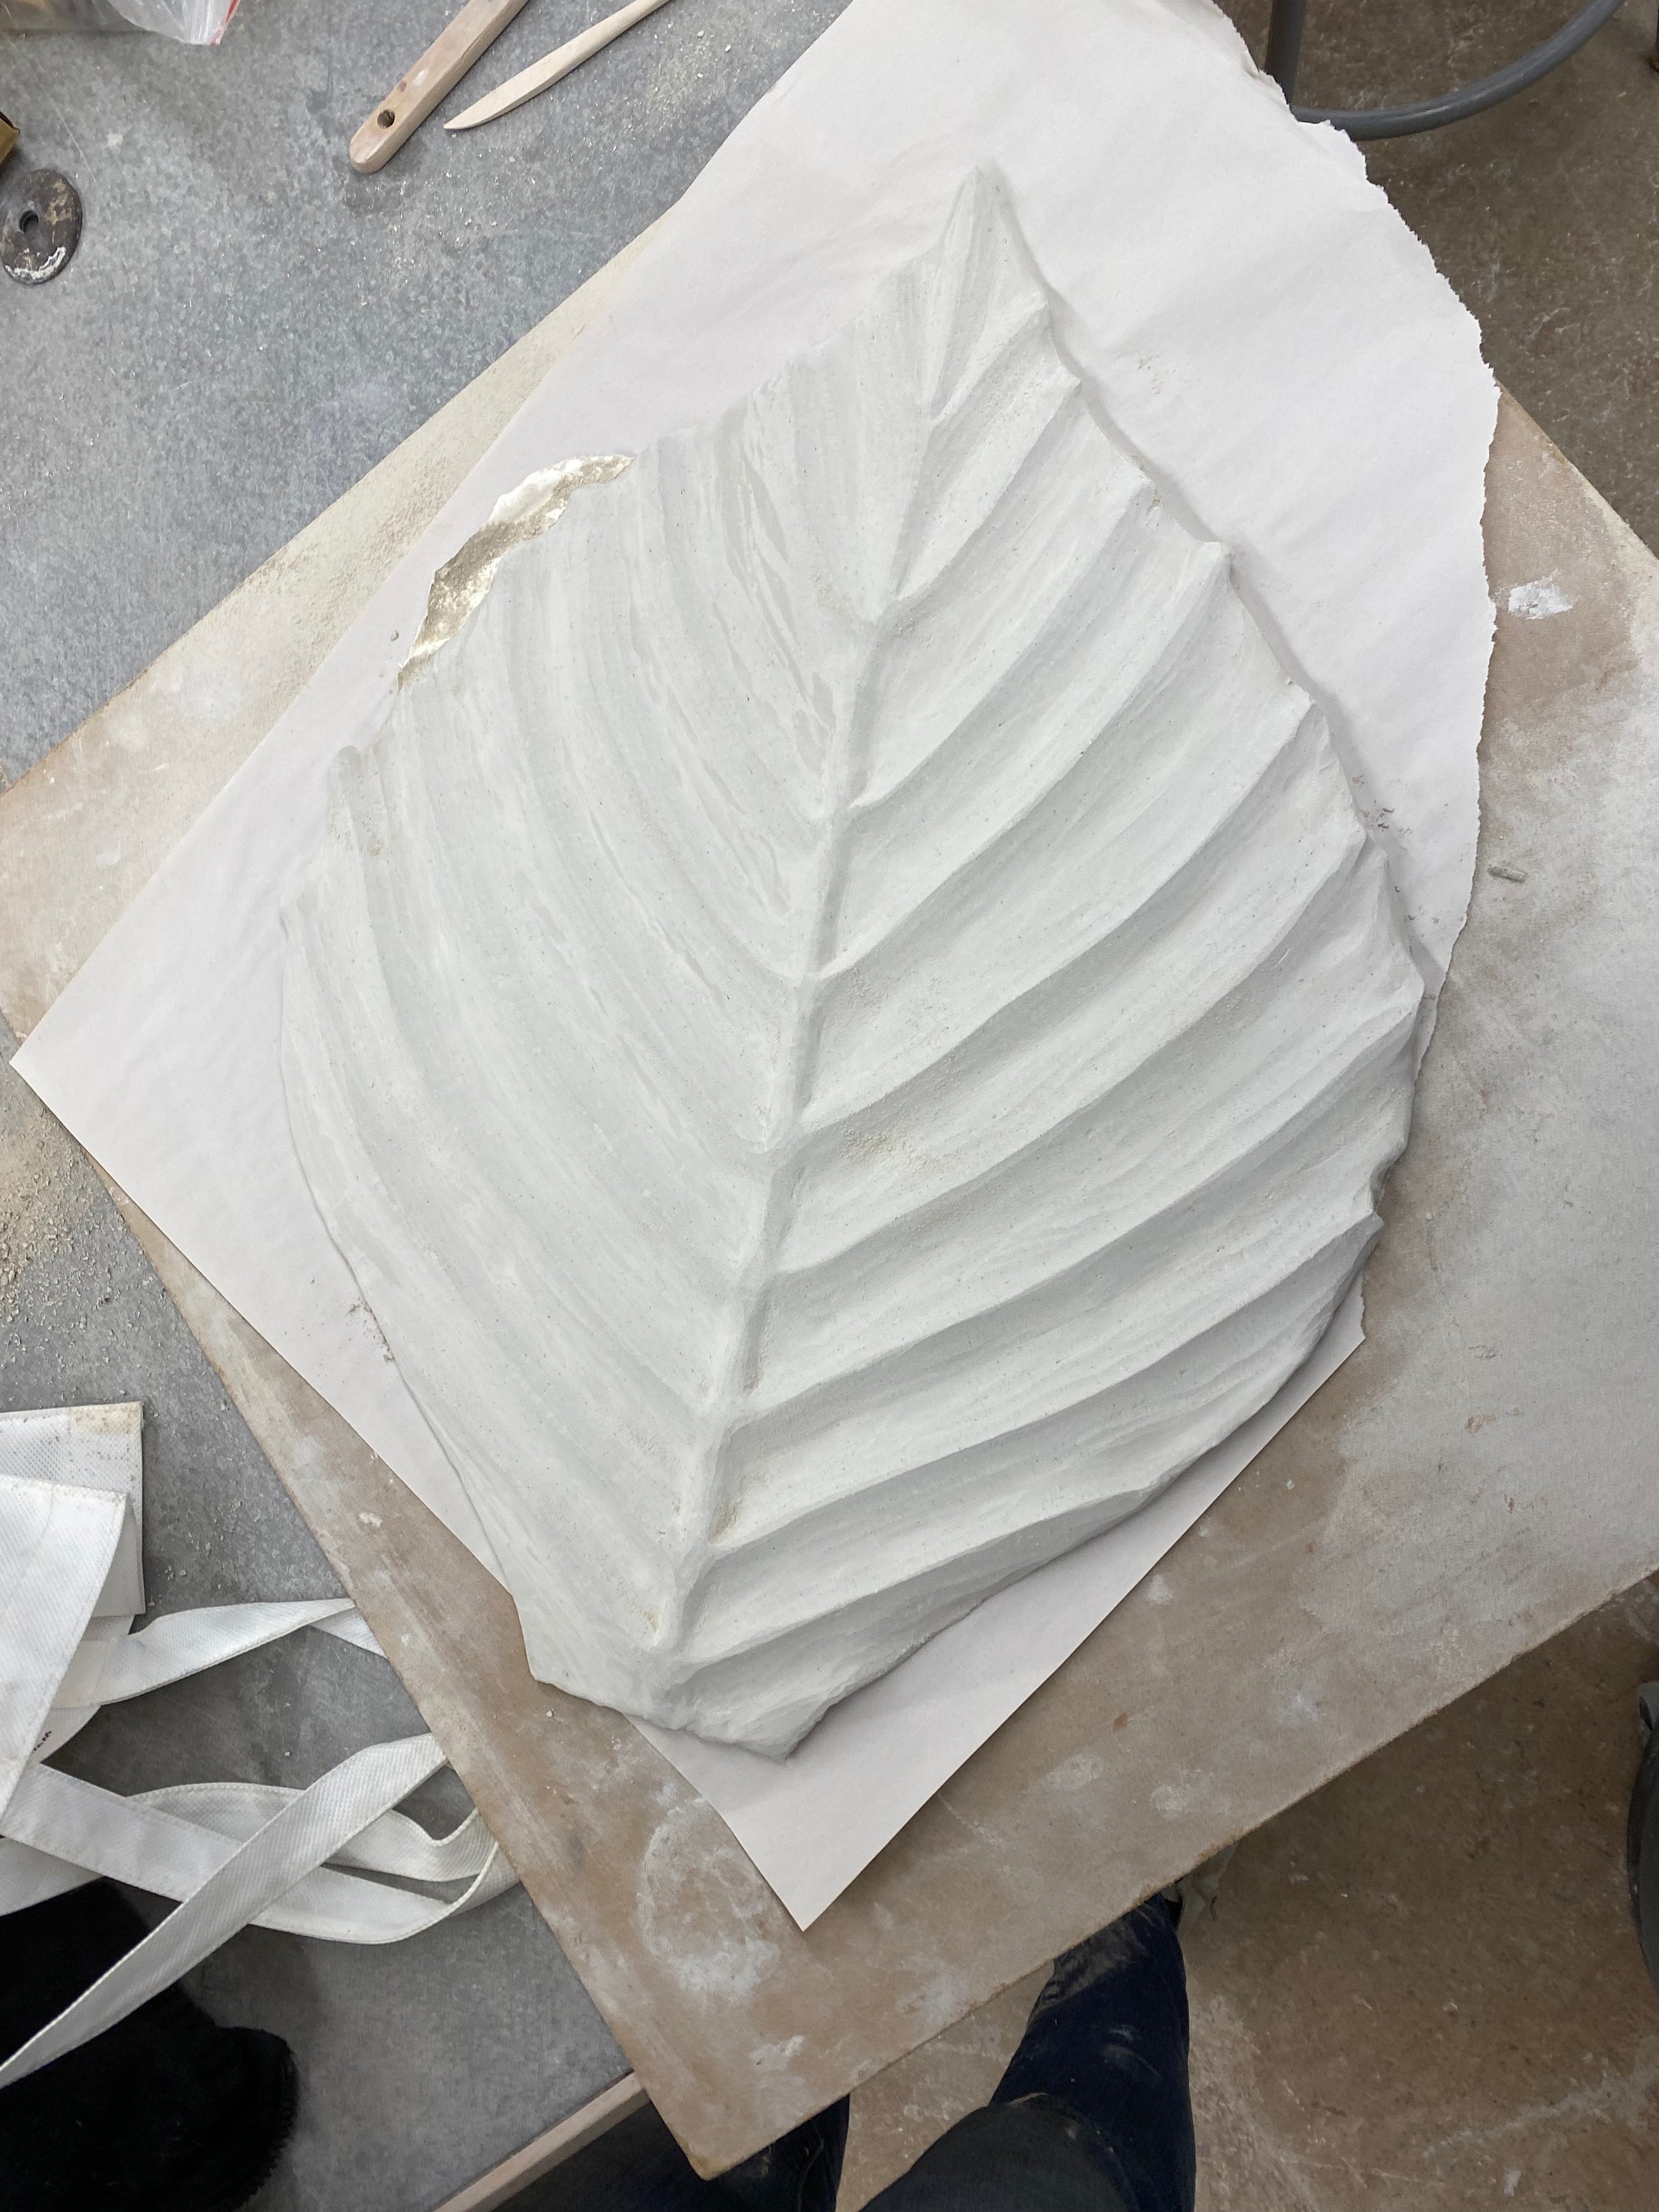
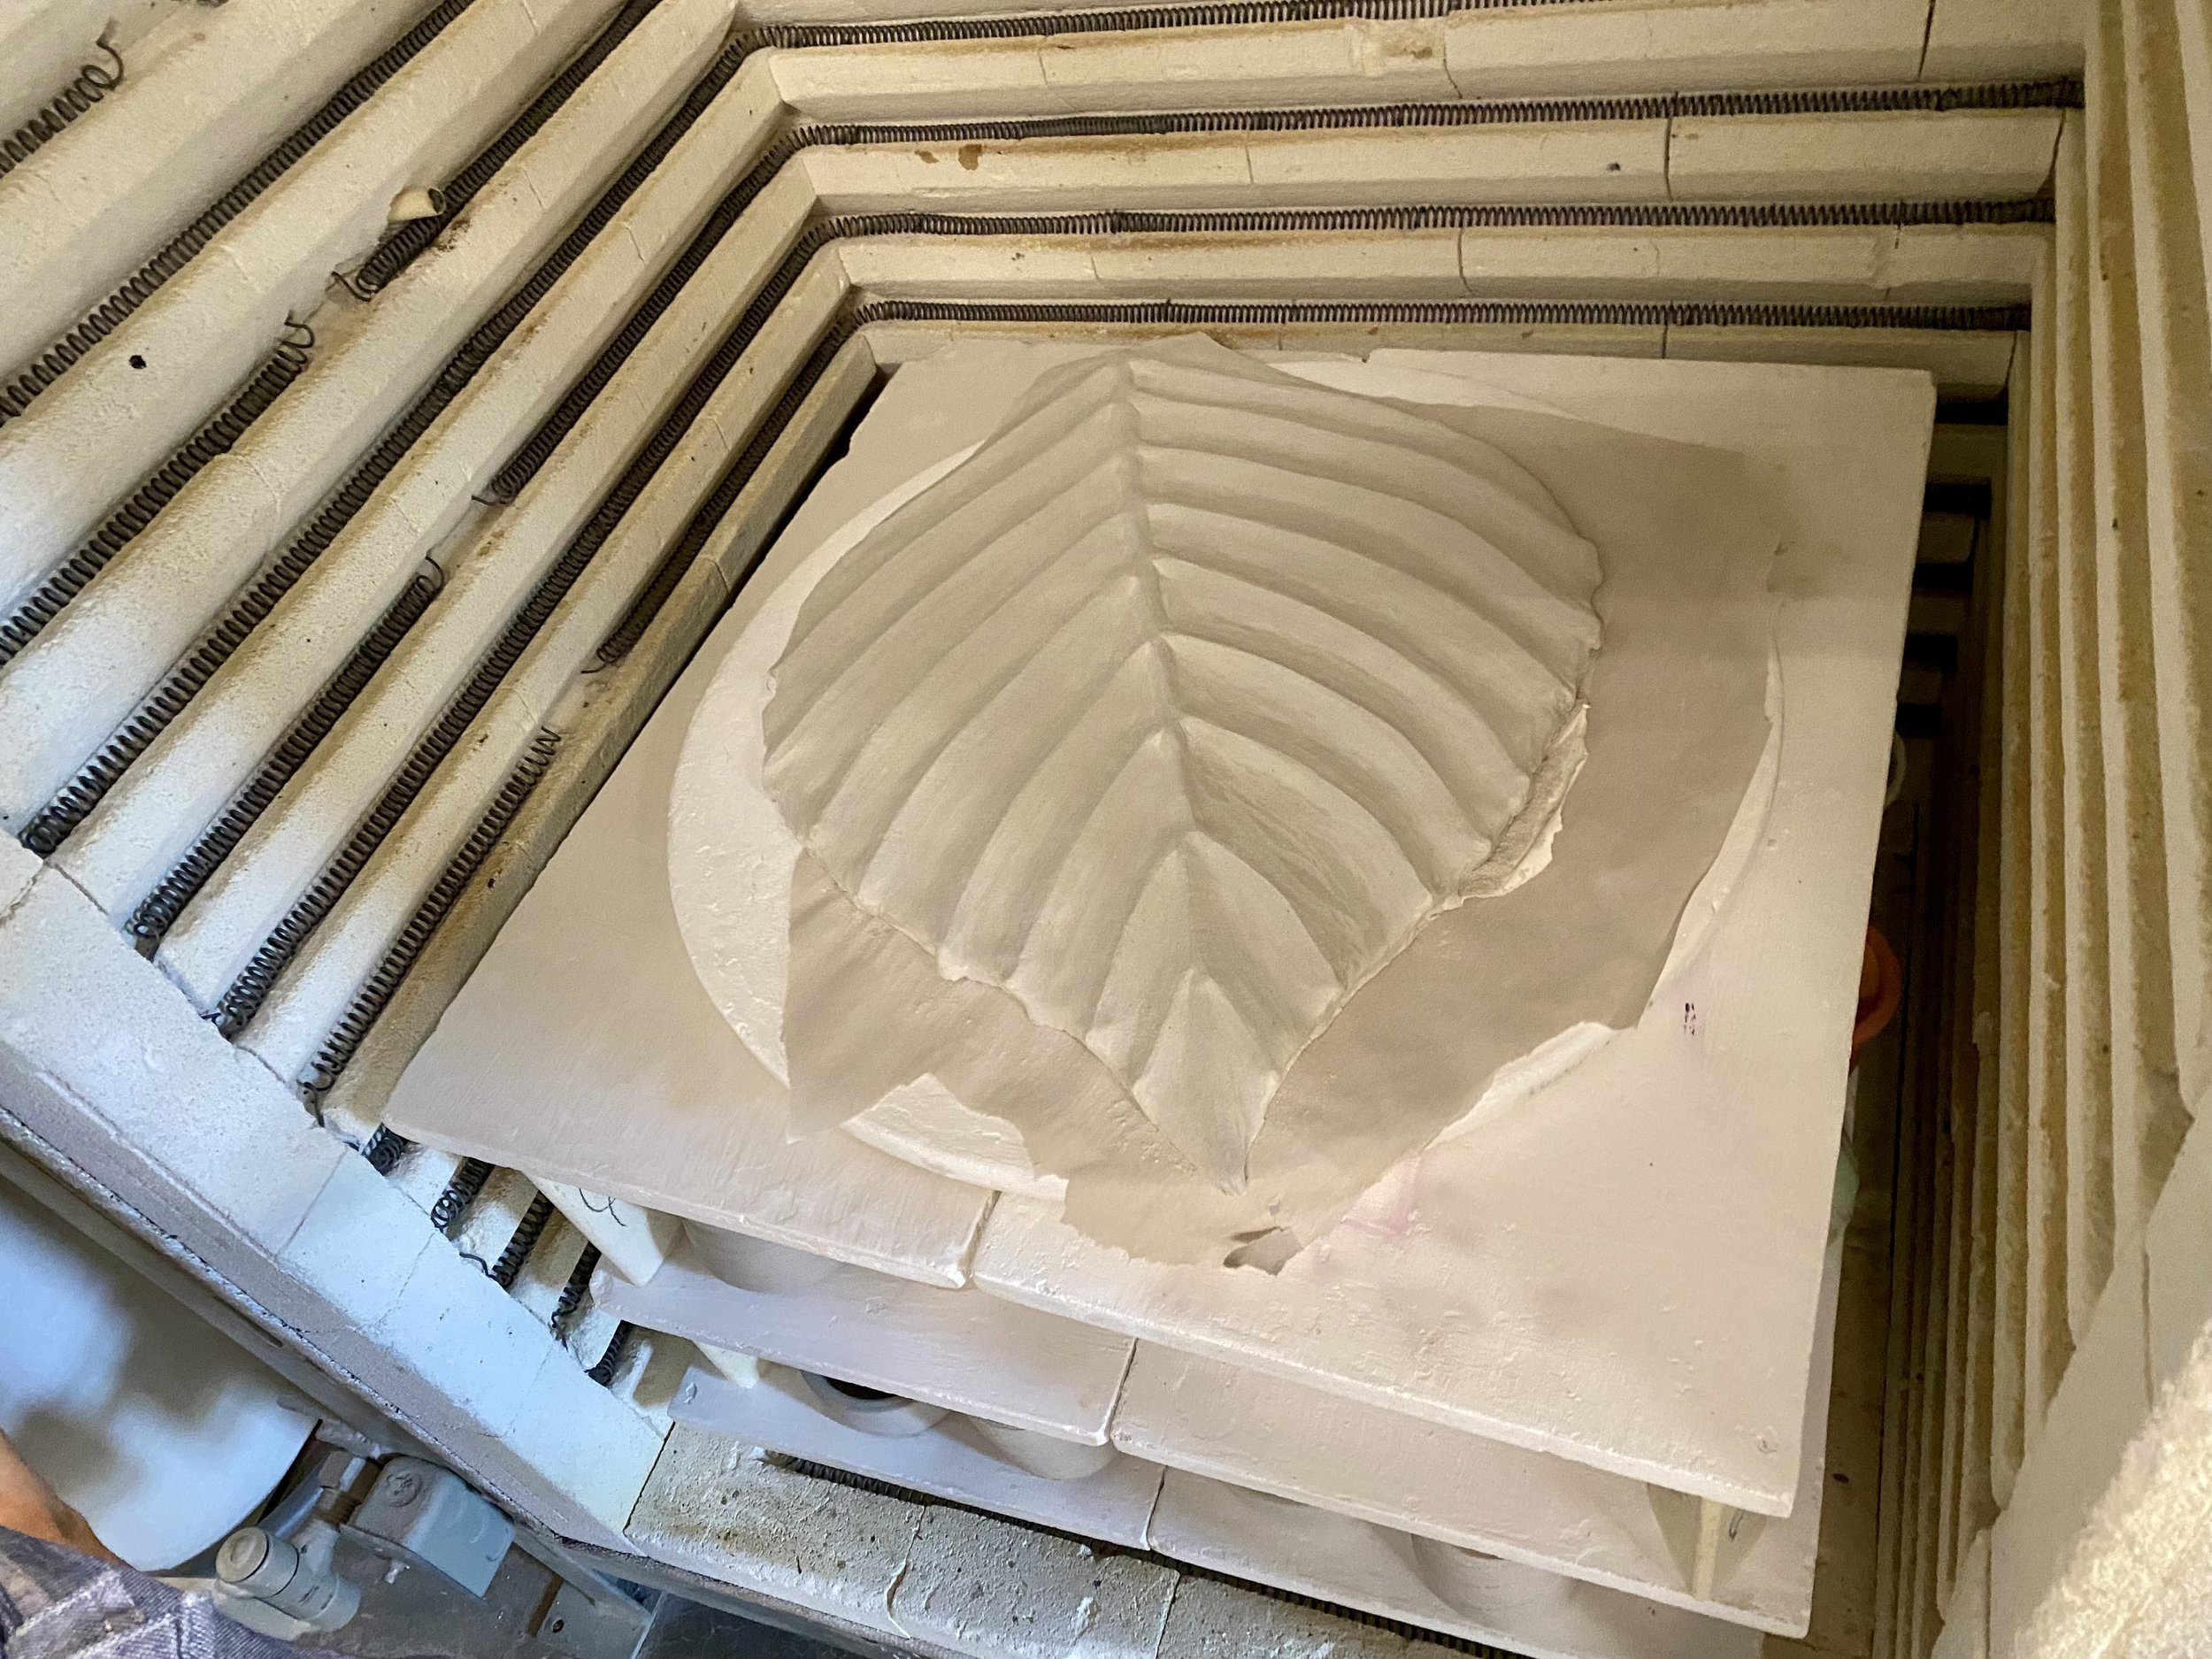
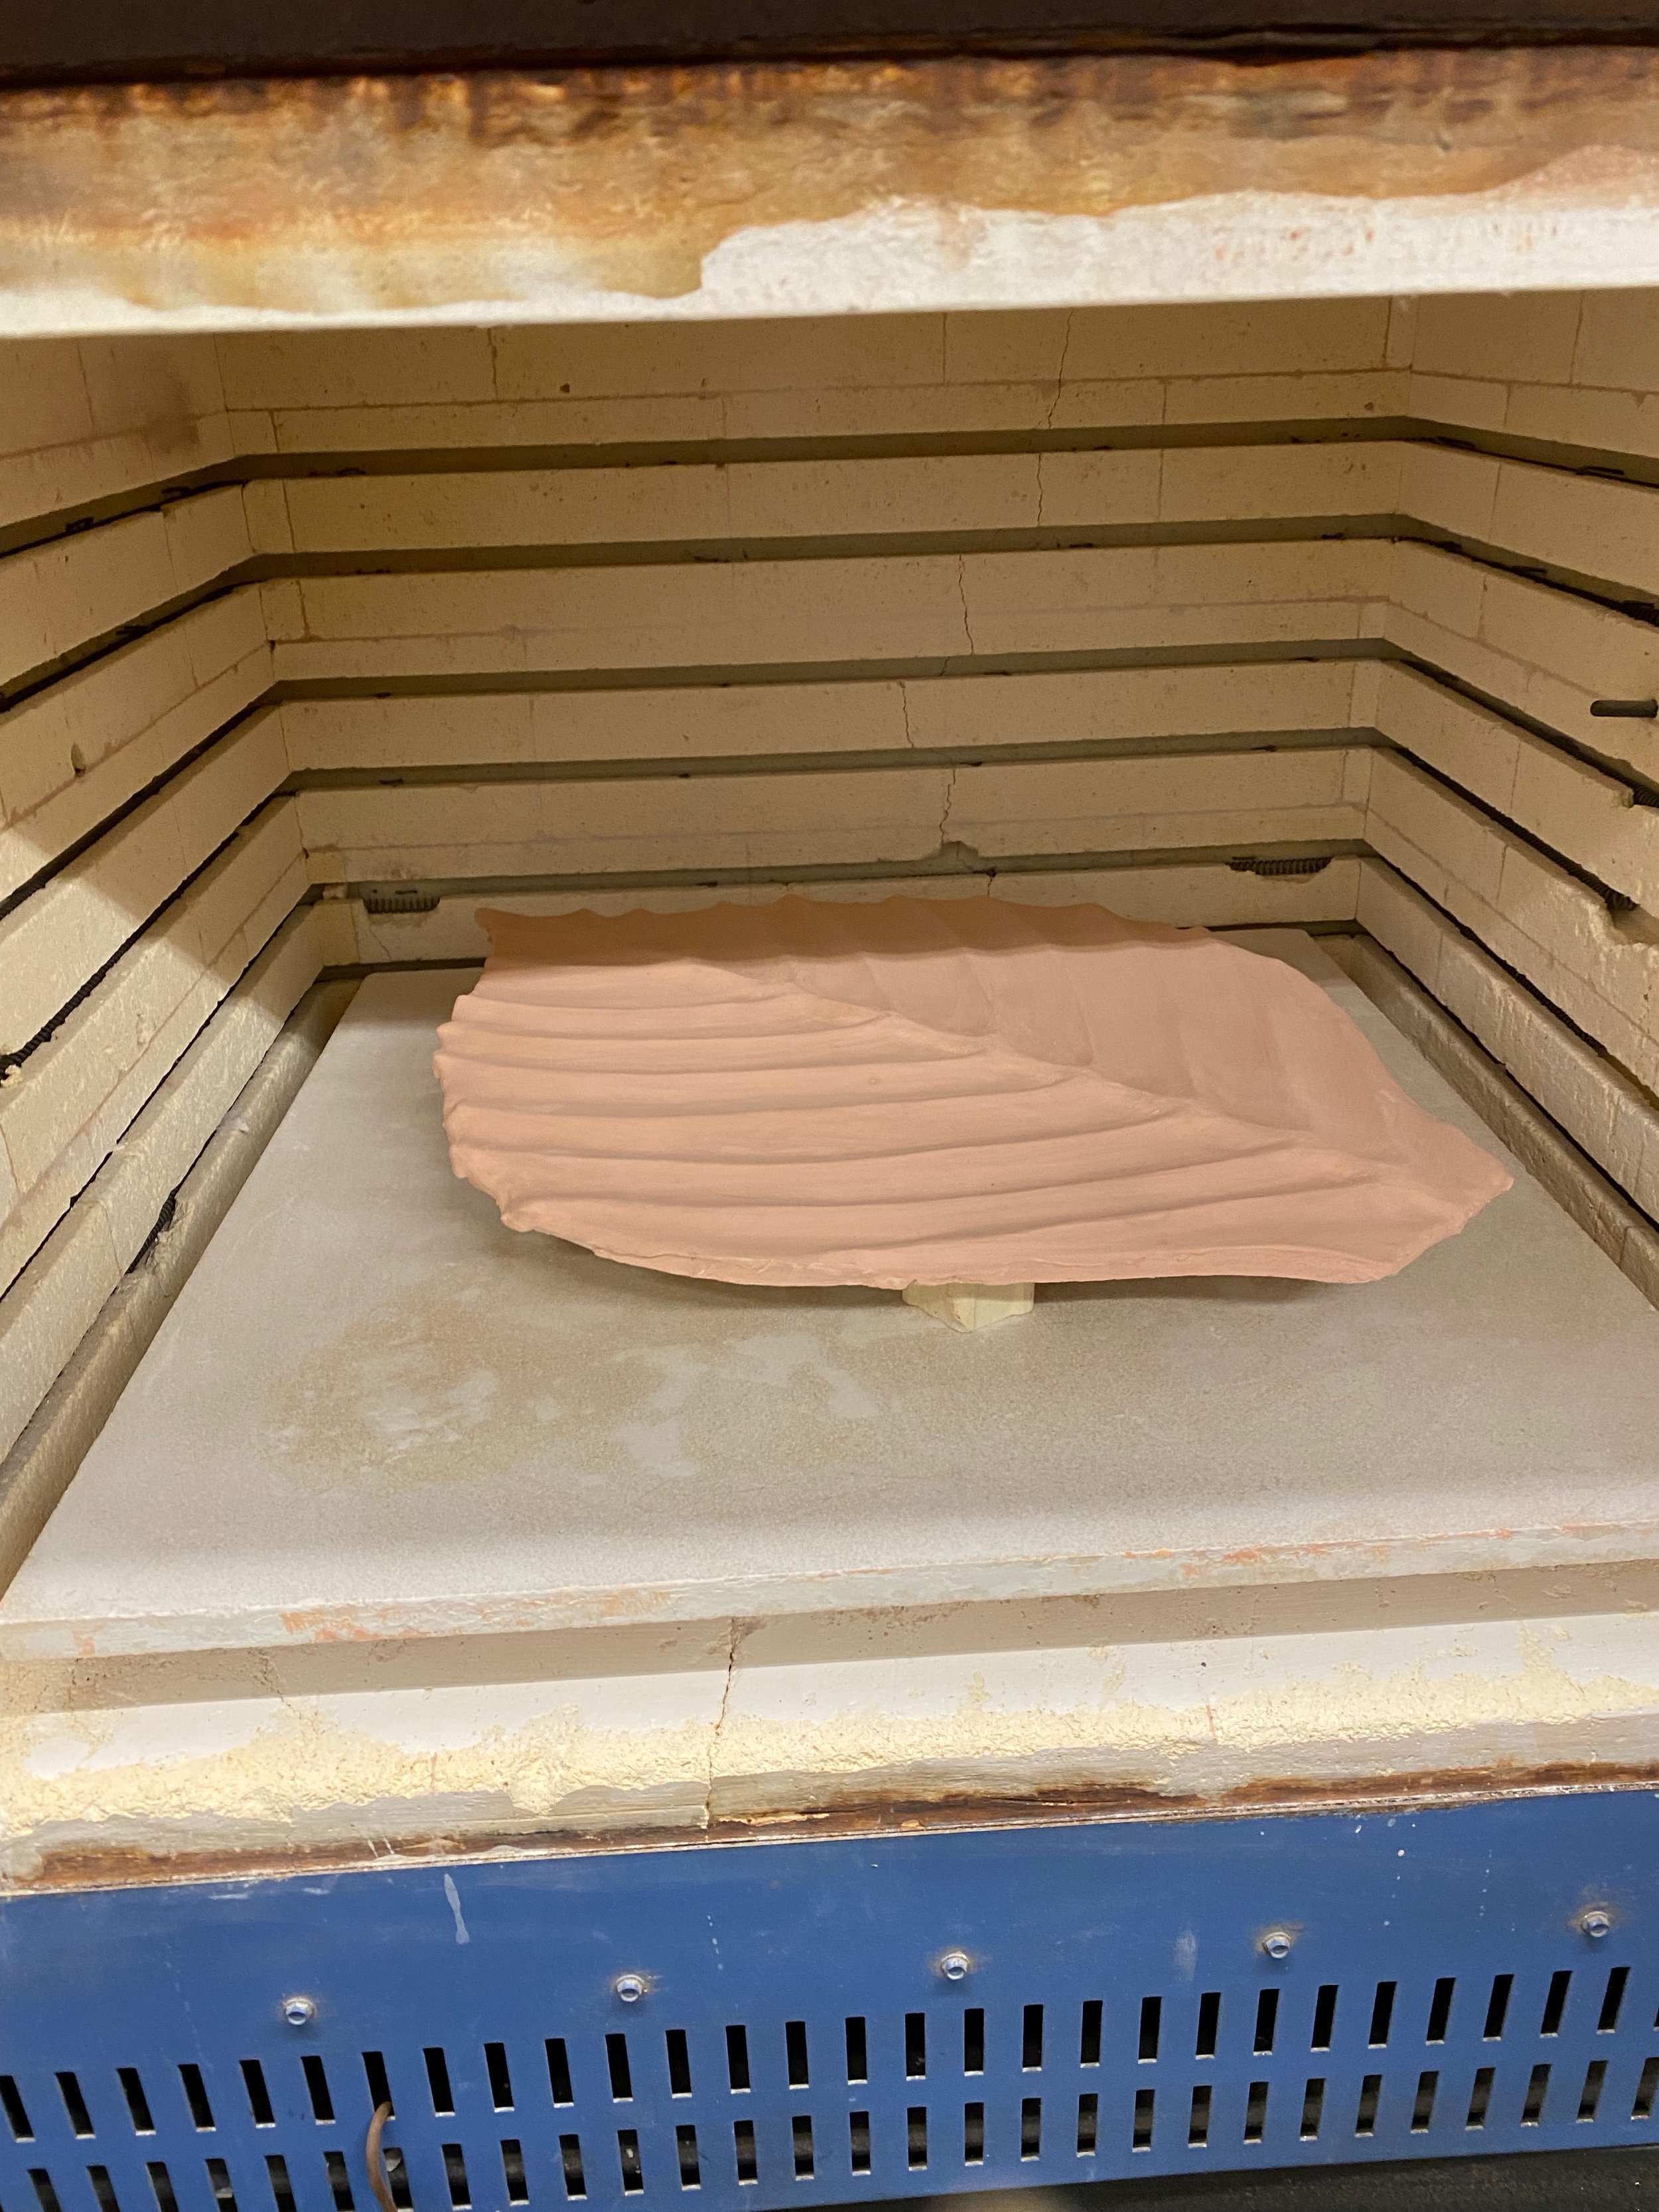
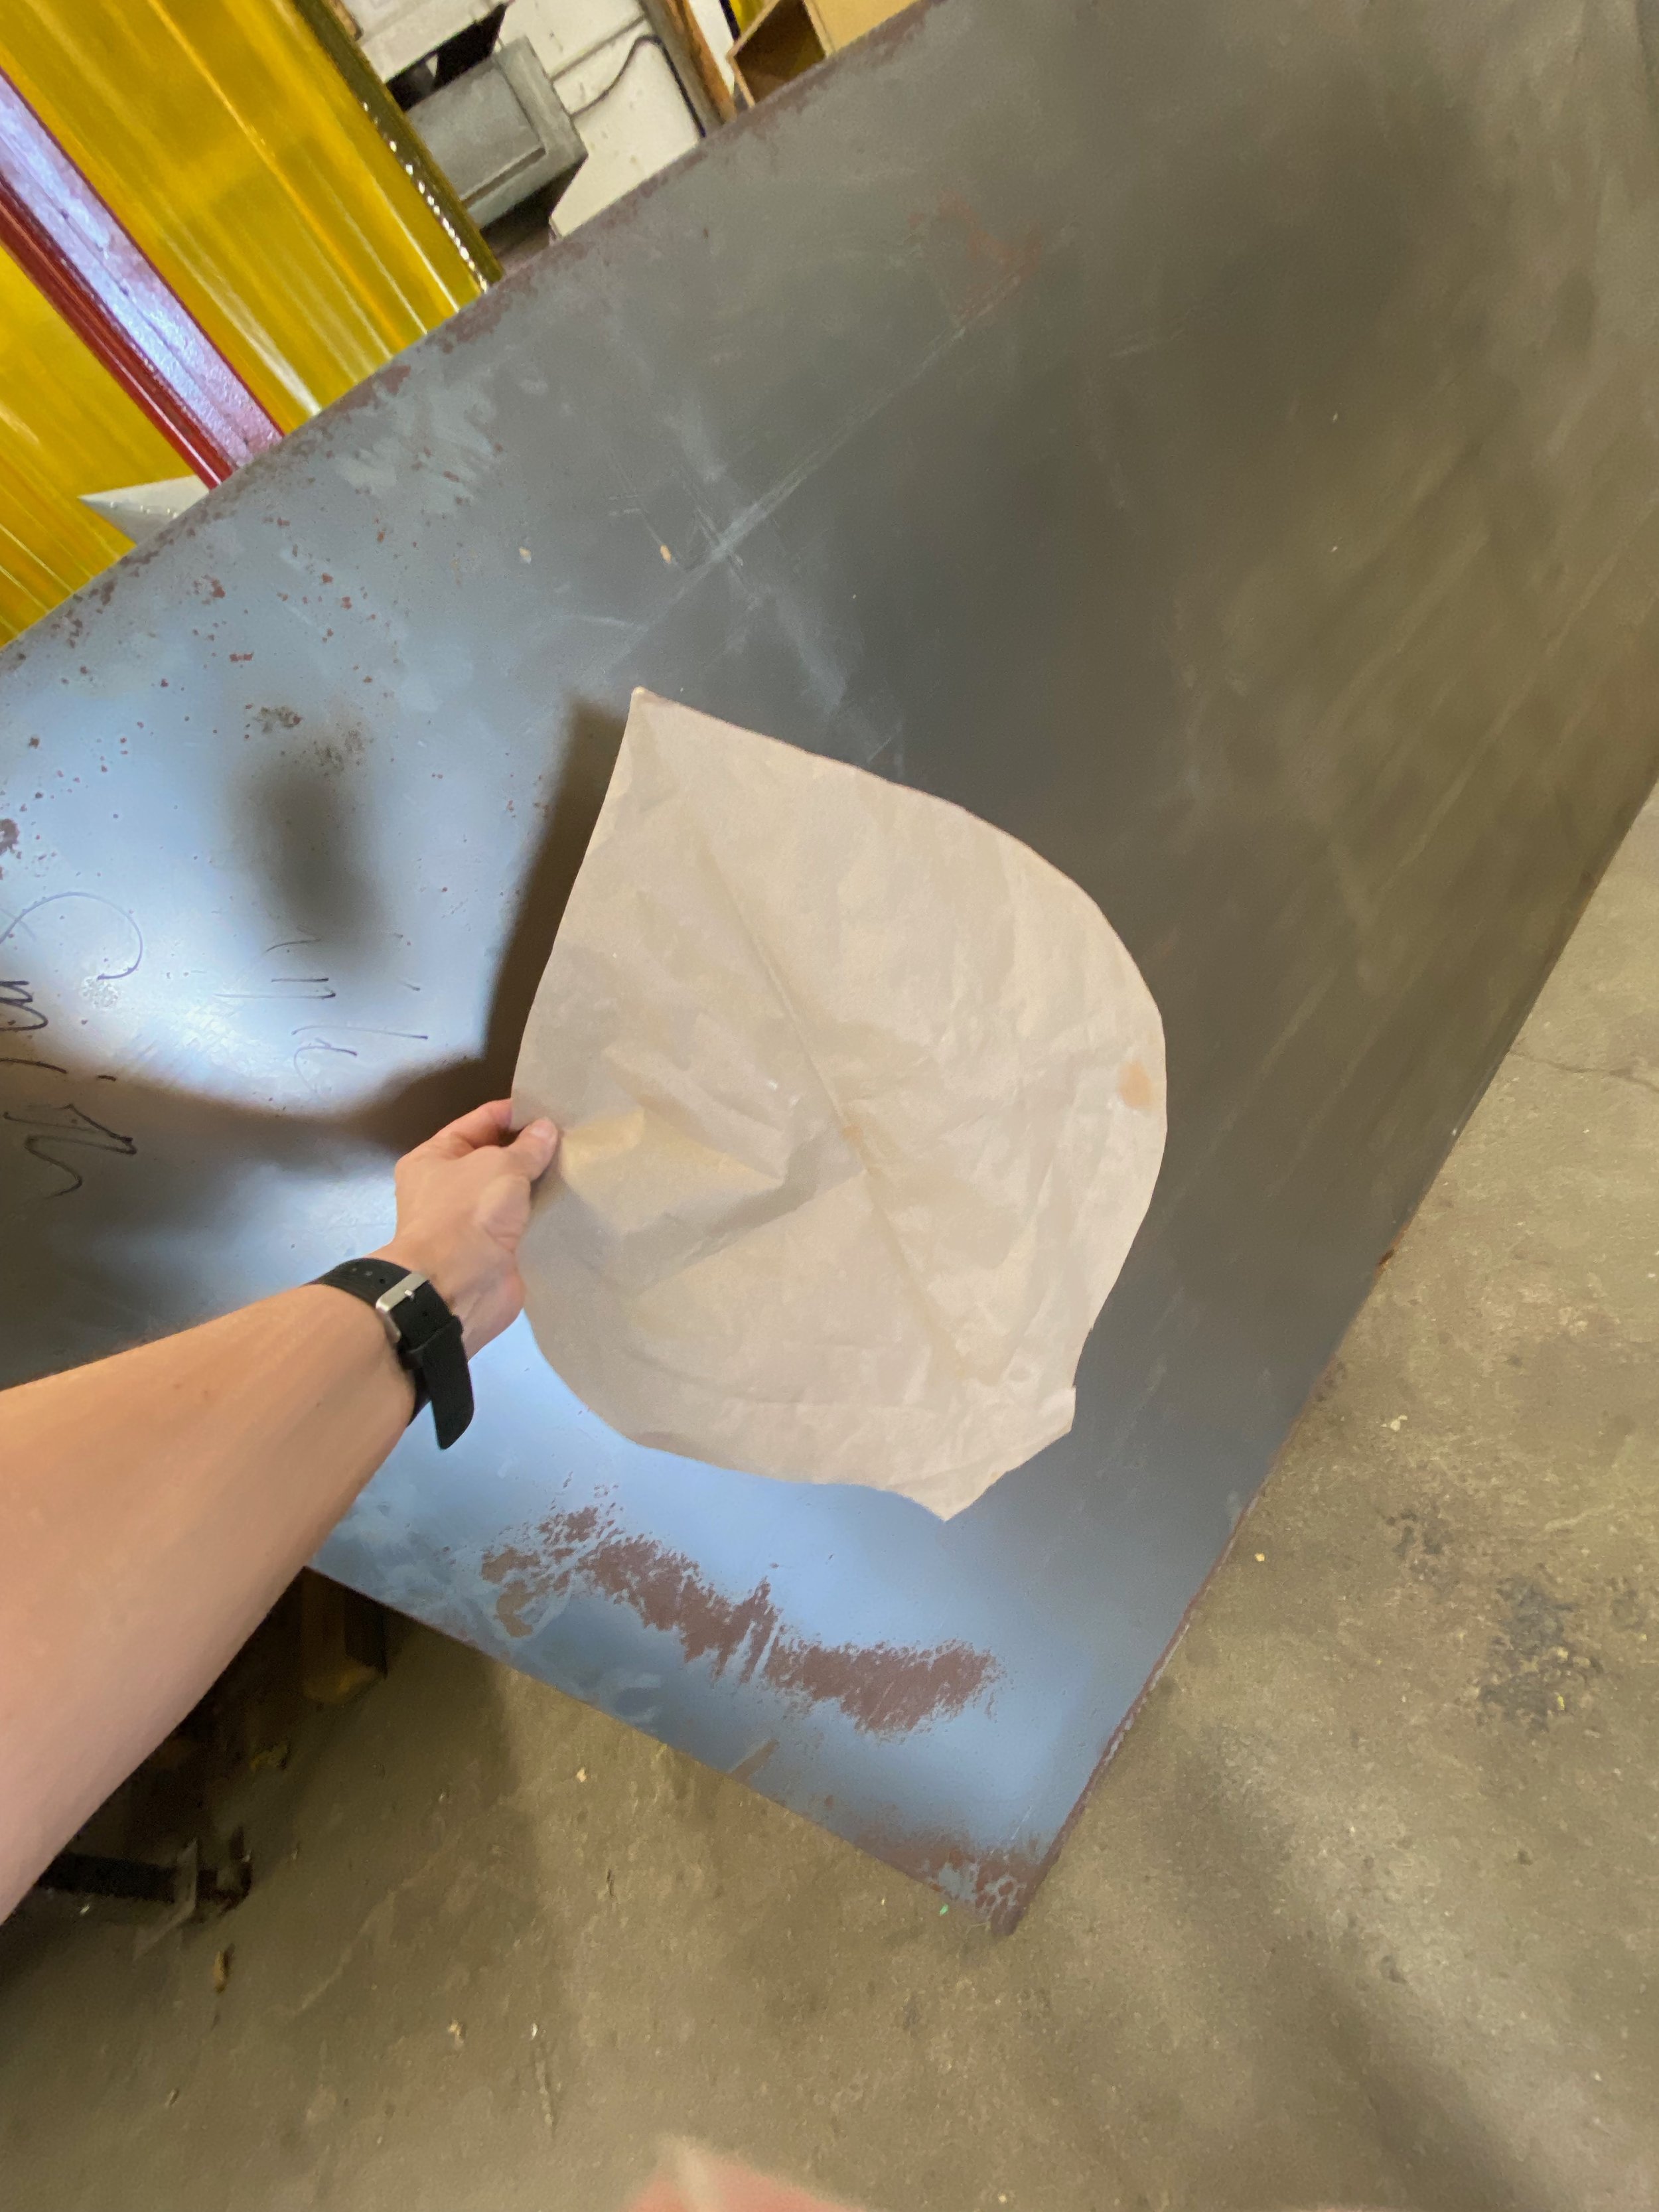
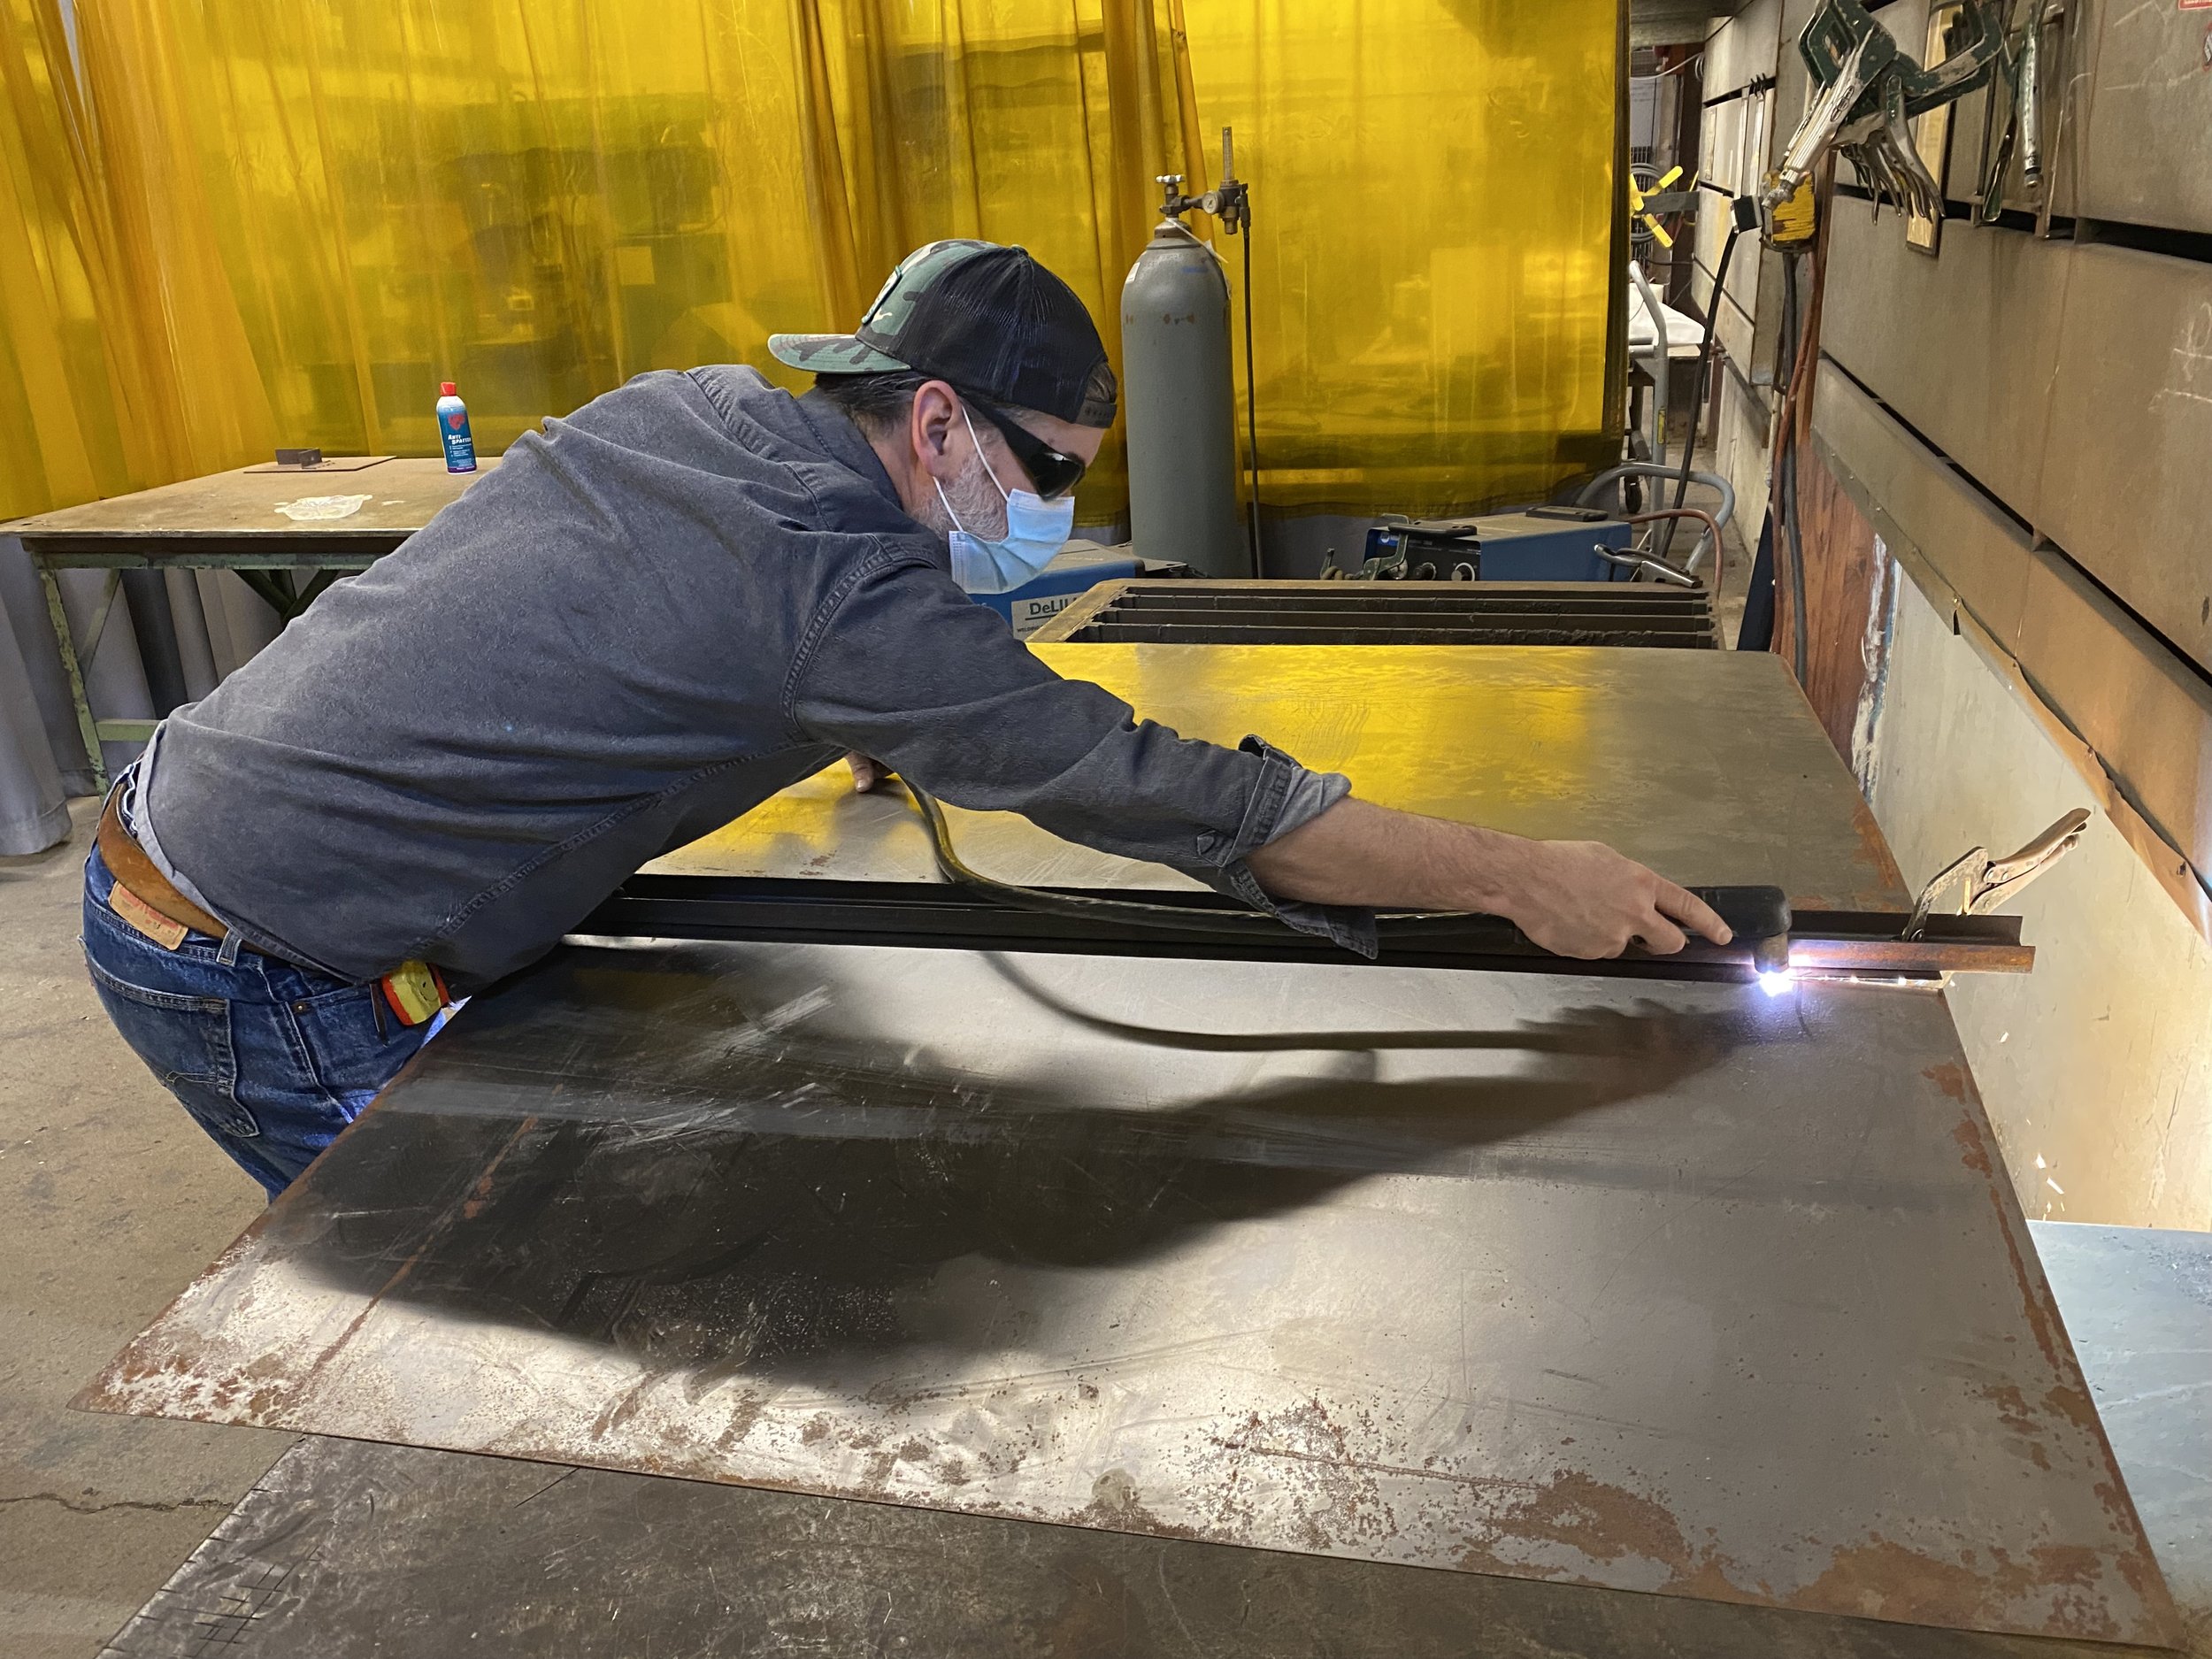
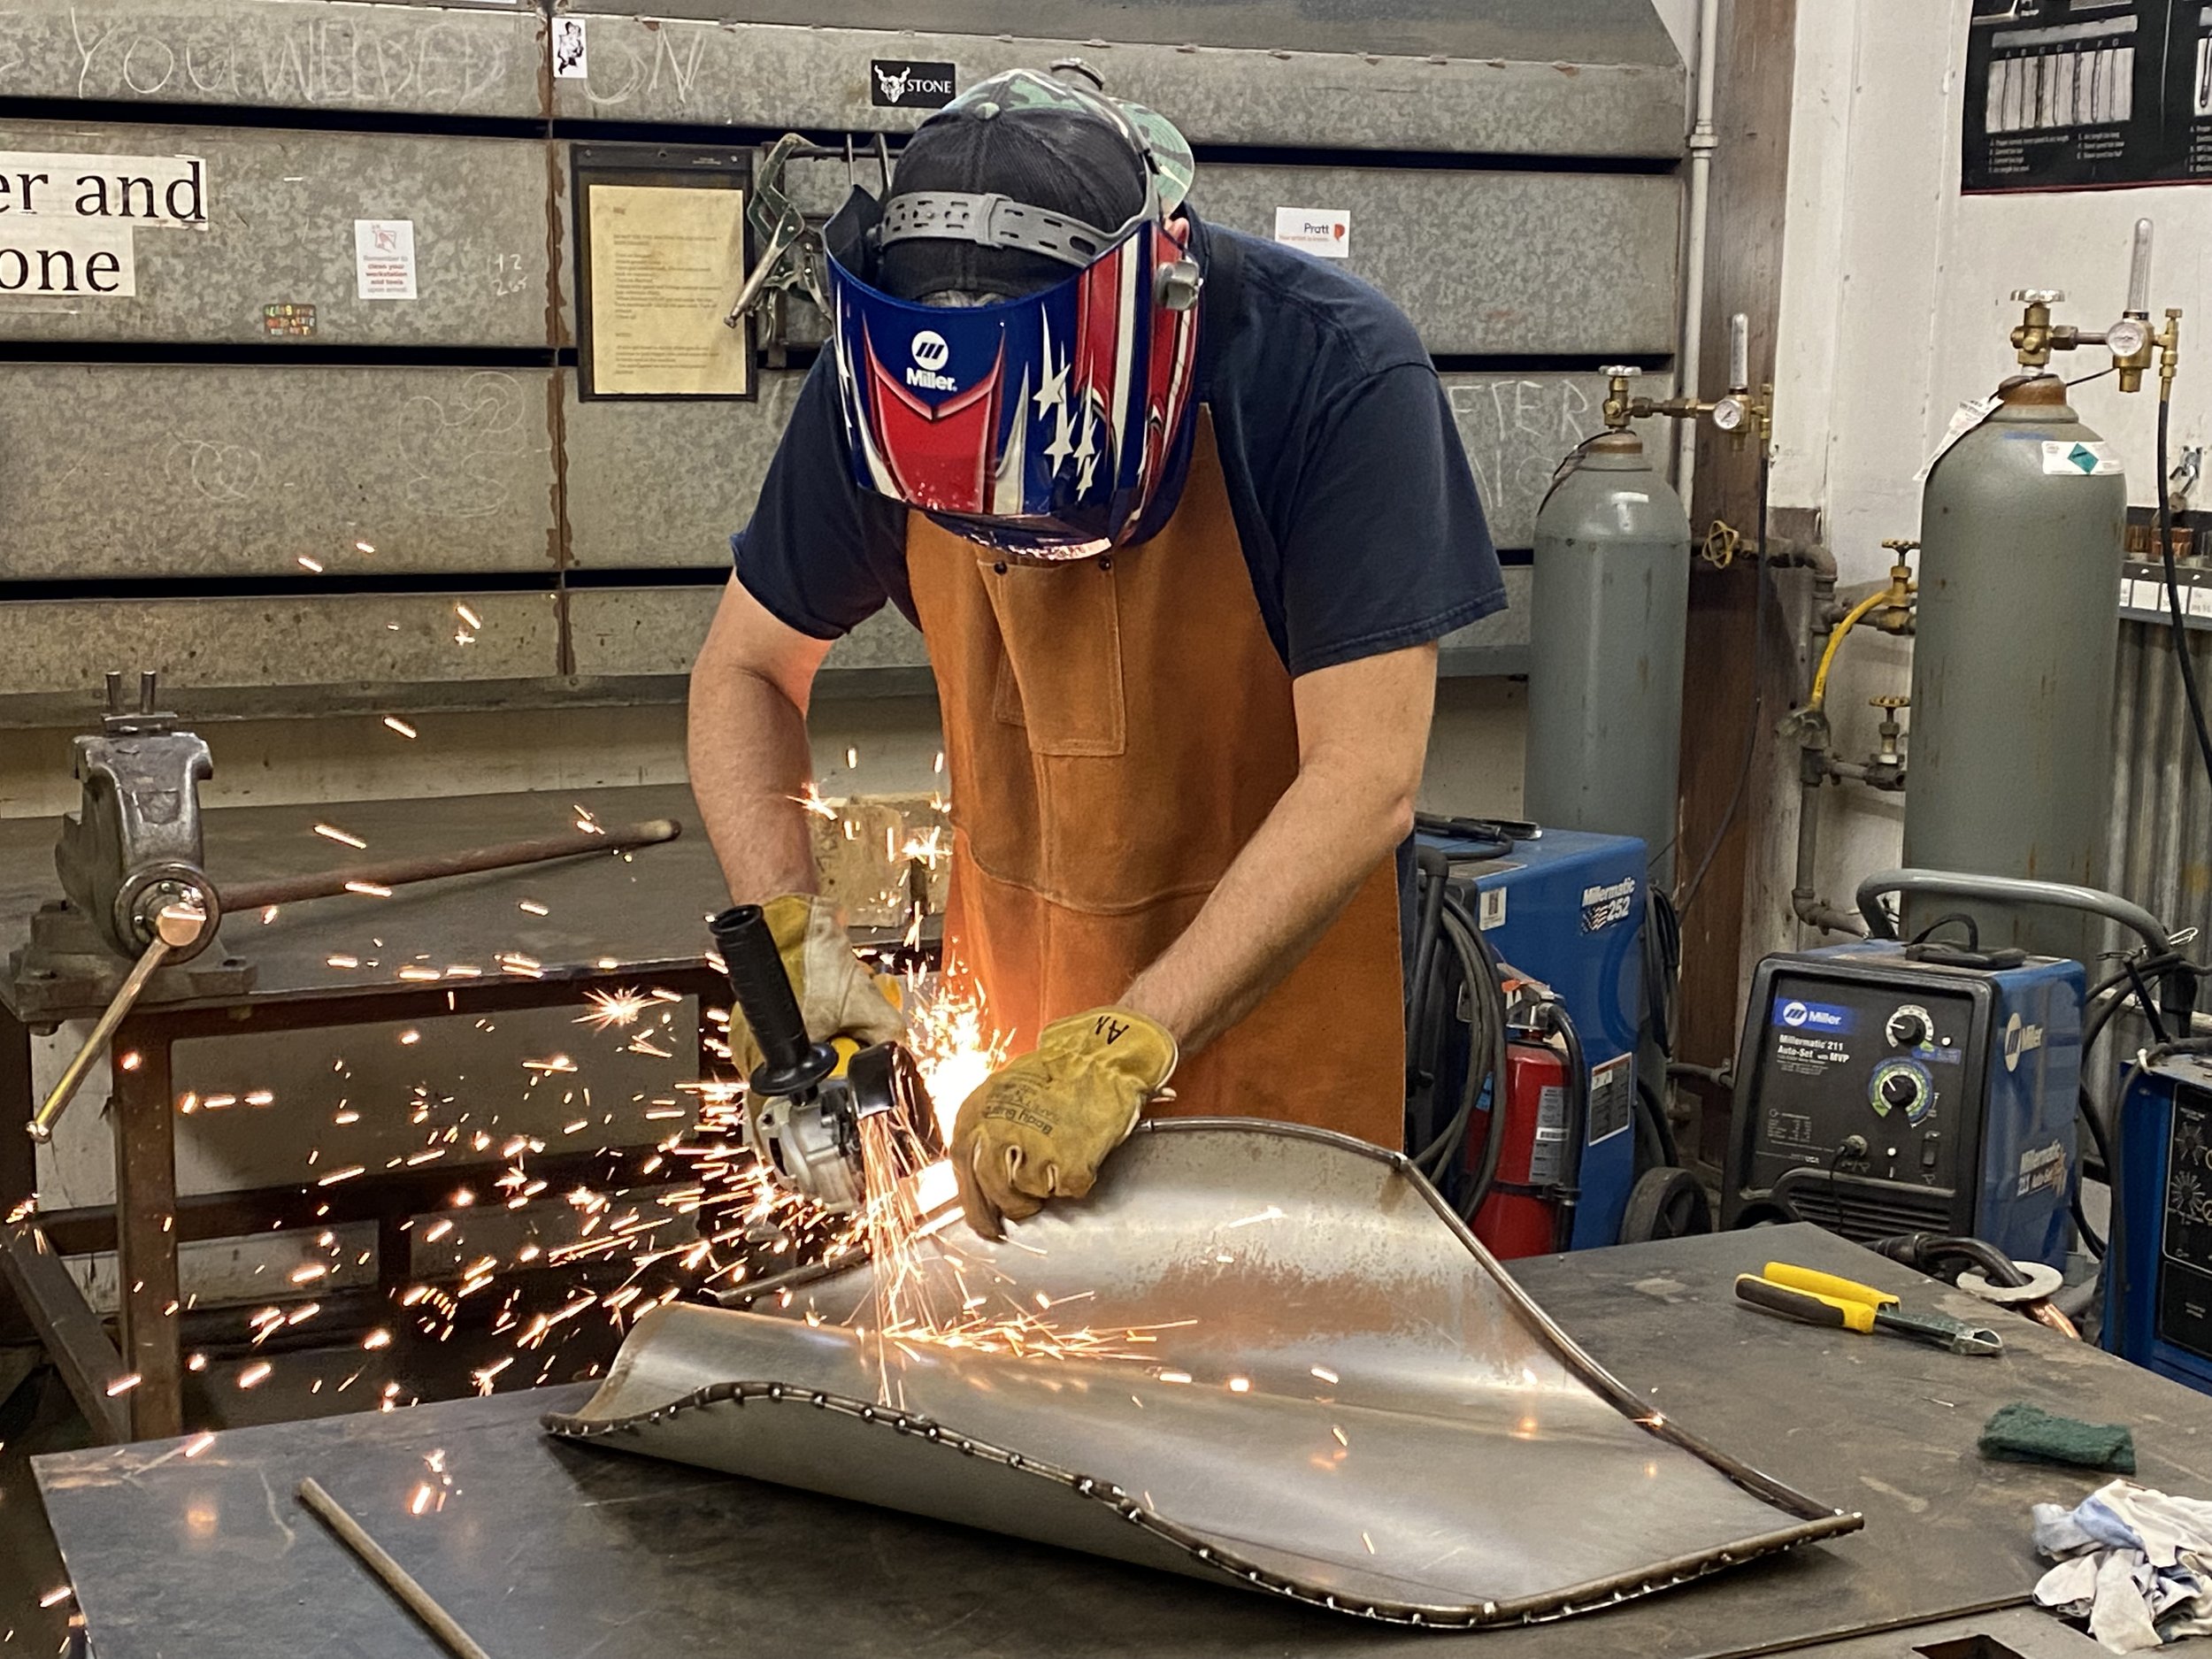
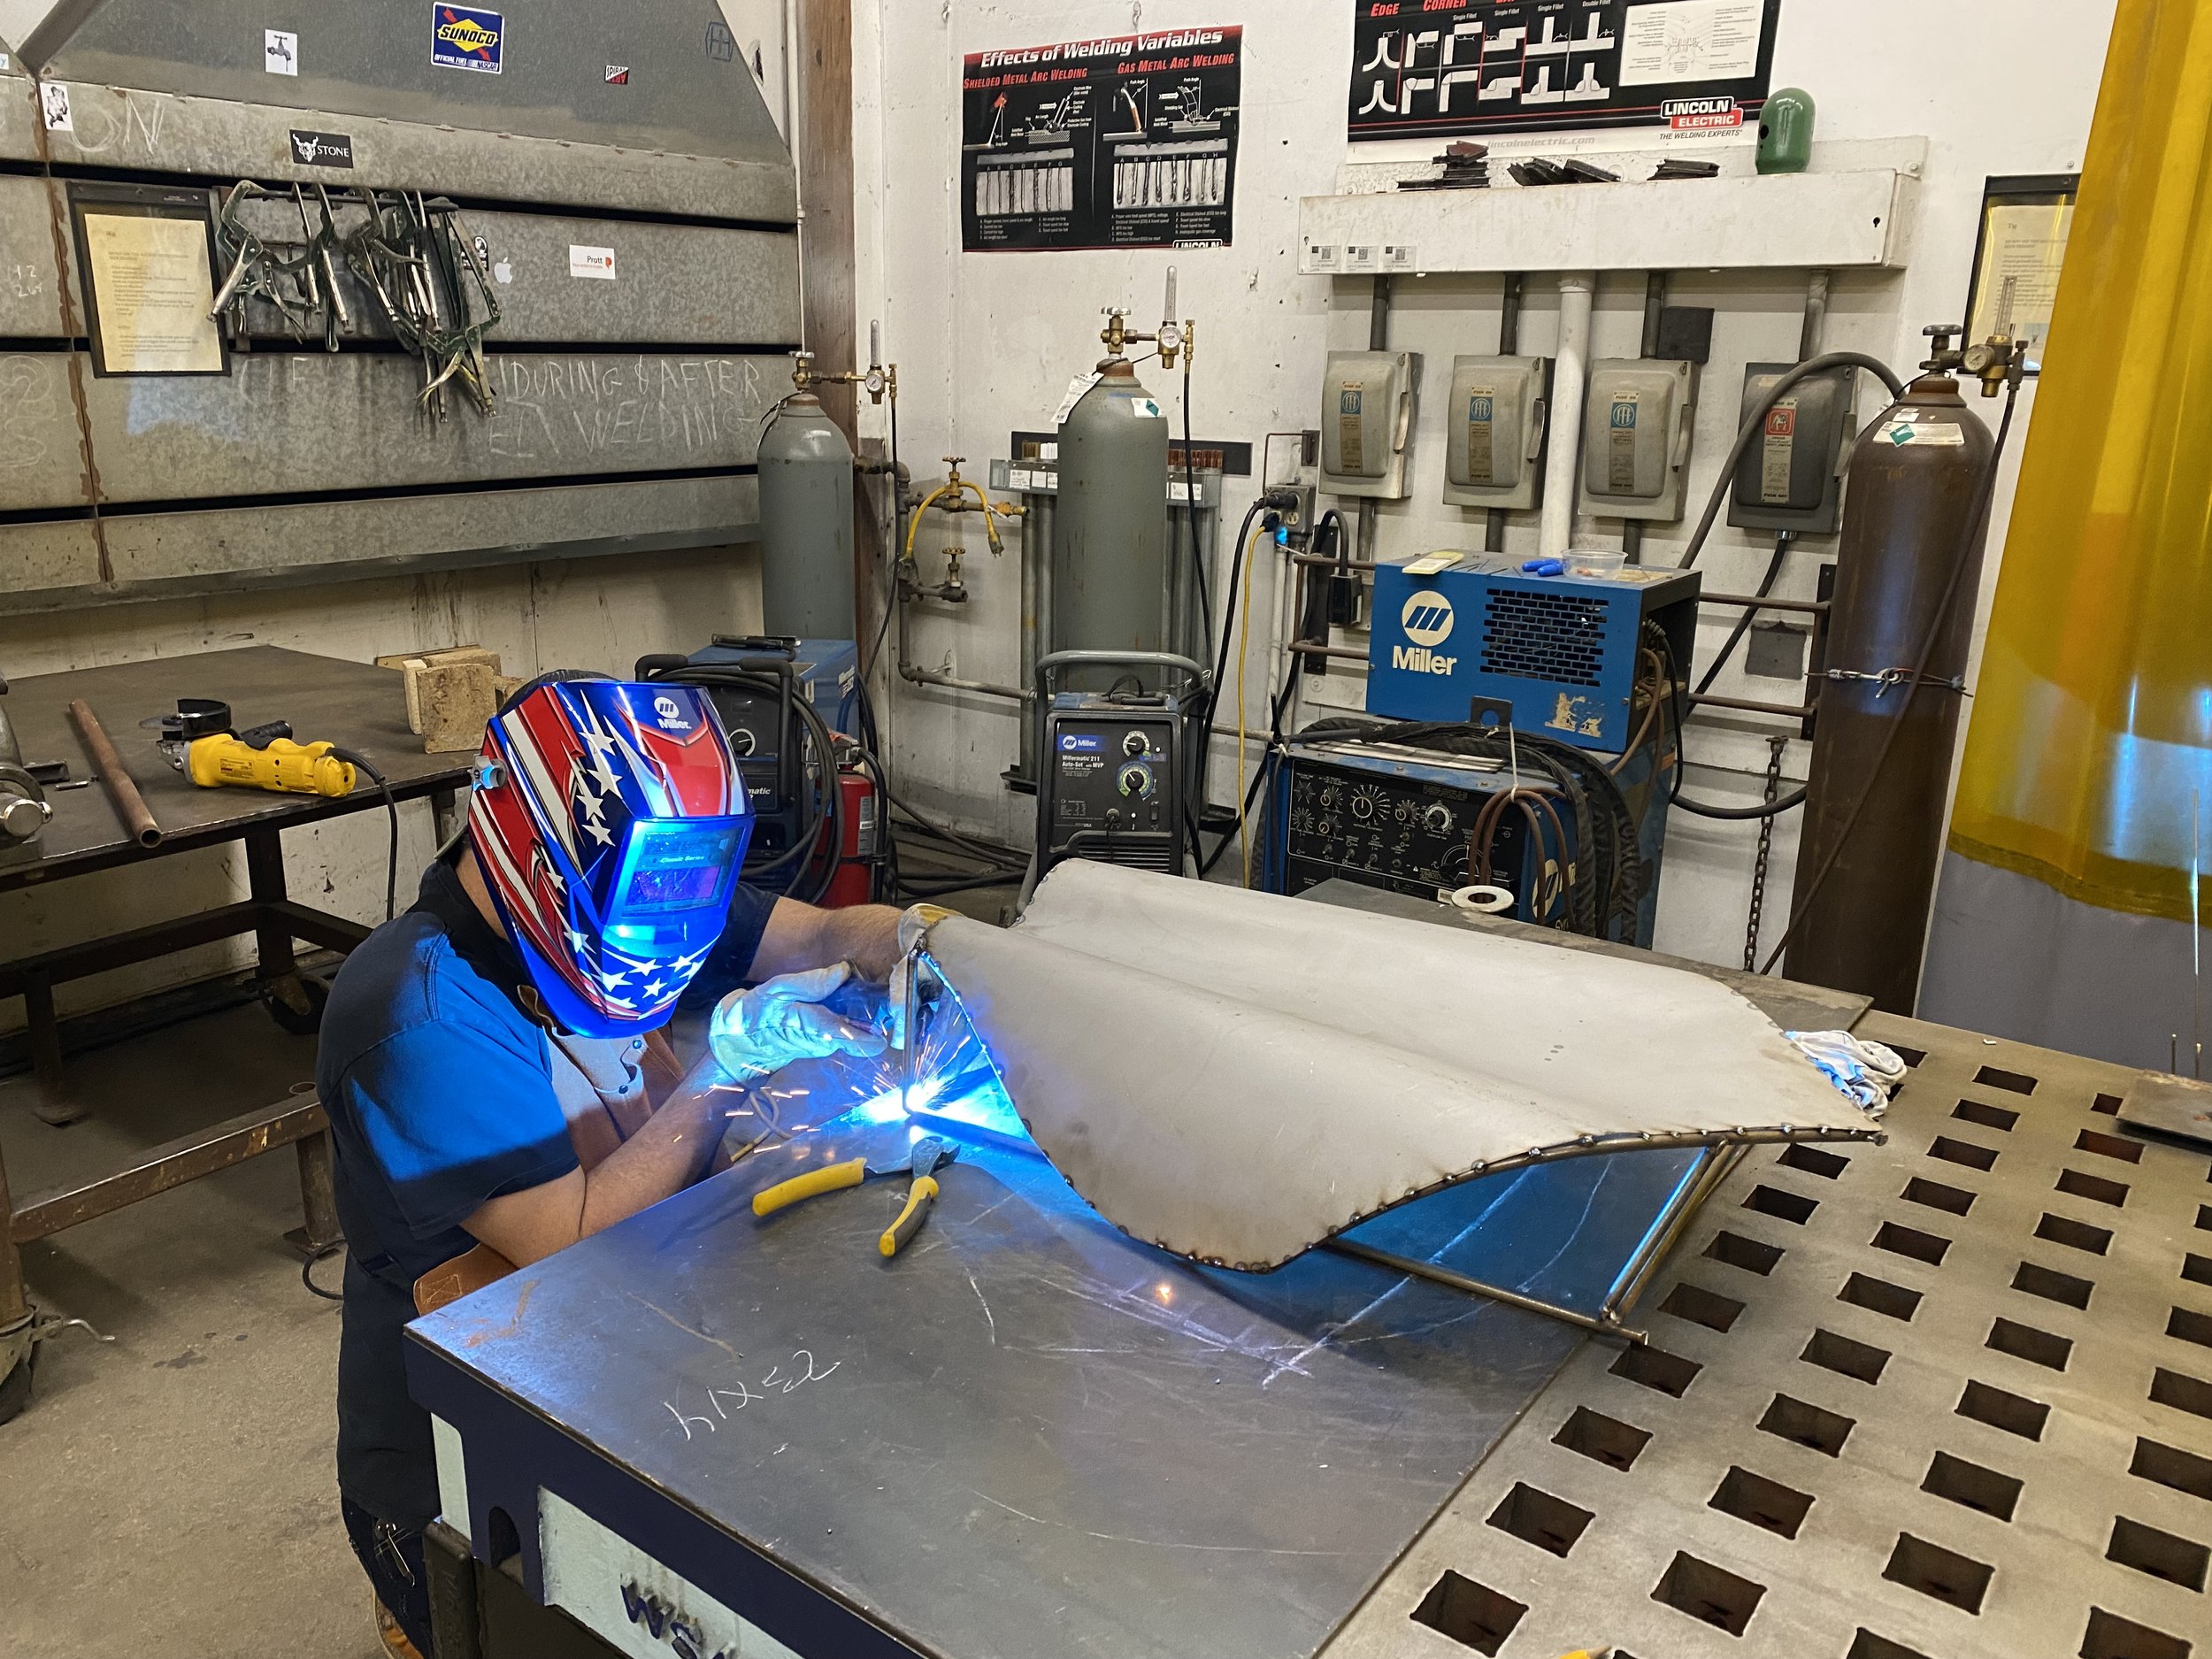
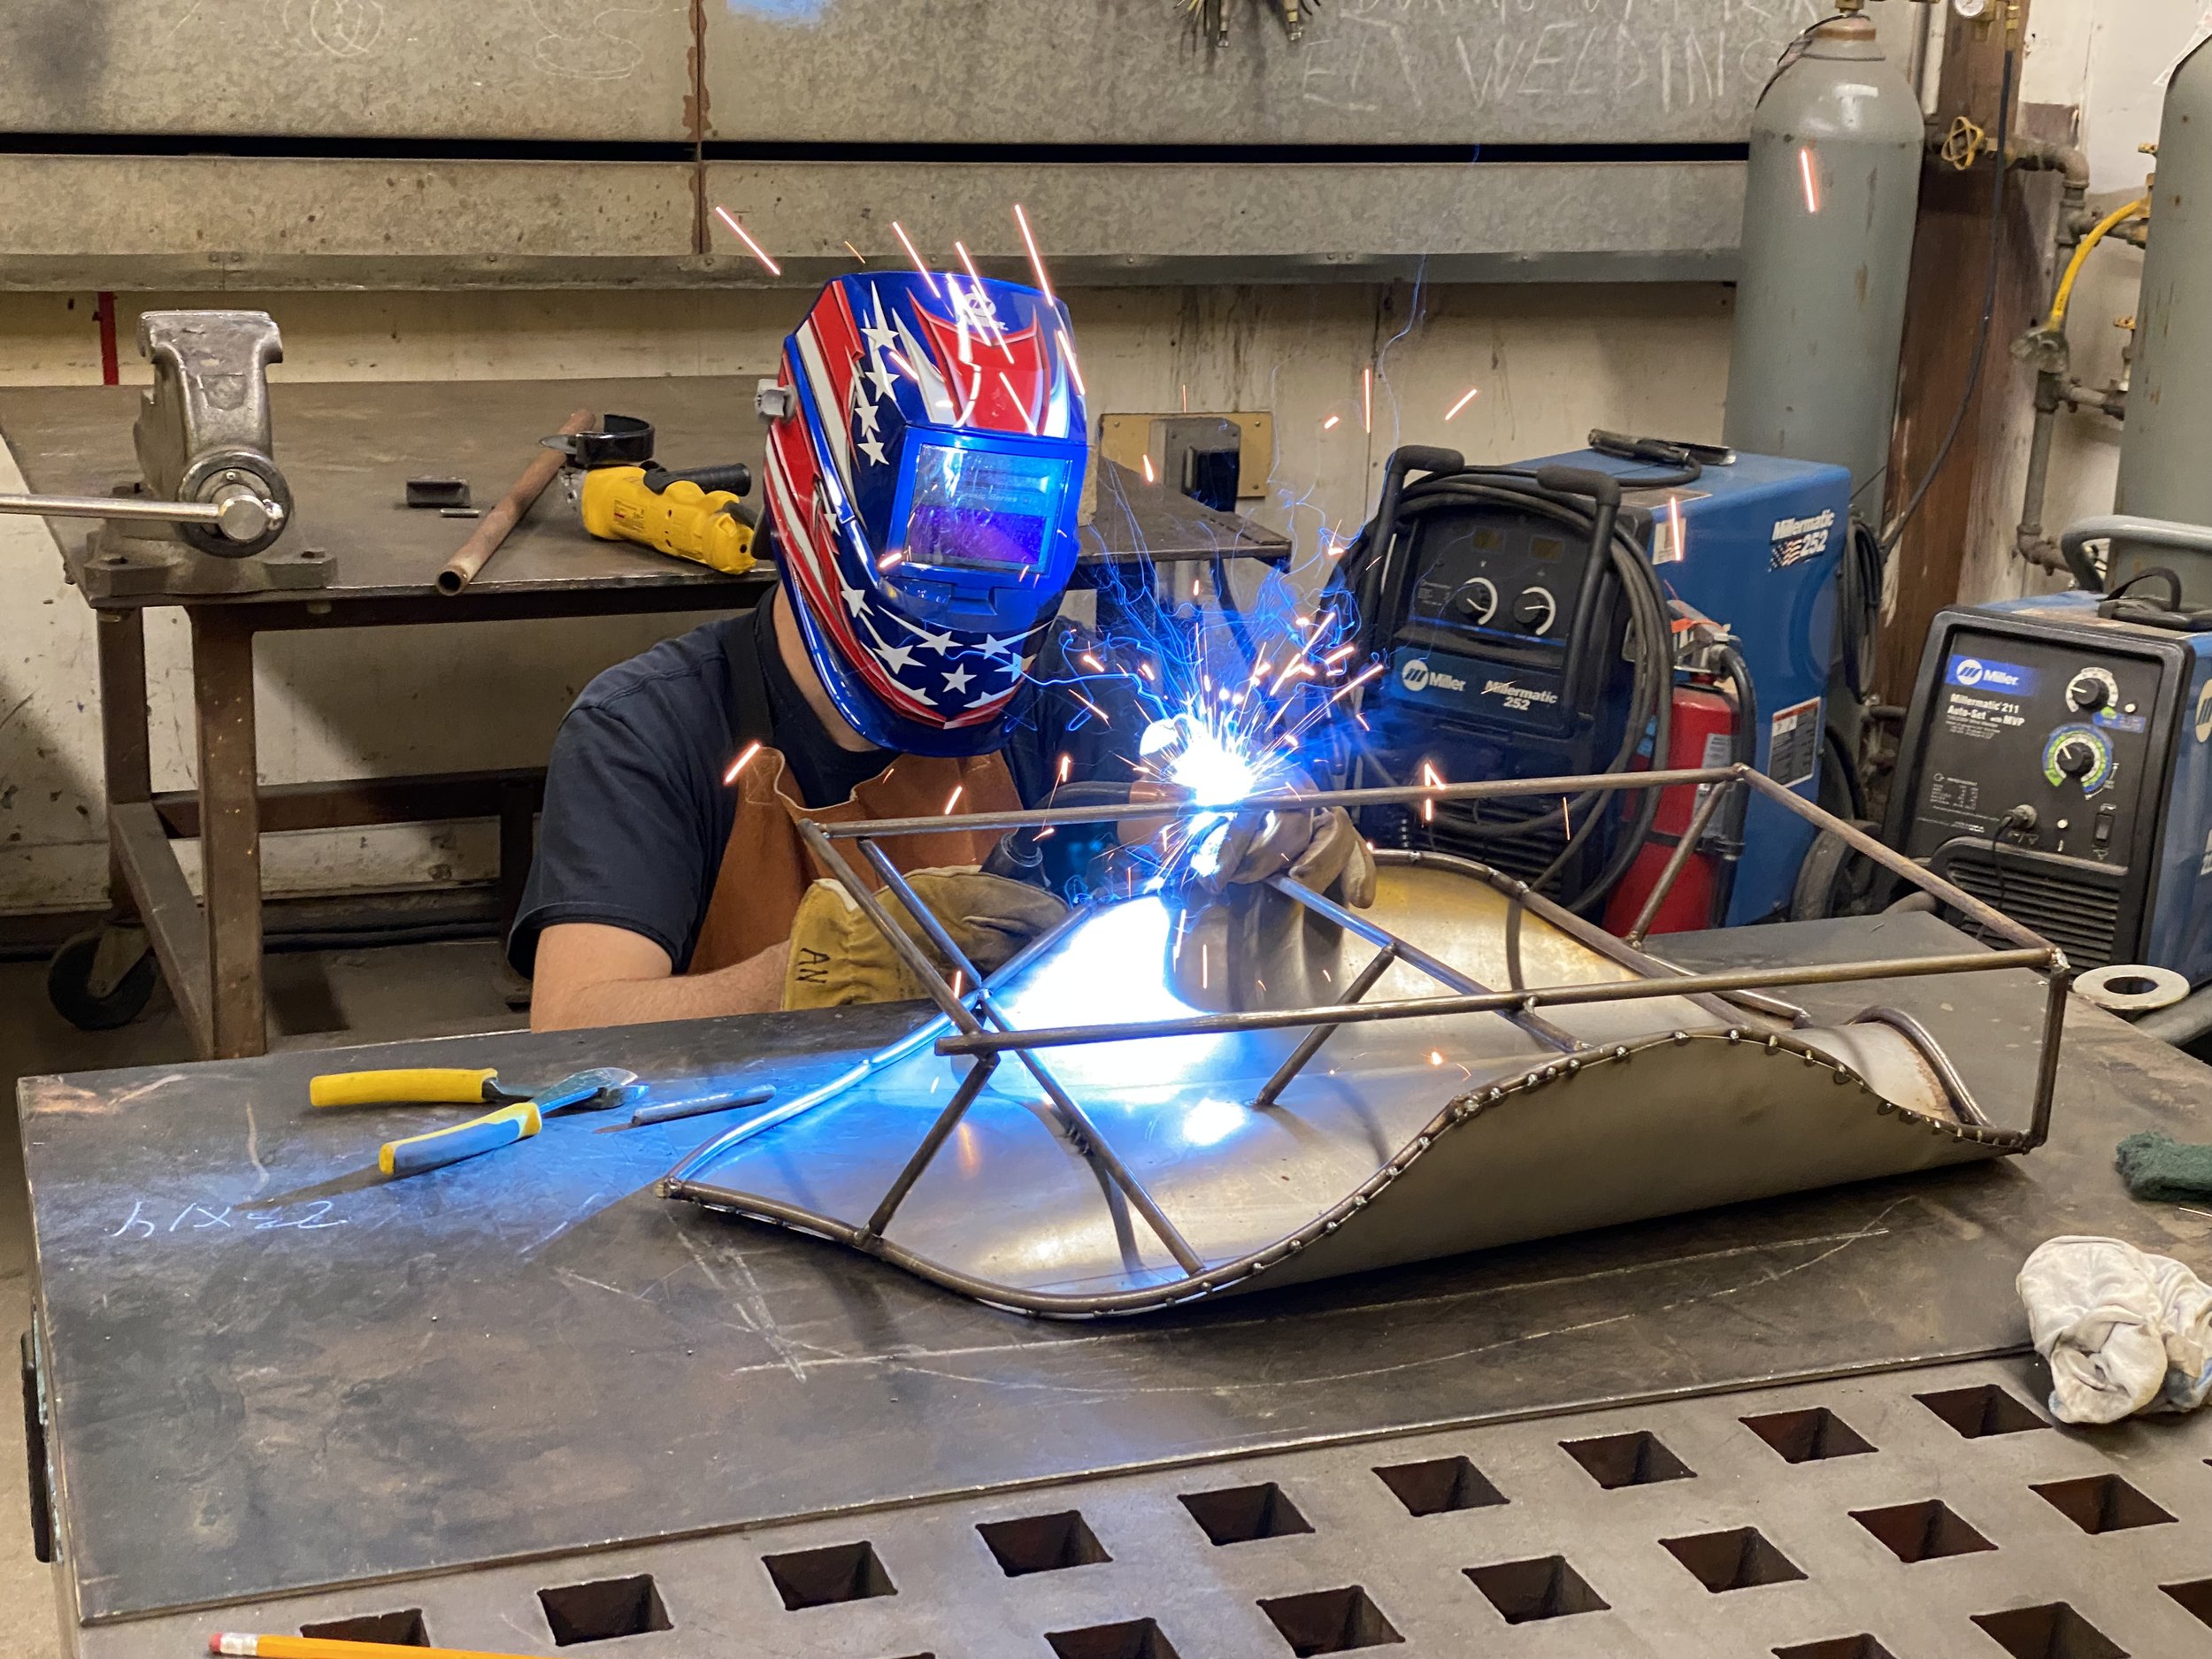
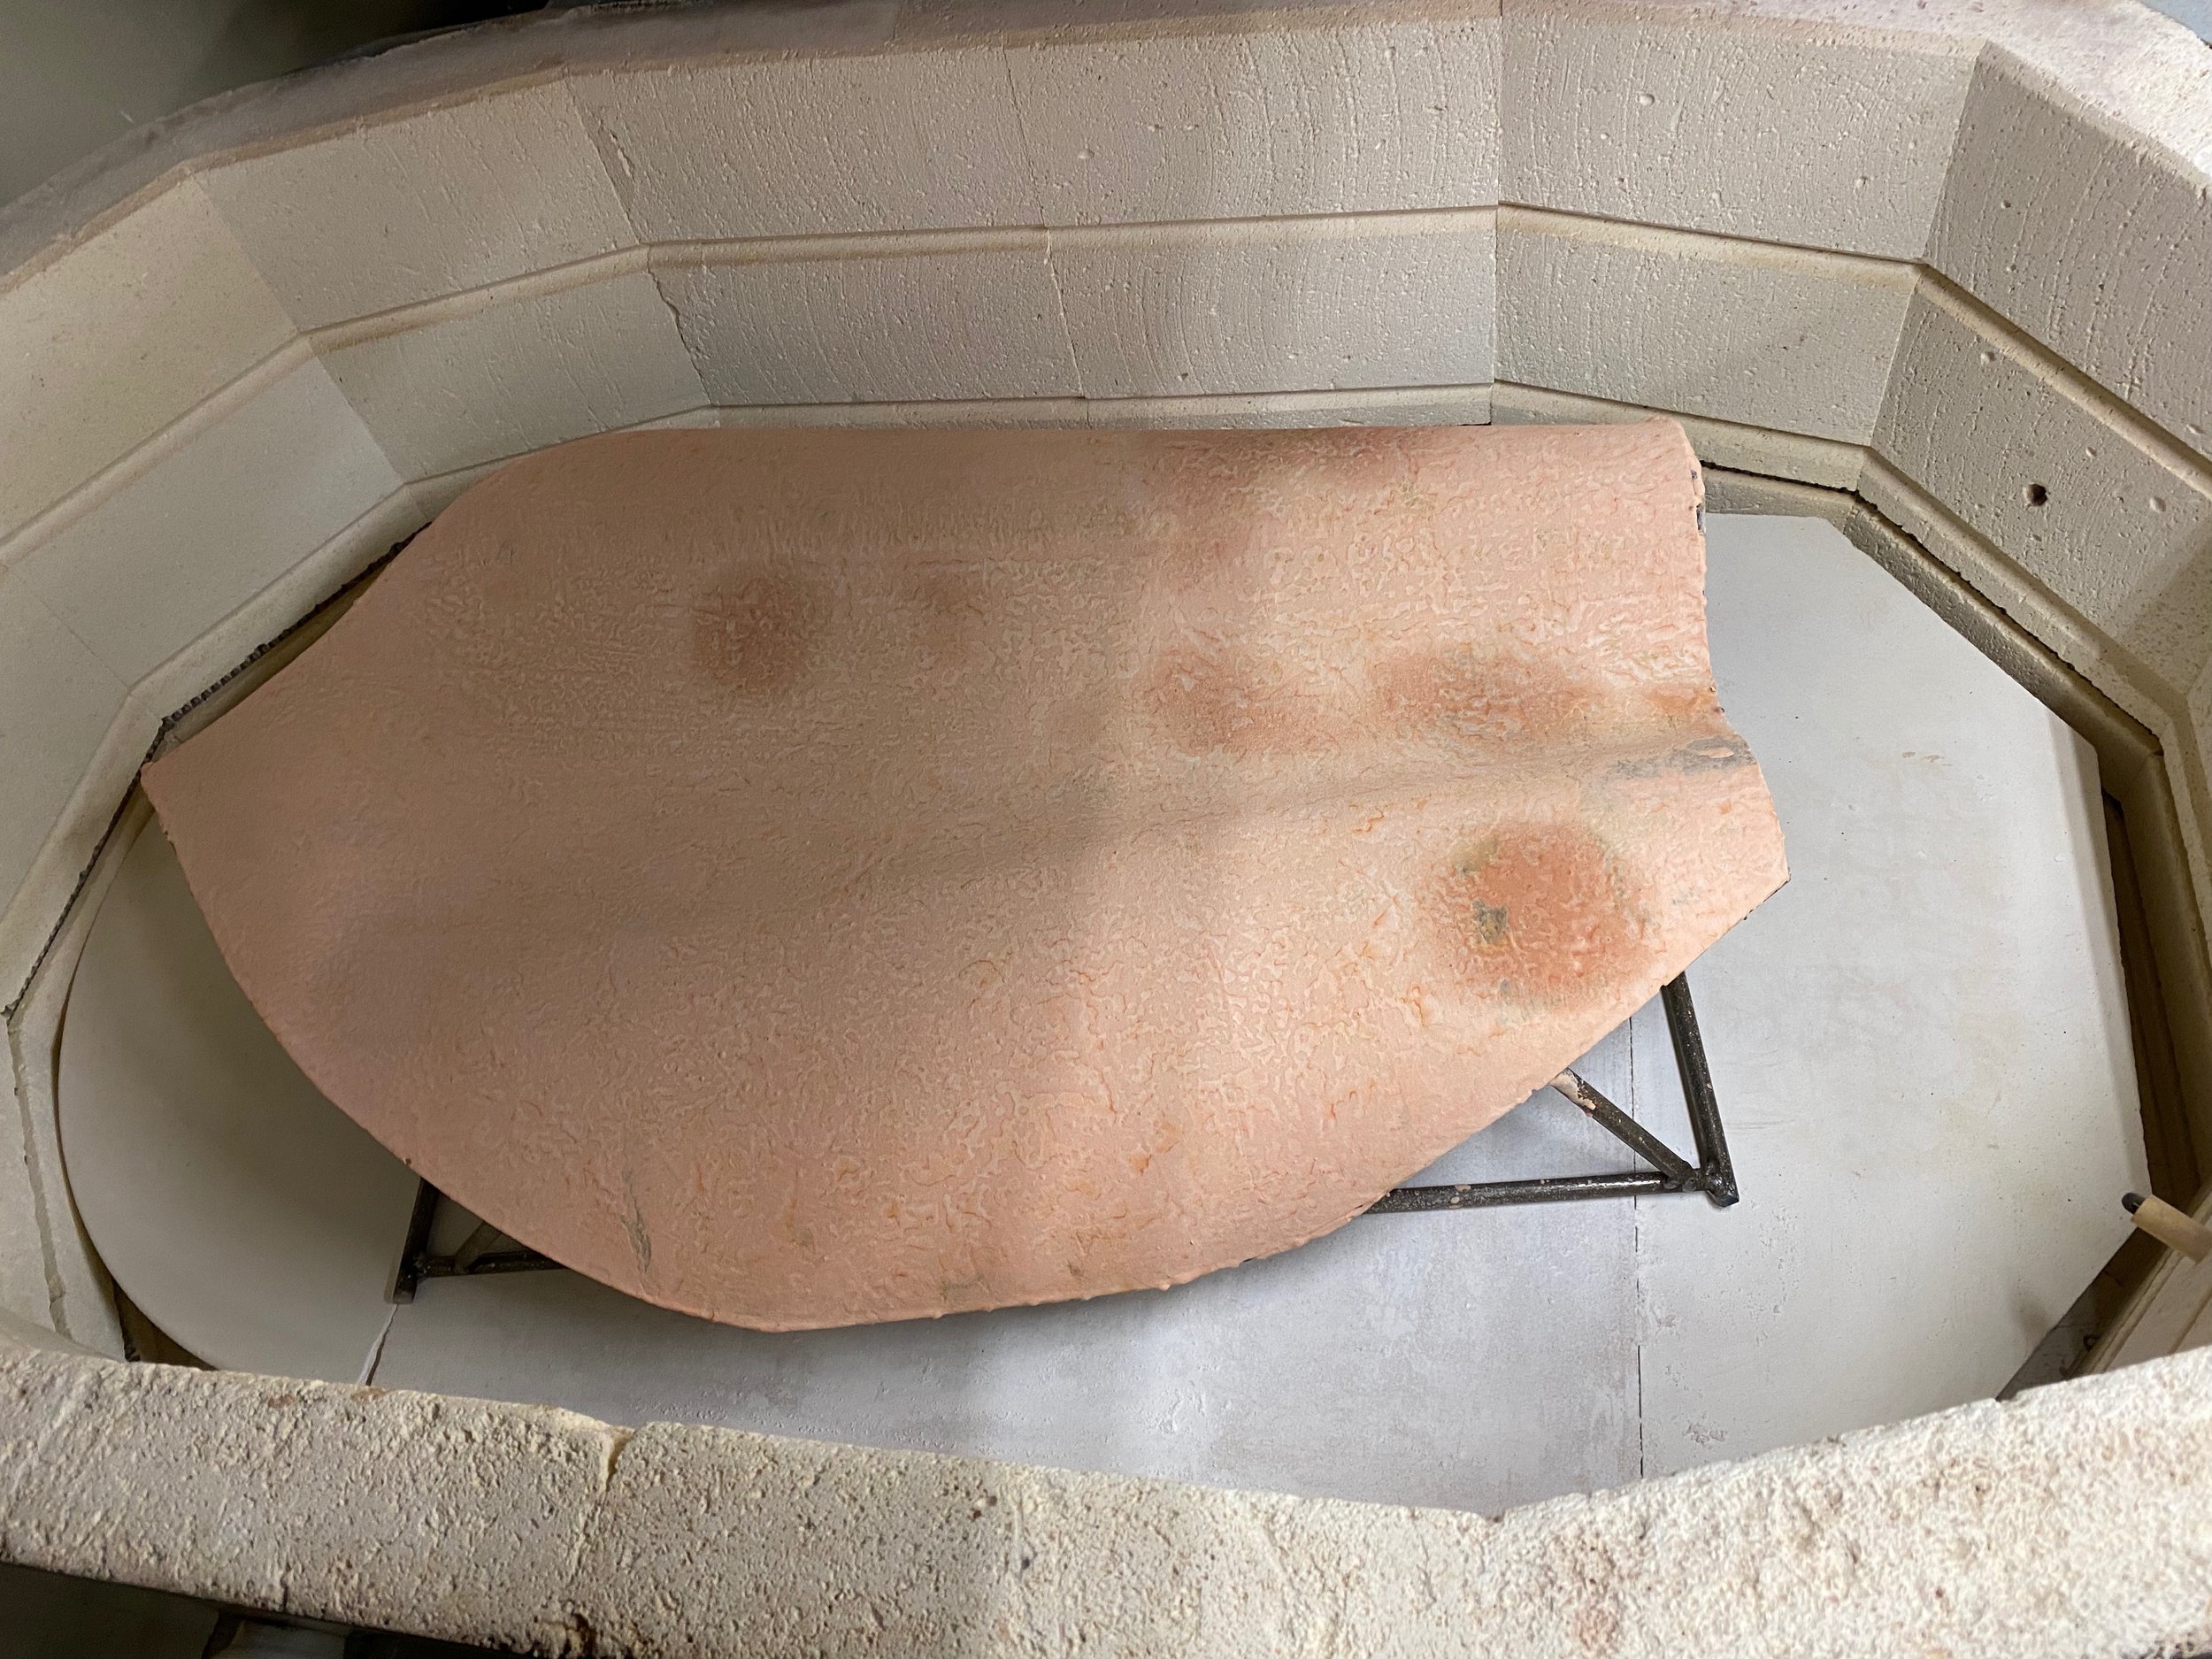
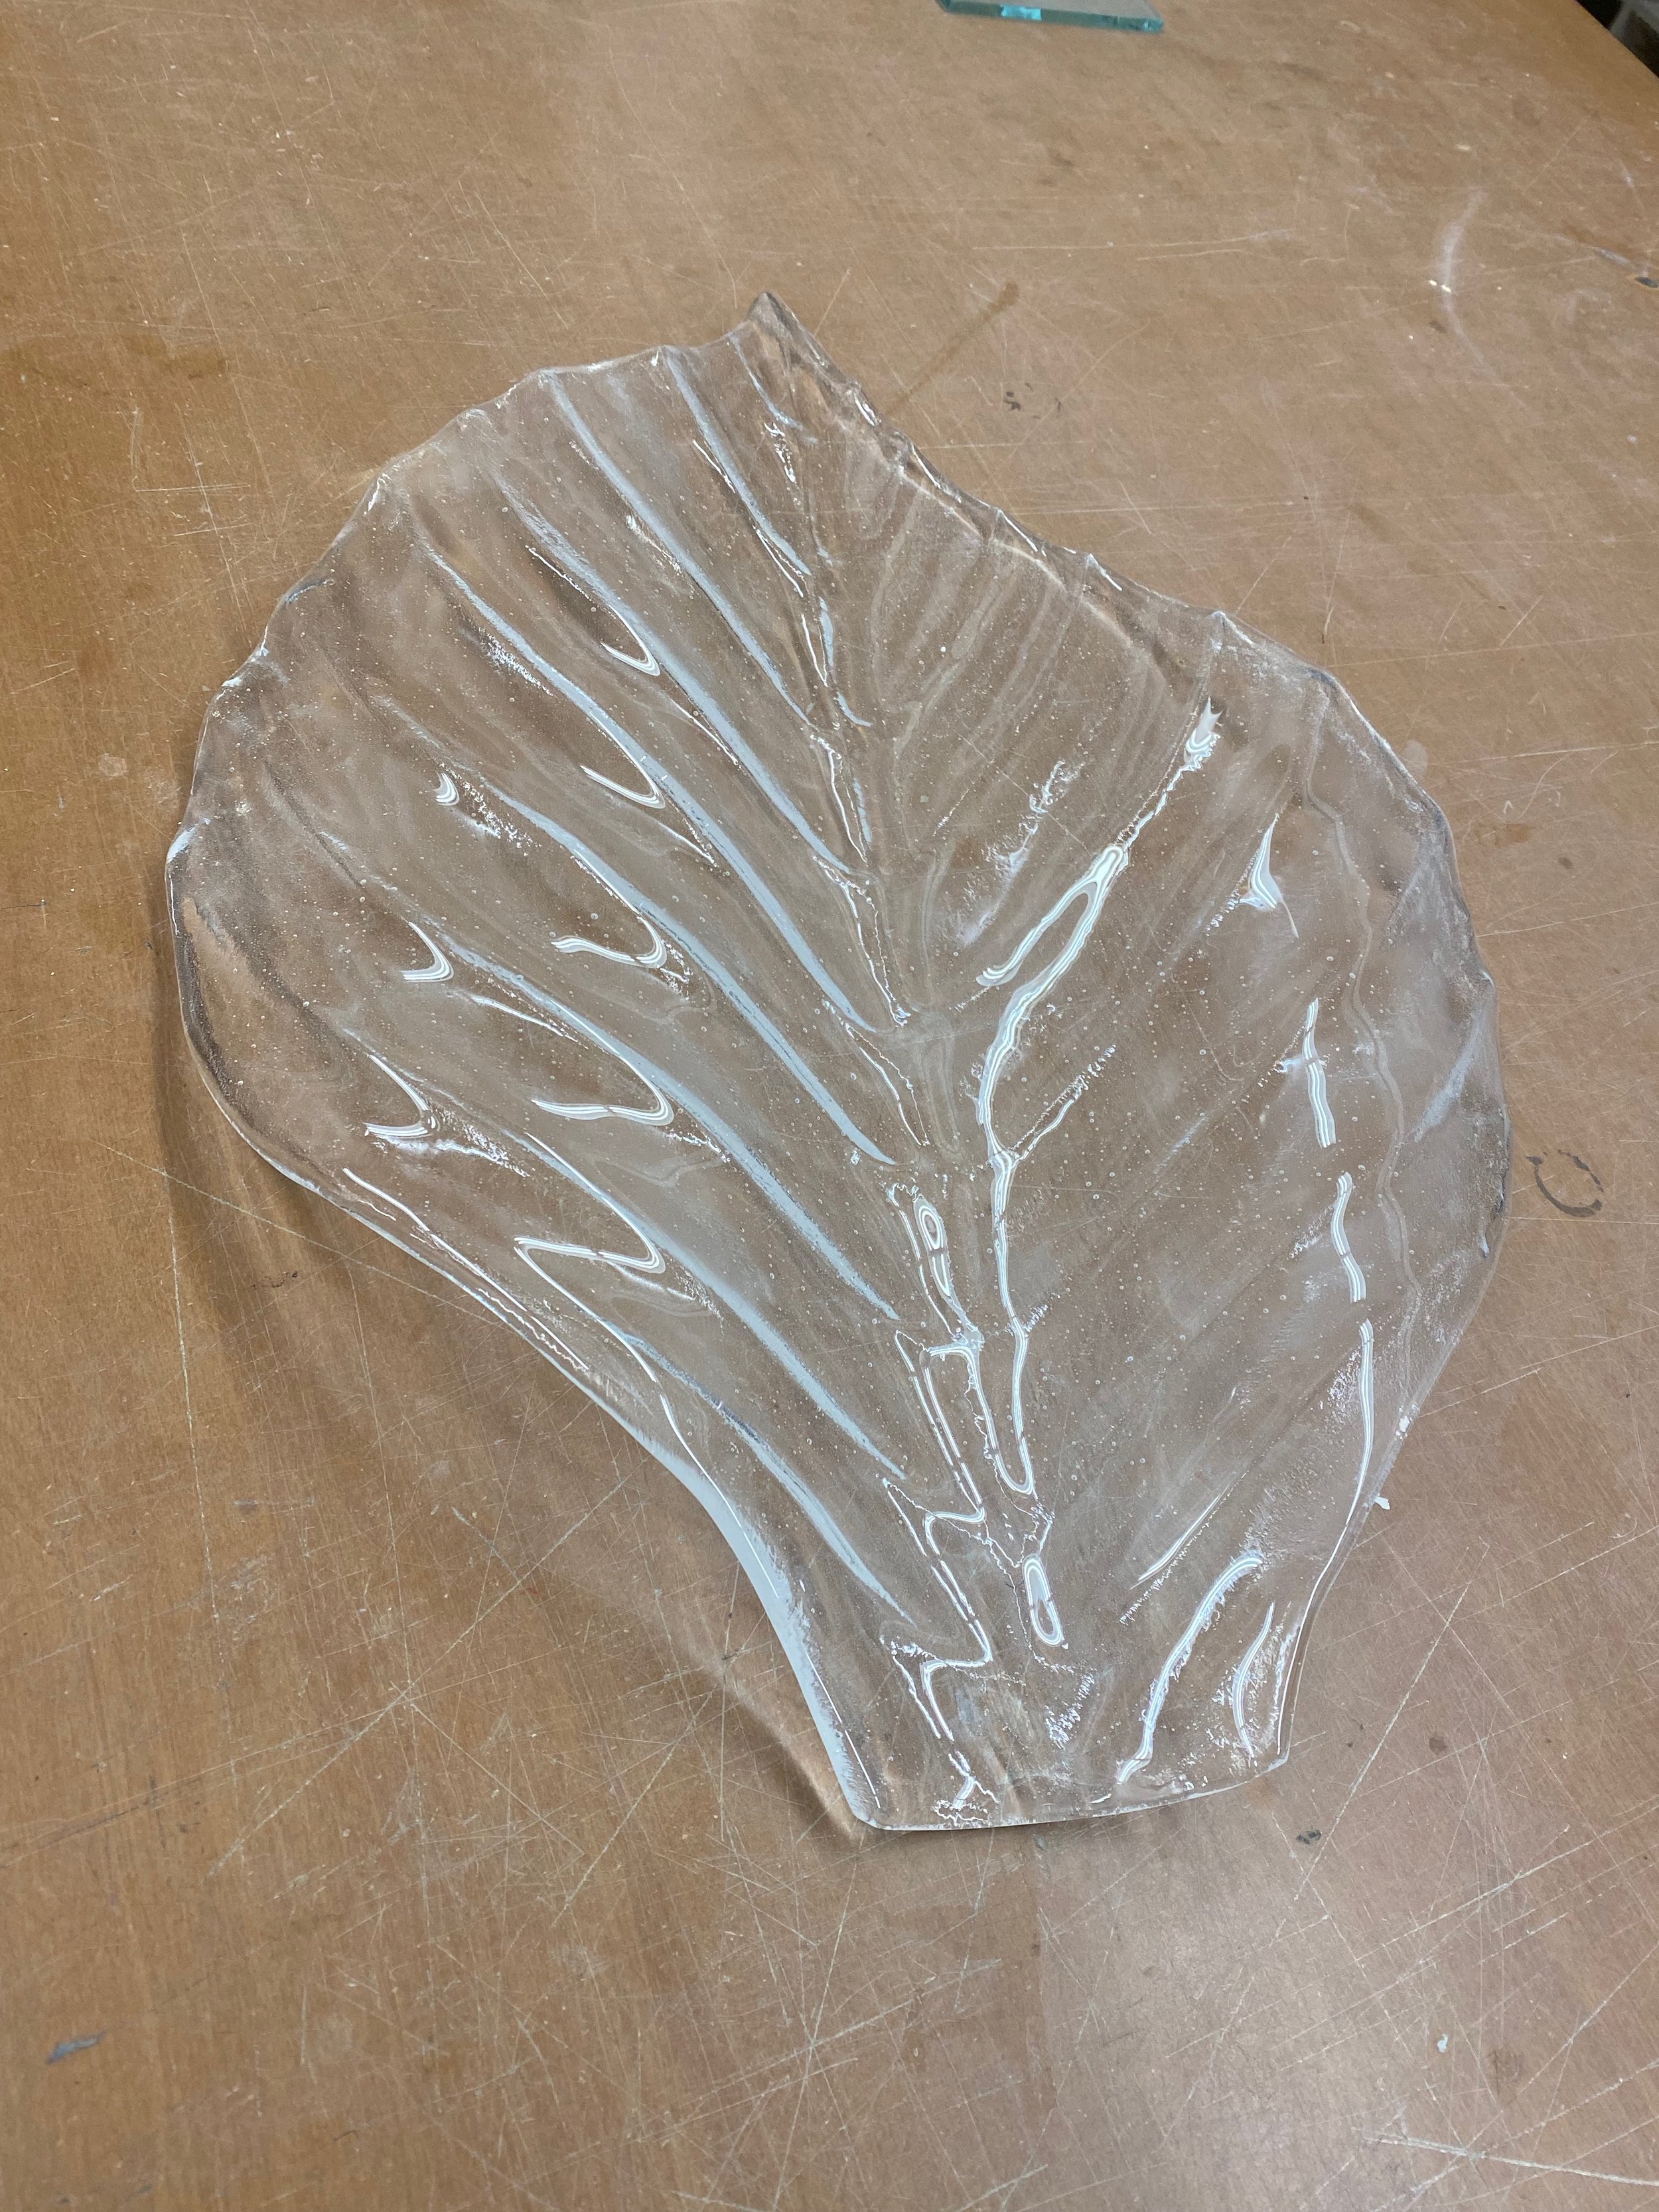
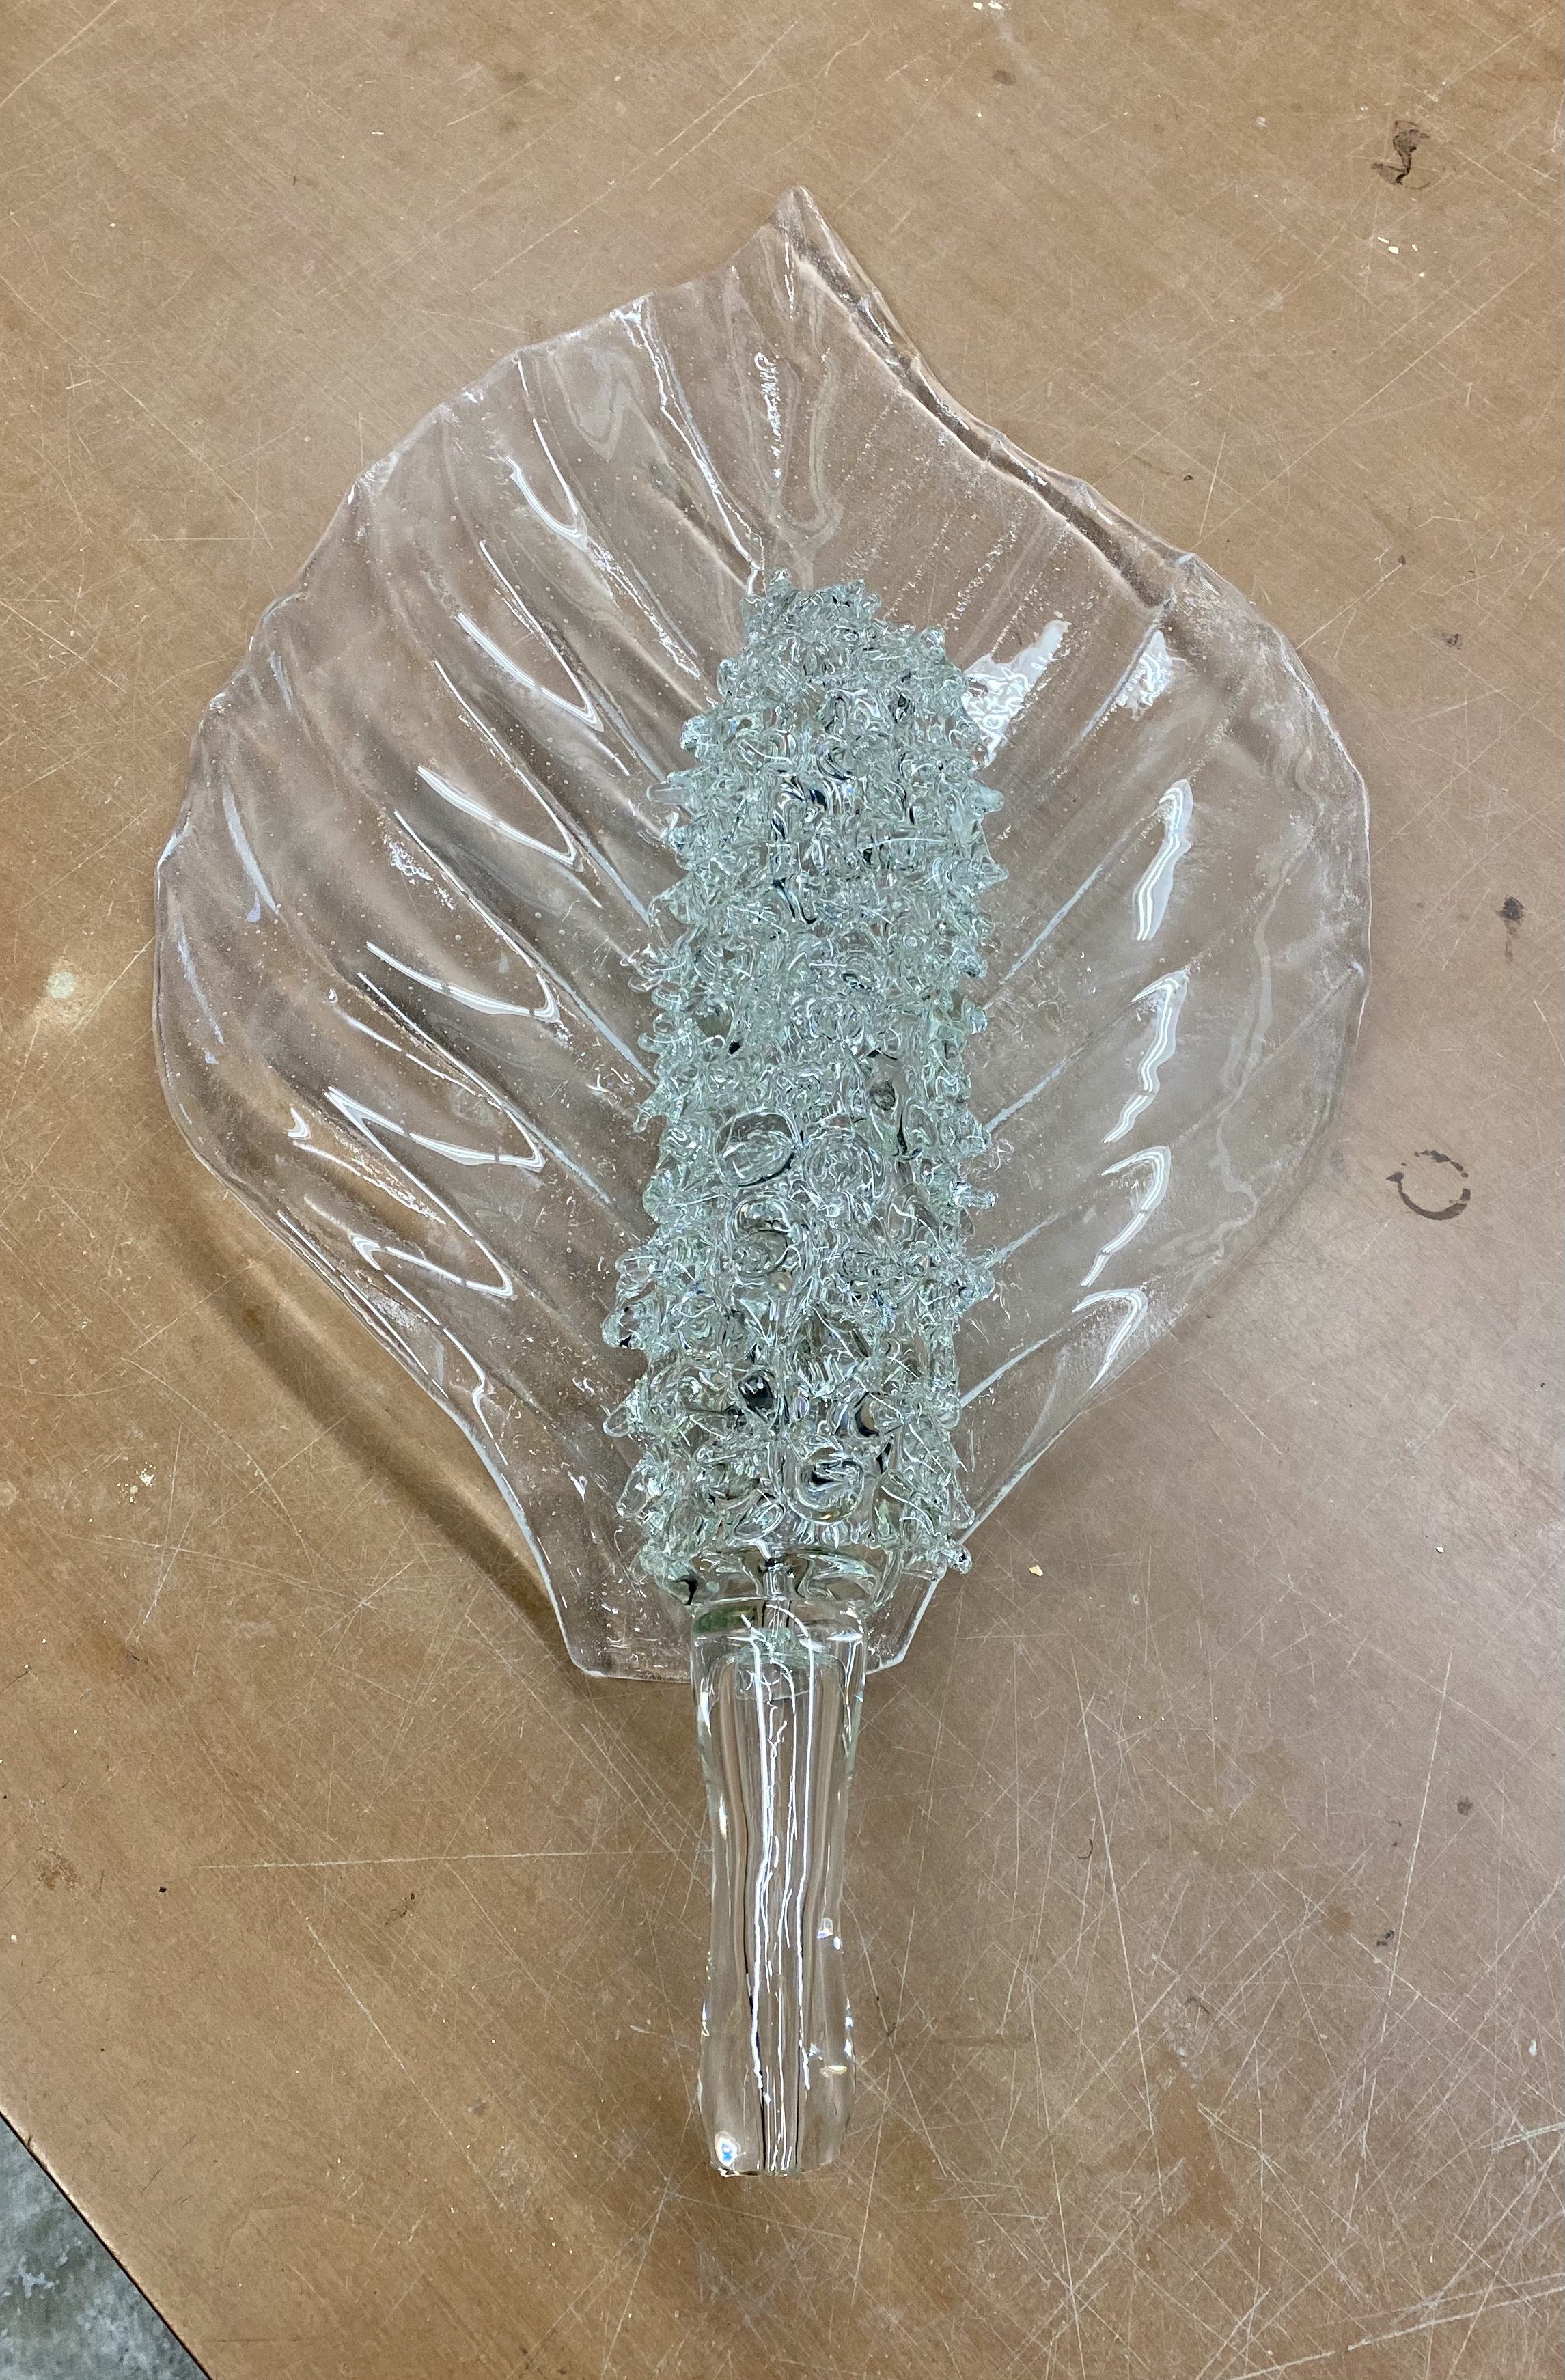
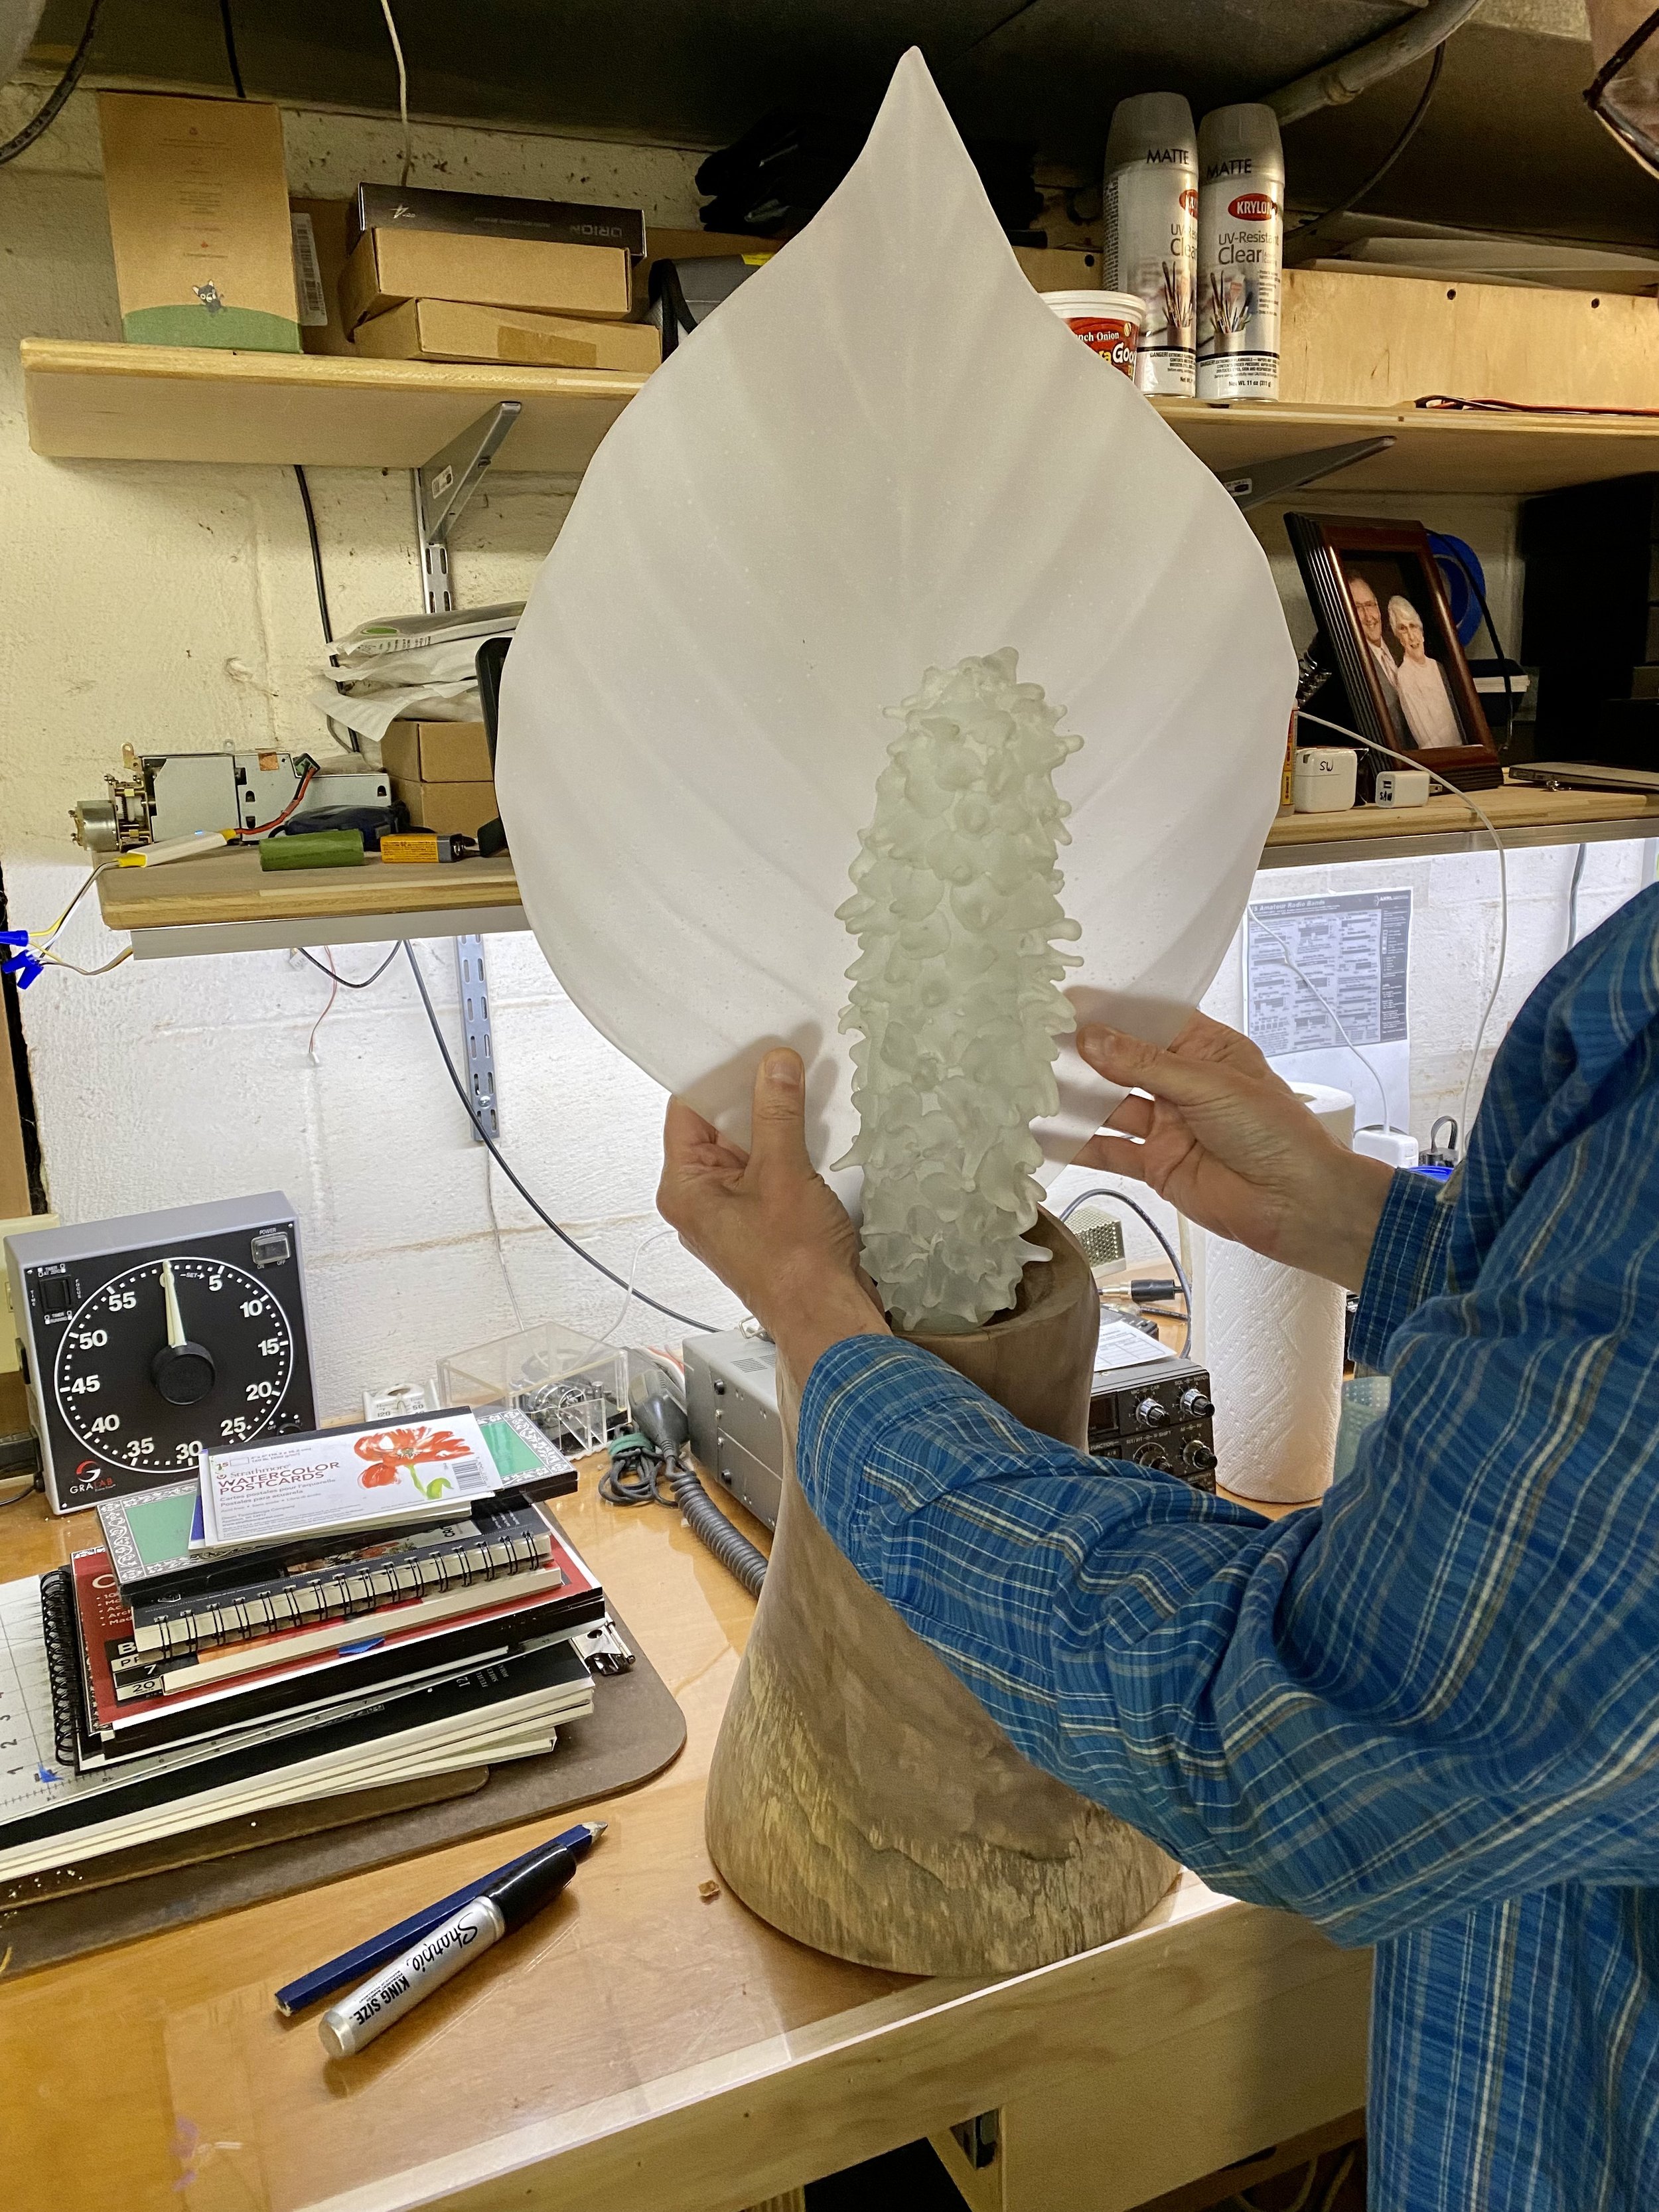
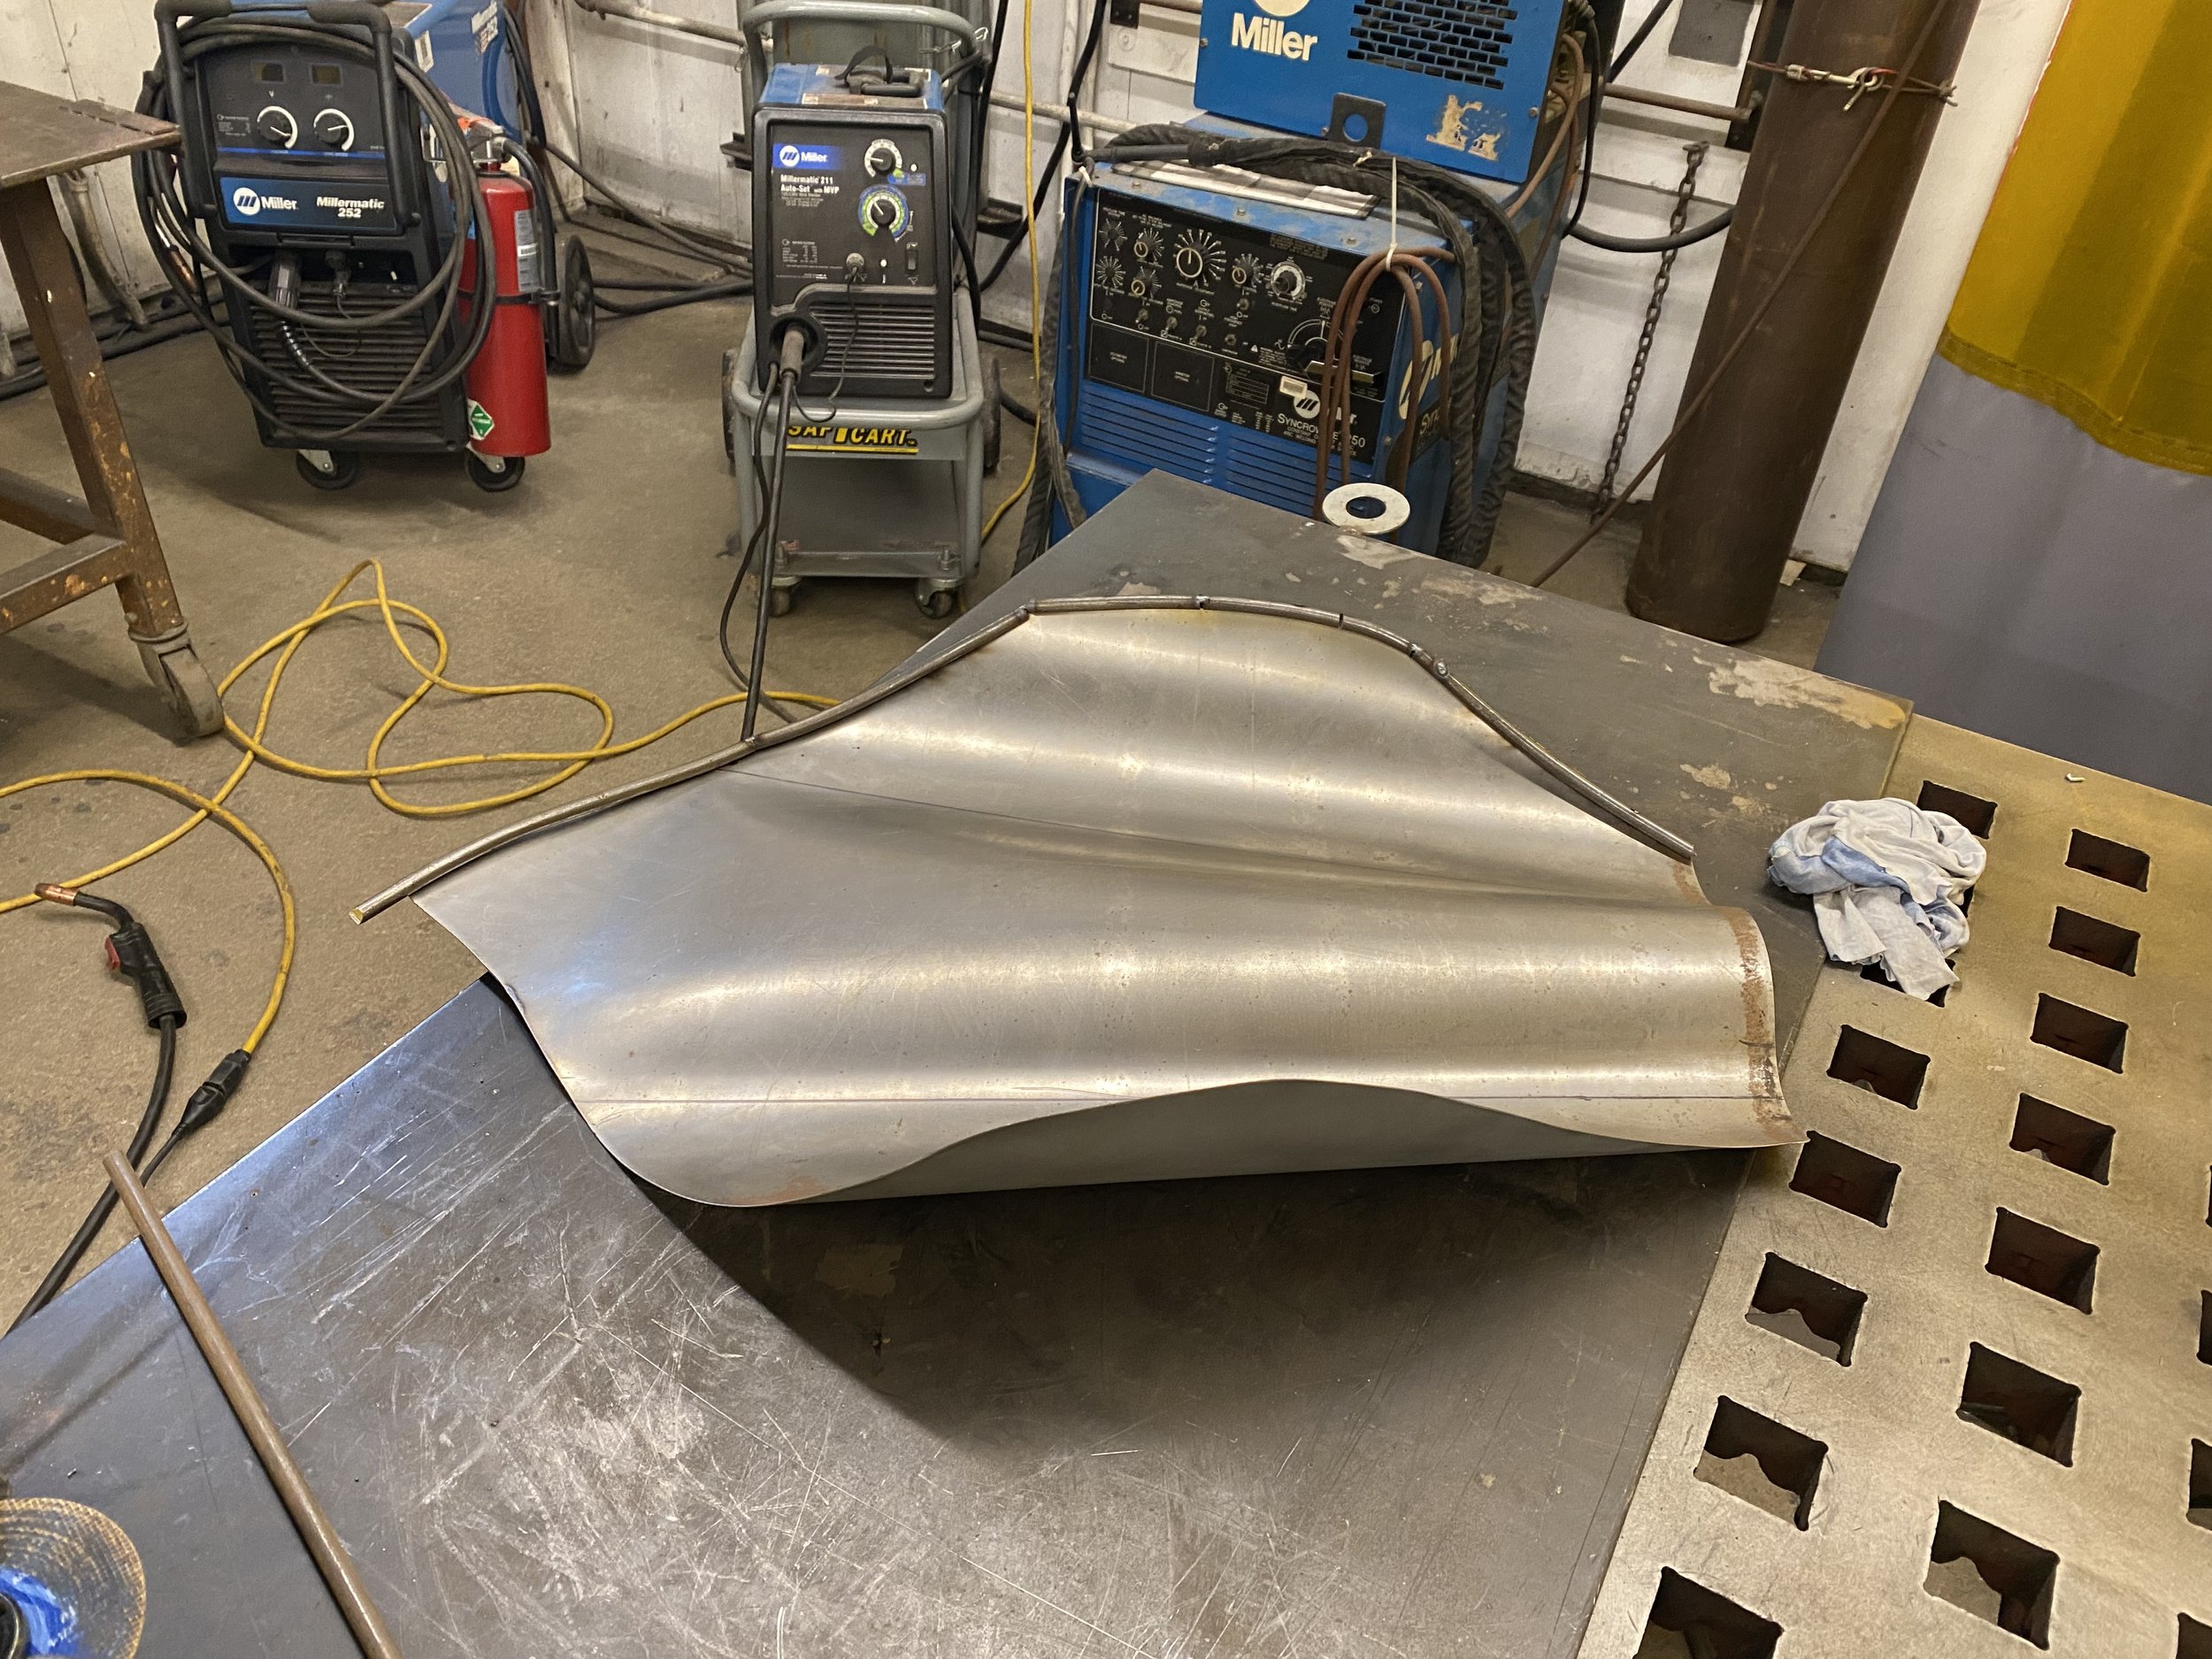
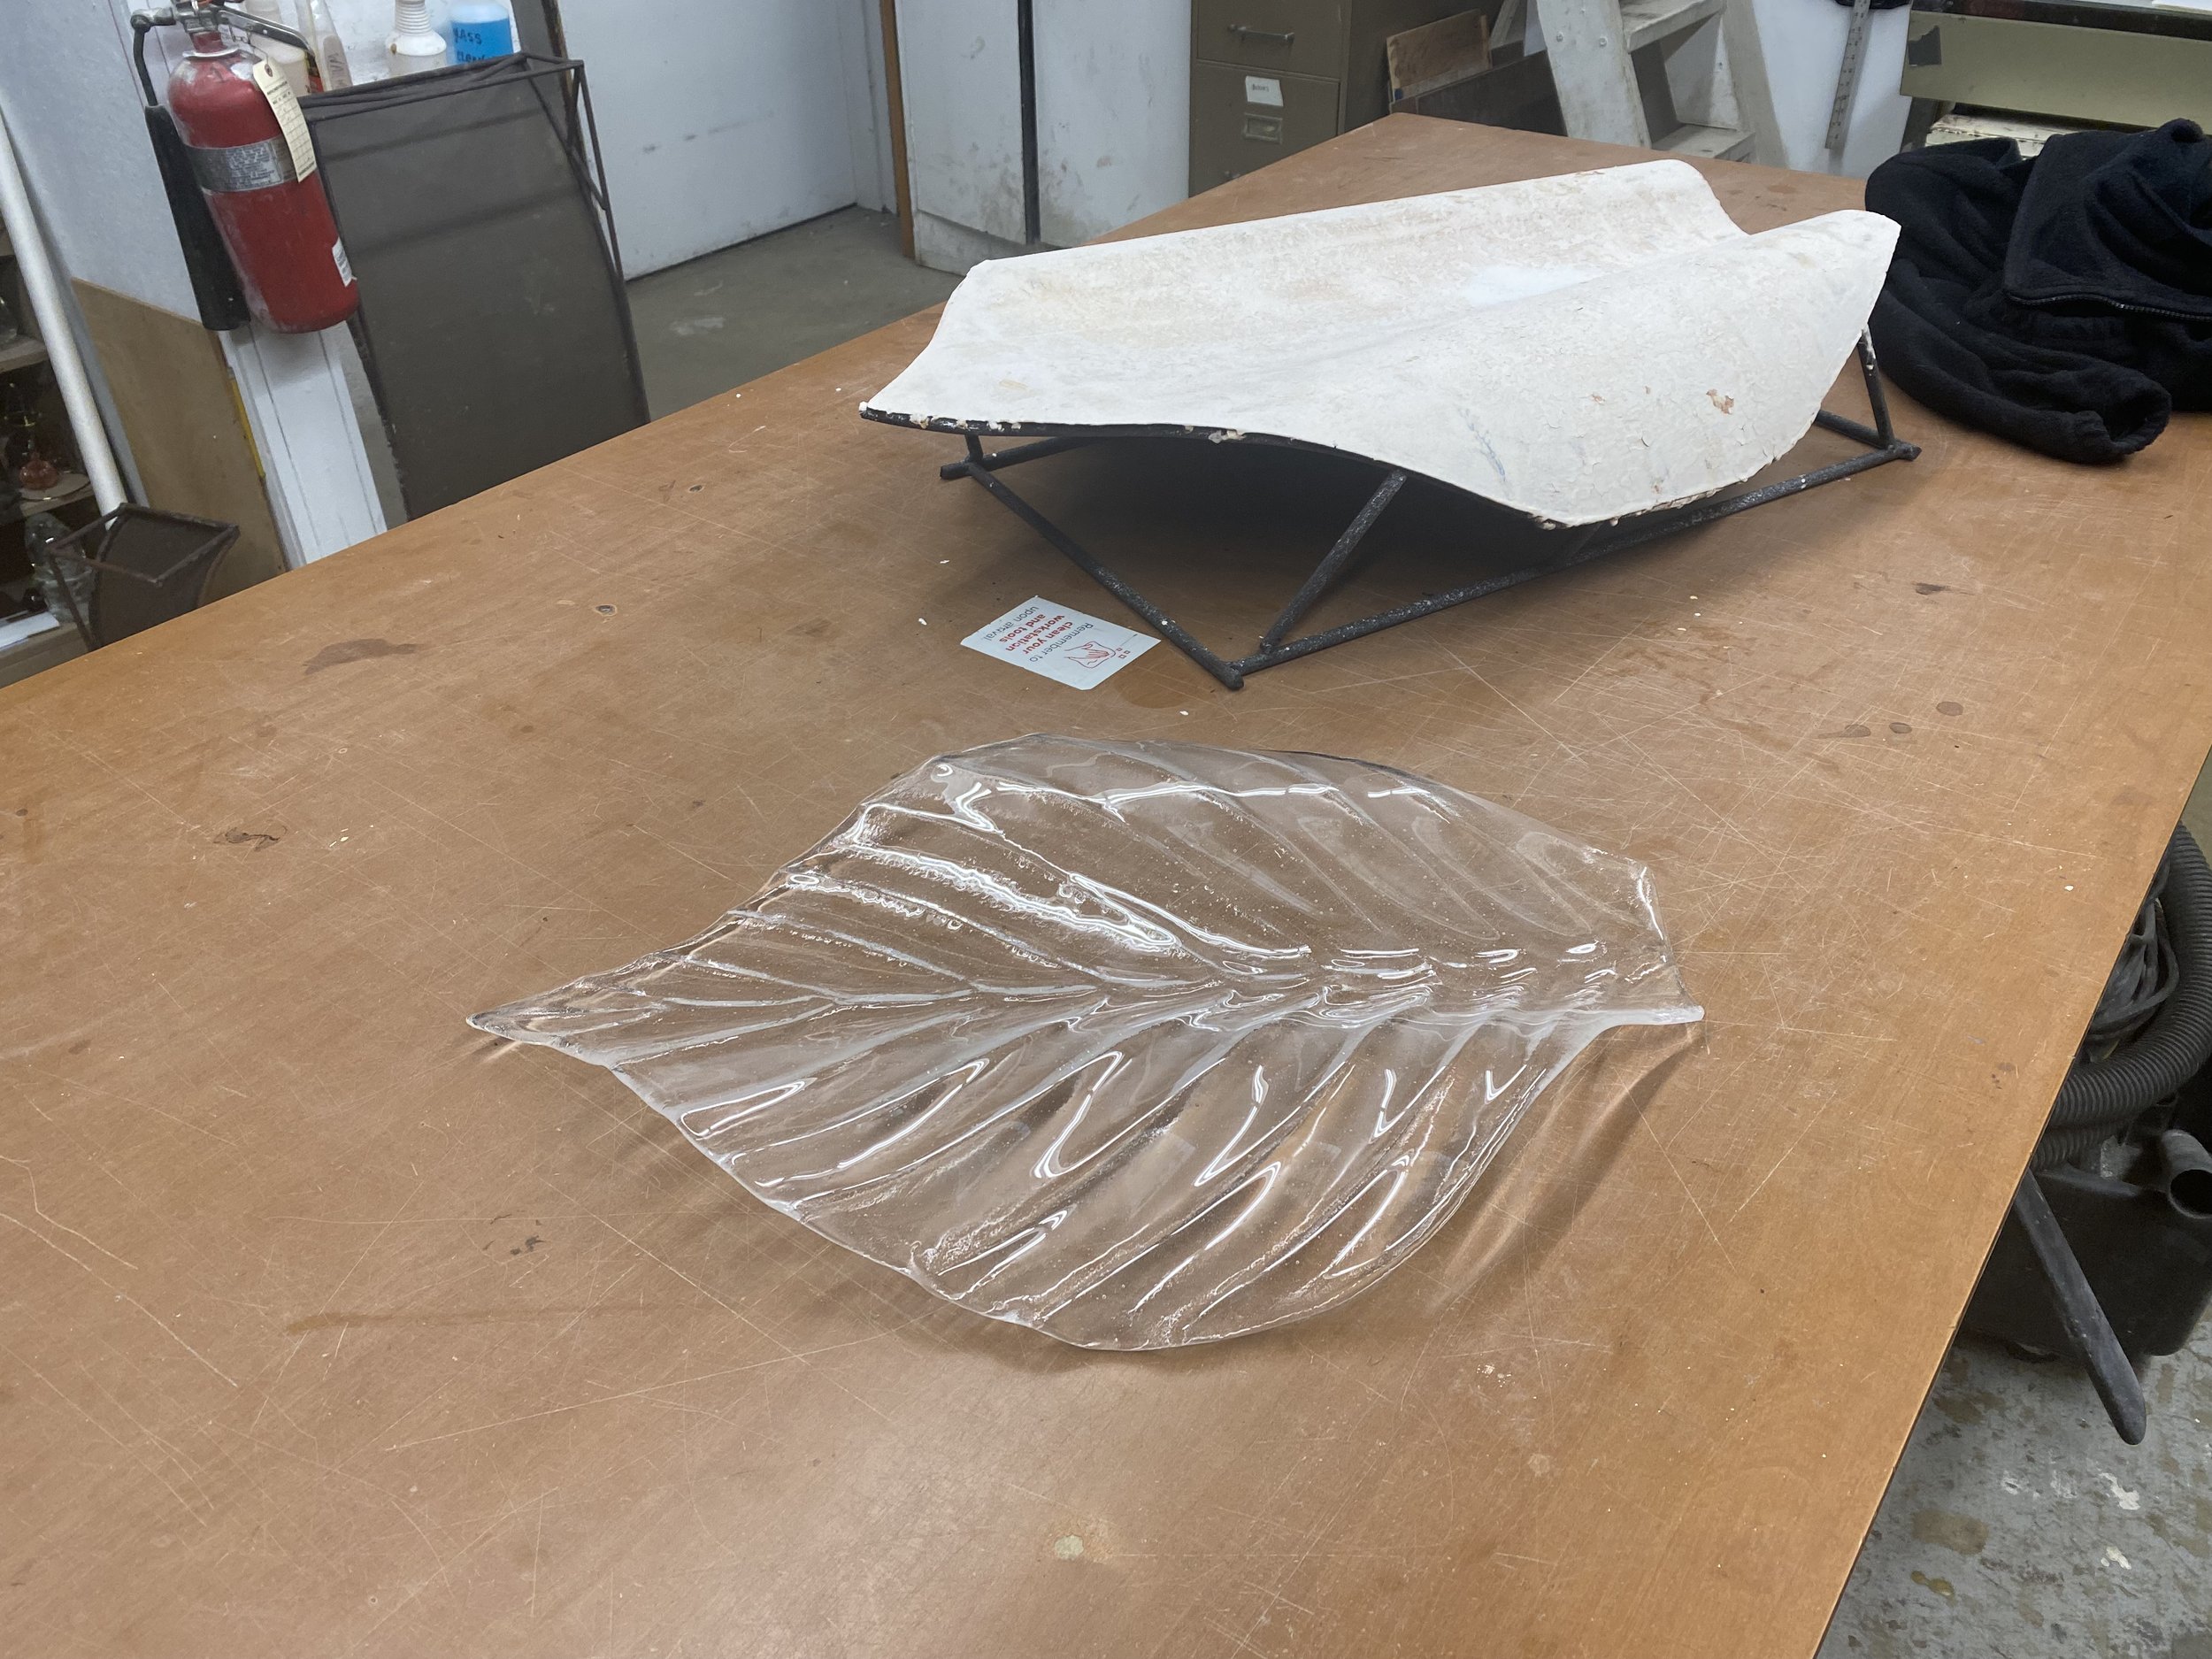
This is the most challenging piece I’ve ever done. The woodturning and carving were familiar and, aside from the design elements, straightforward. The leaf shape (patterned on a spathe in the Arum family) was my first challenge. I had to first make a clay texture mold in the shape of a leaf and bisque fire it. I’ve never done ceramics so this was a fun thing to learn. Then I had to cut two large leaf shapes out of sheet glass, fuse them in the kiln, and slump this onto the texture mold.

The gallery photos below have captions that you can see by hovering your mouse over the image.

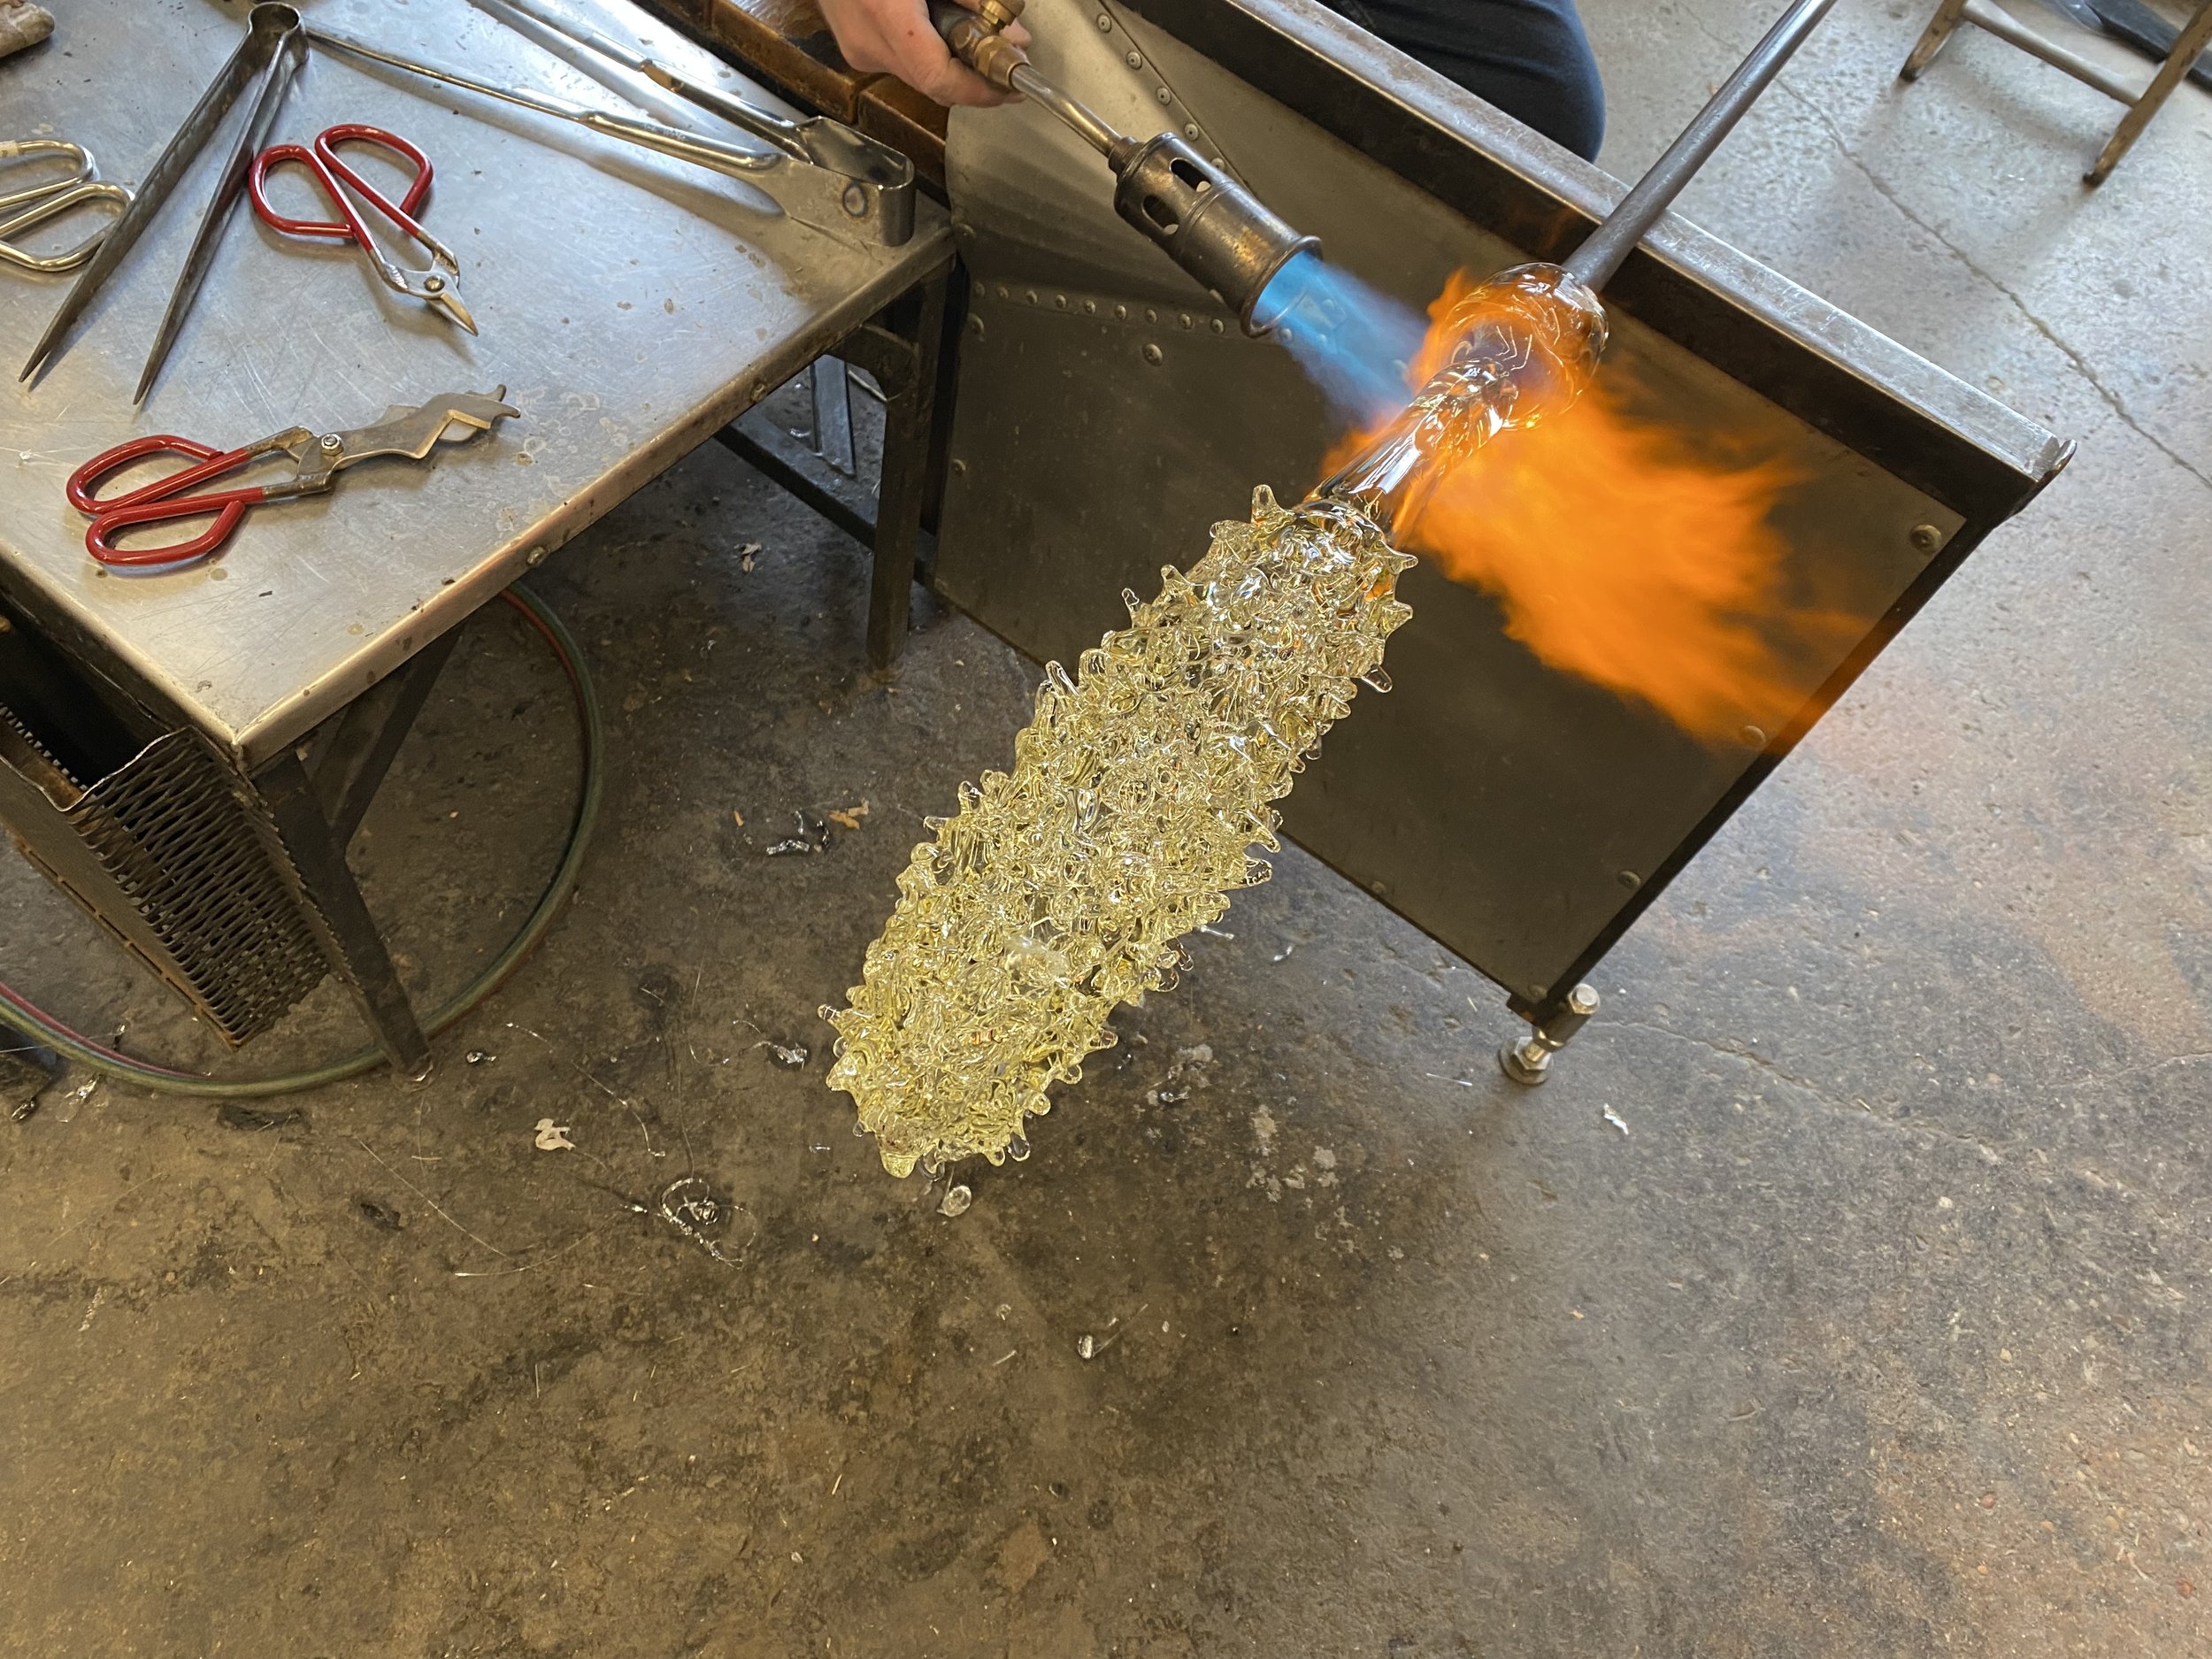
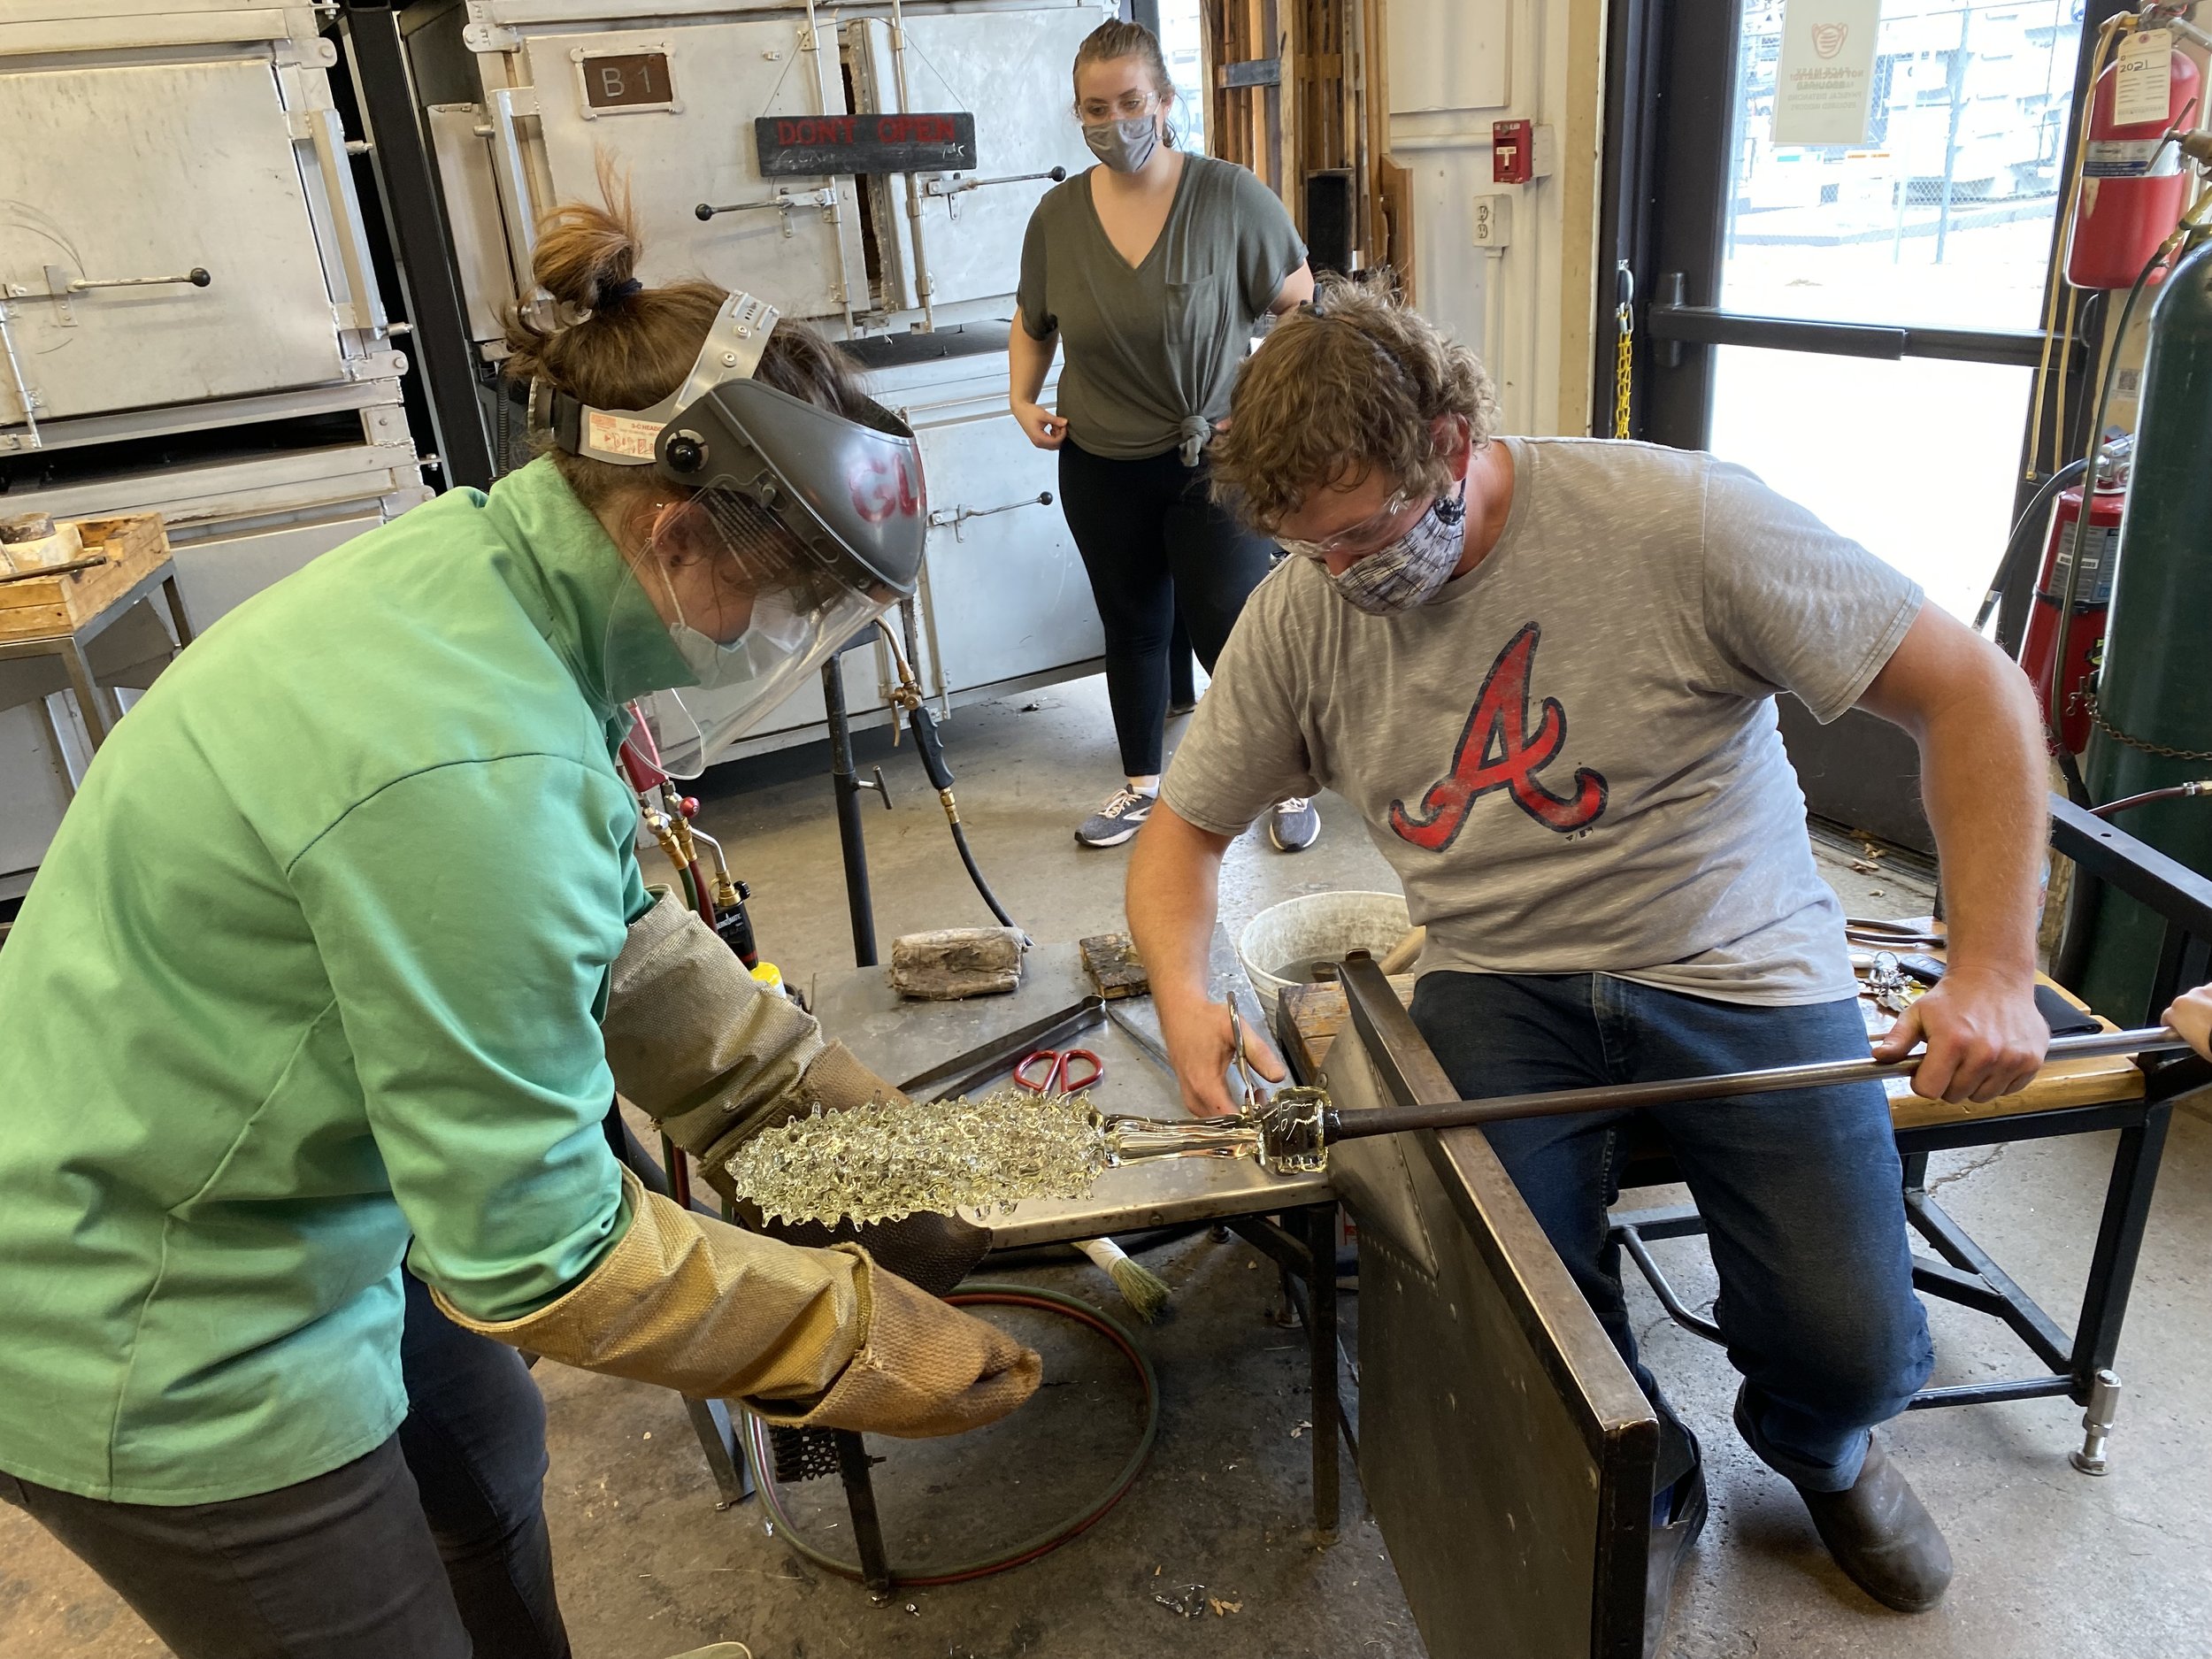
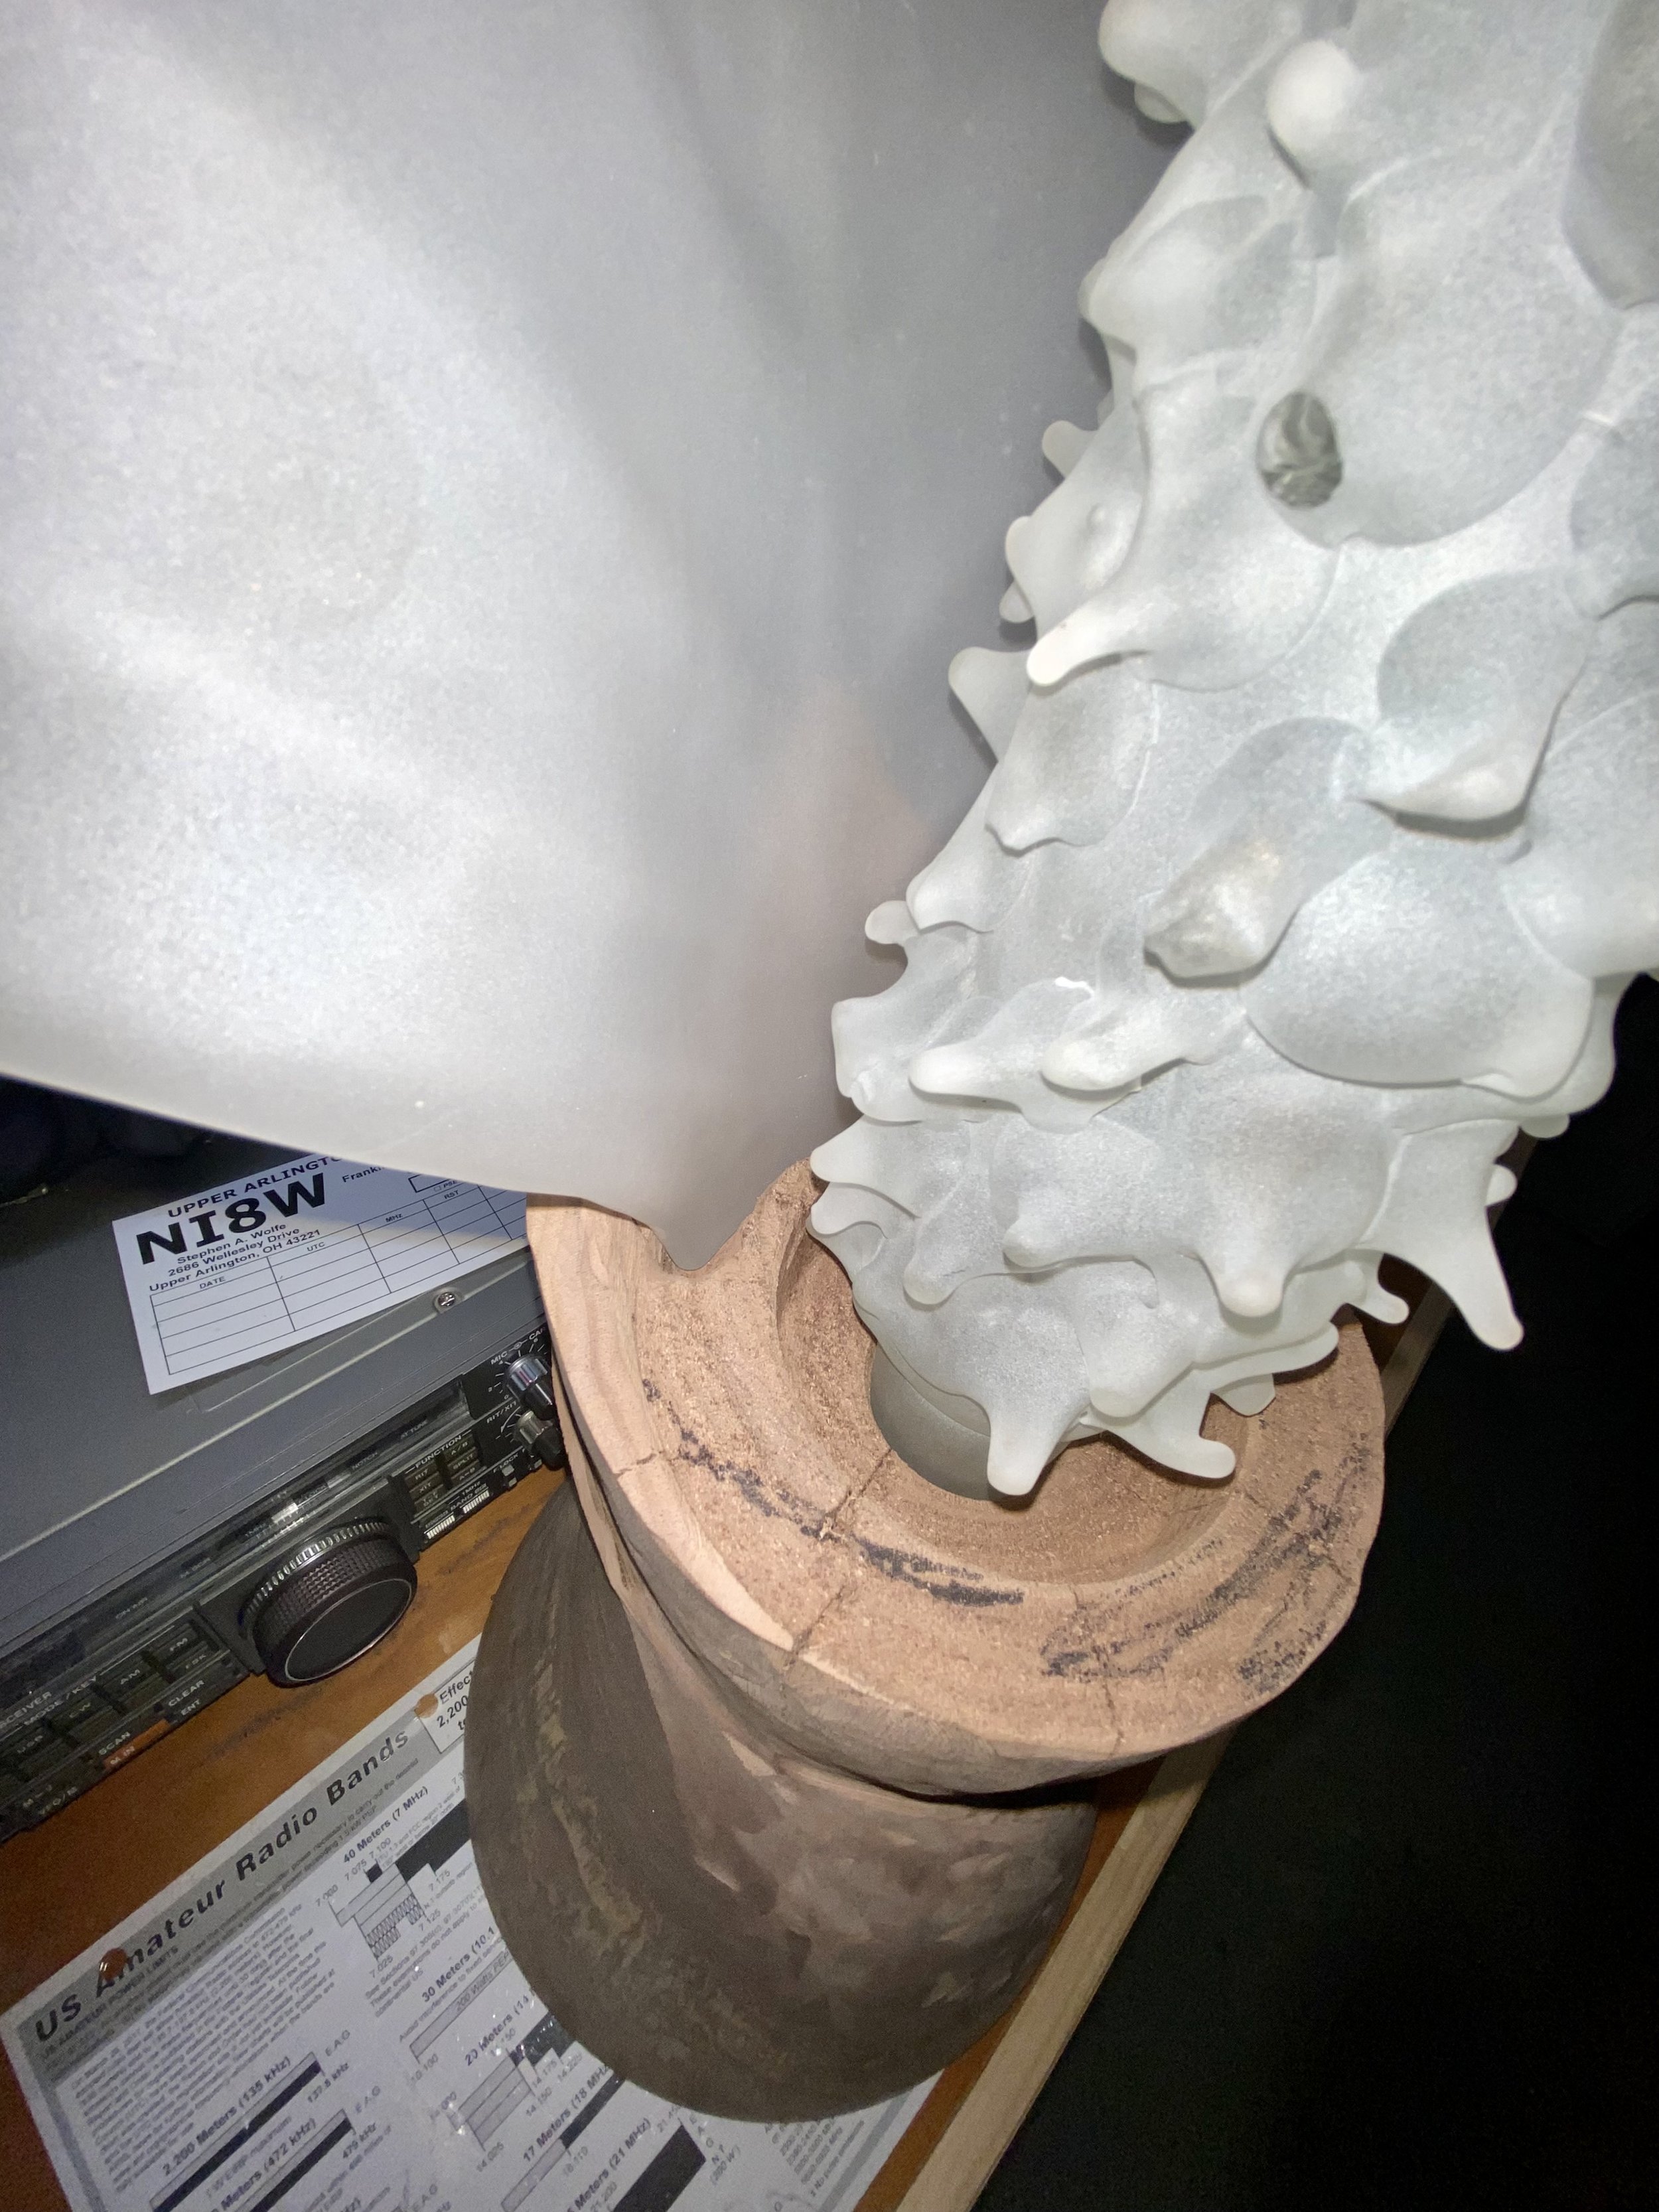
The other glass element took myself and a team of seven assistants about 2.5 hours to make in the hot shop. That was then sandblasted after it came out of the annealer. Jonathan Capps was gaffer for the cylinder and then I took over the bench for the sculpting. My glass classmates were fantastic in helping me pull this off.

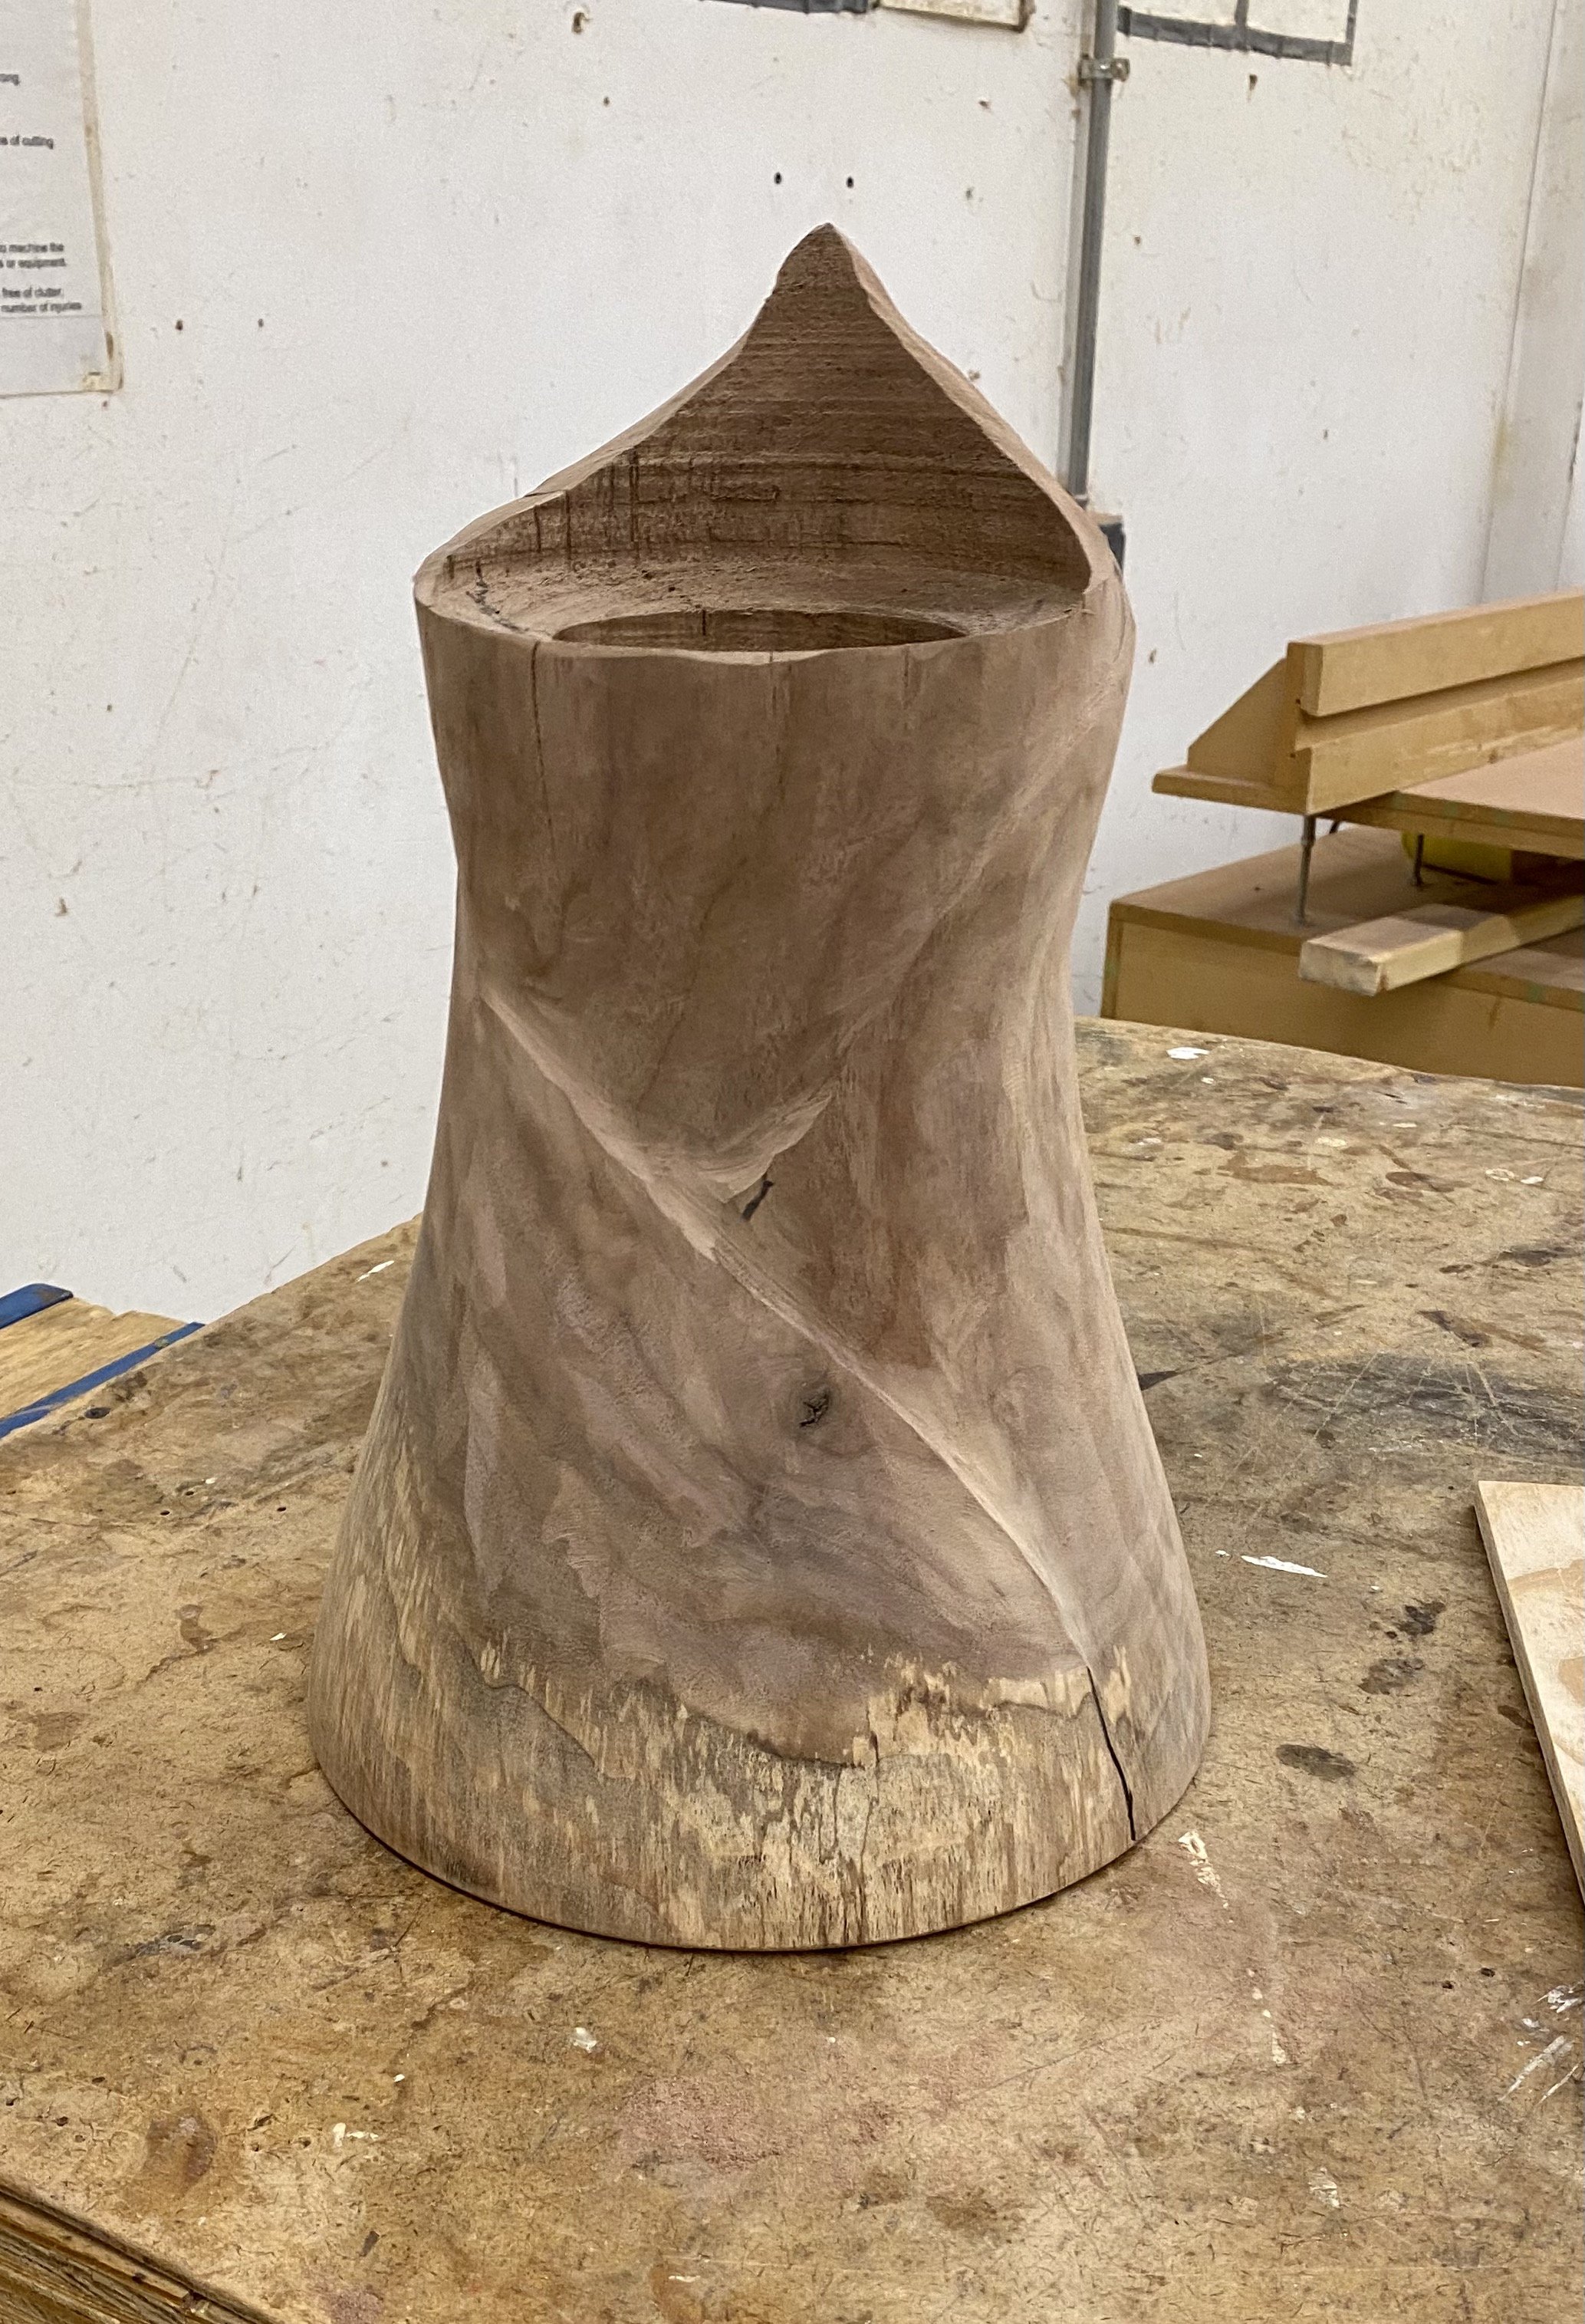
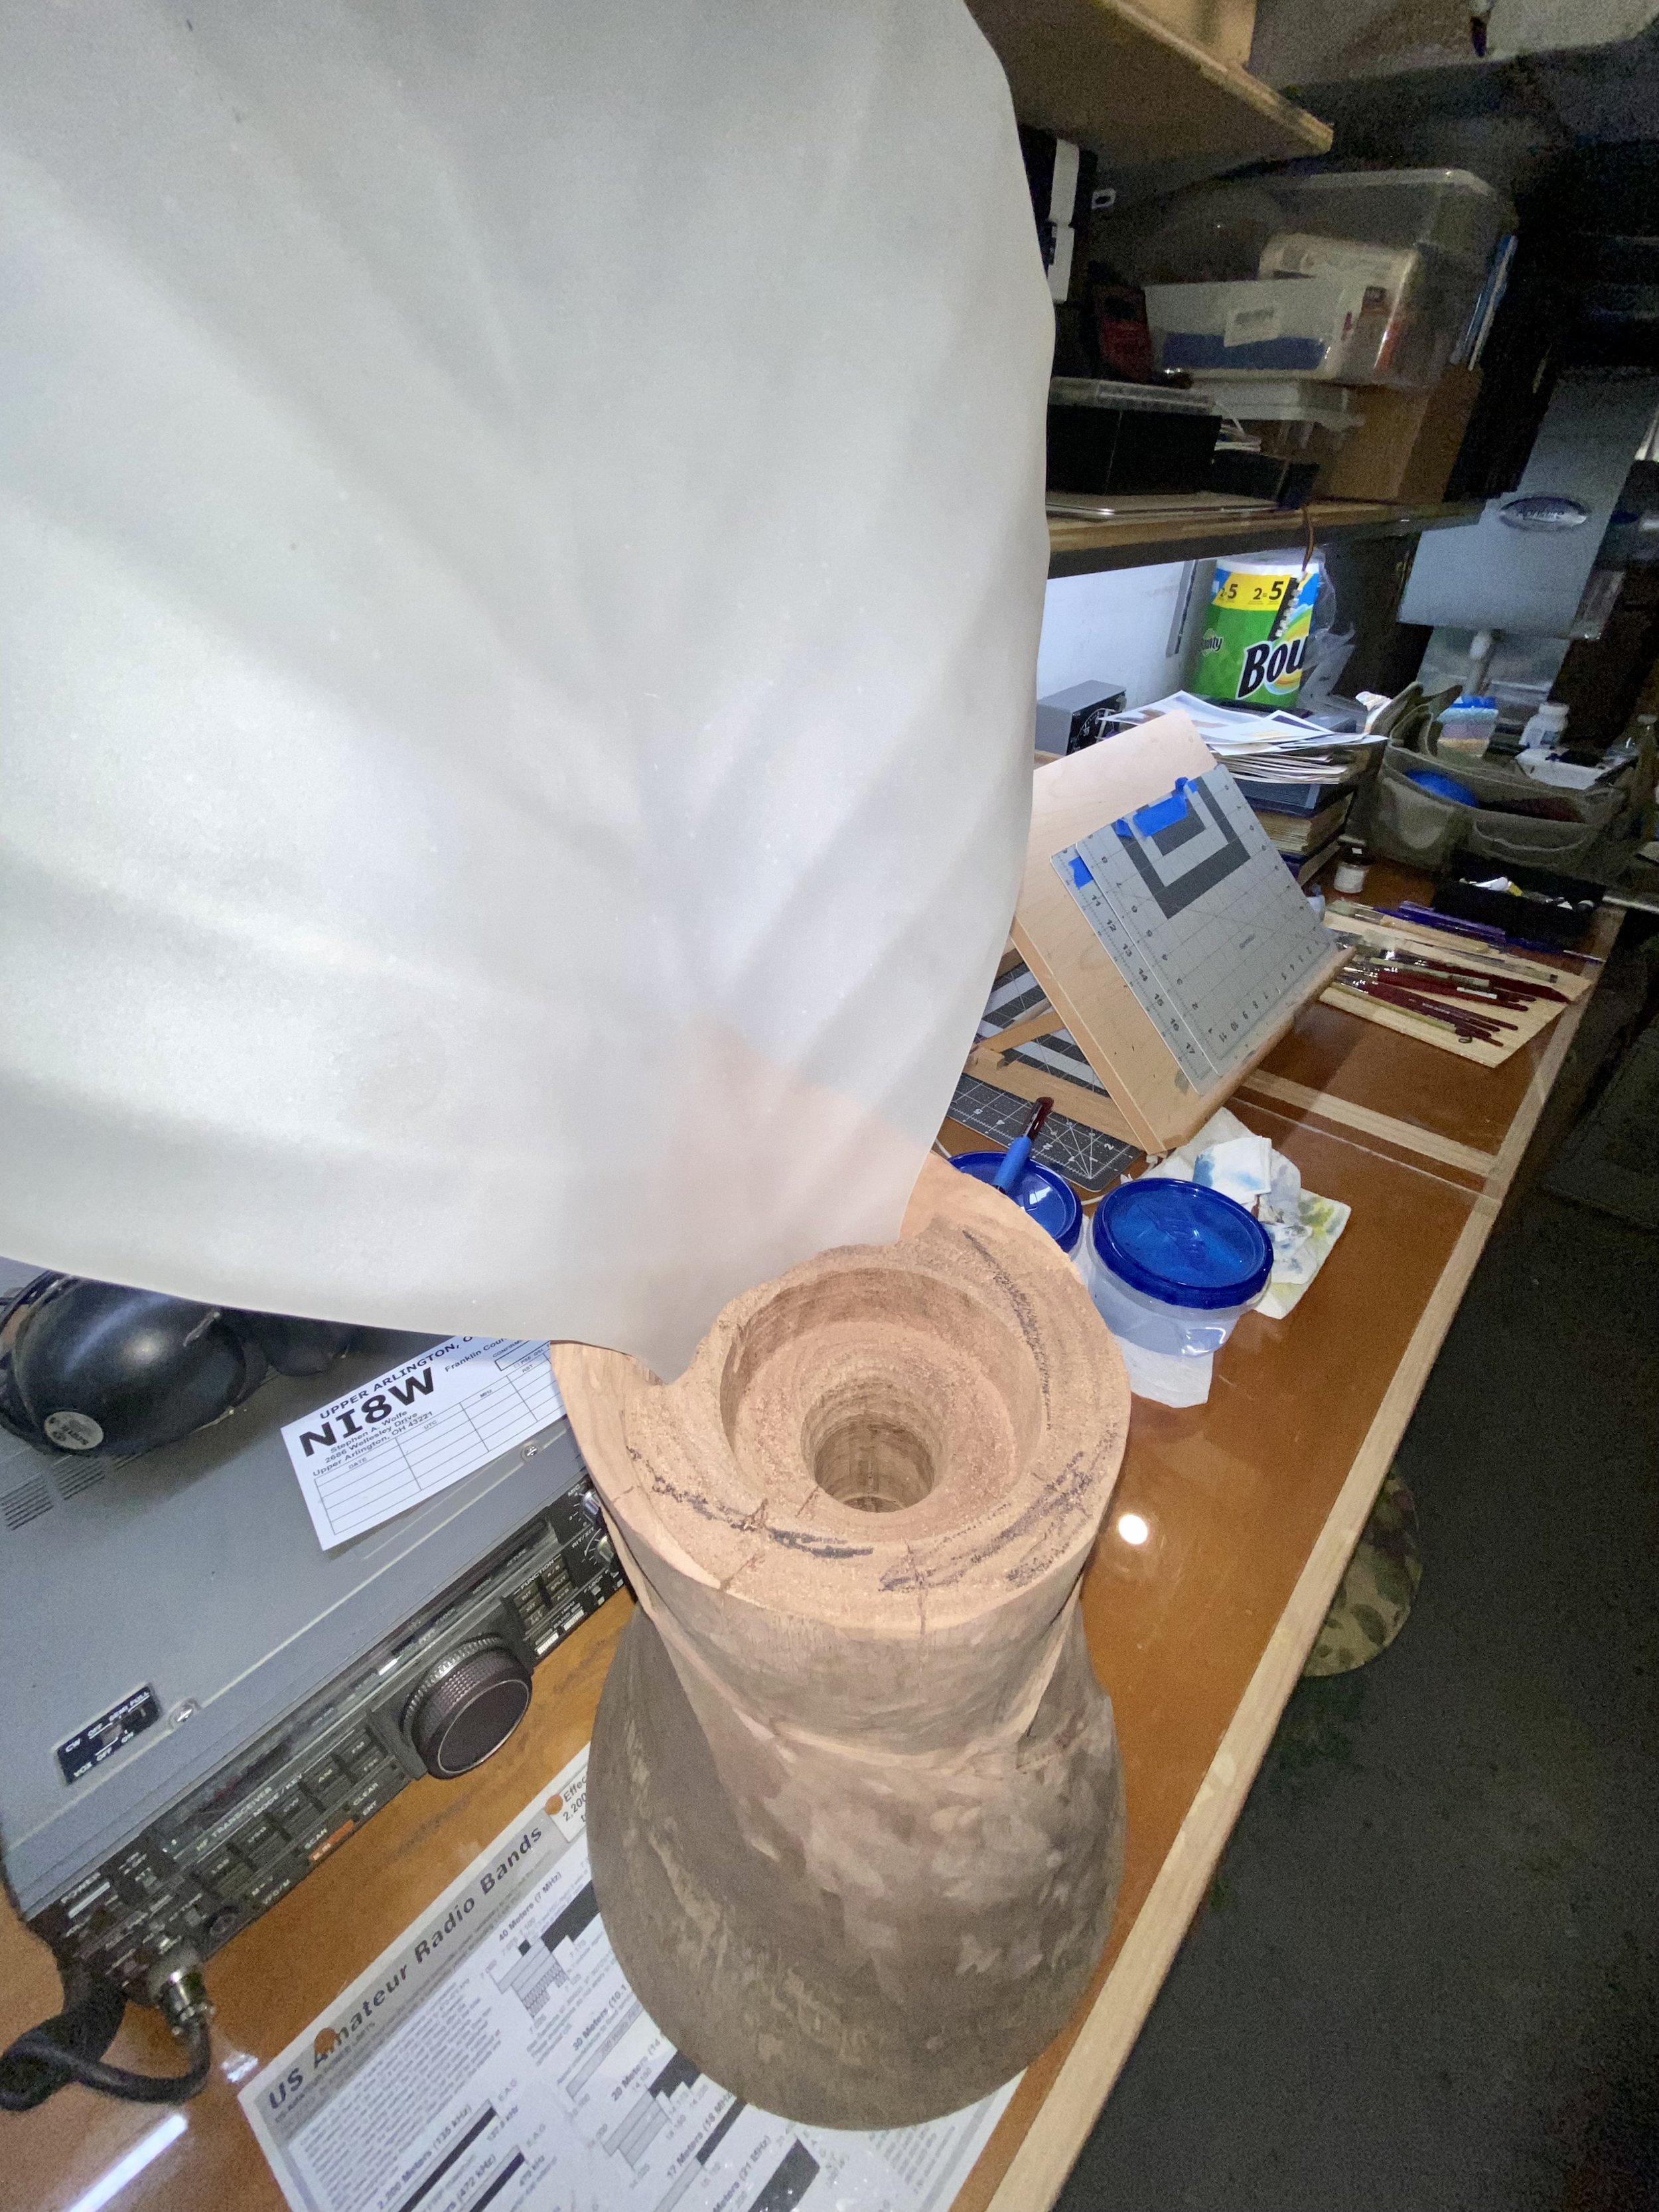
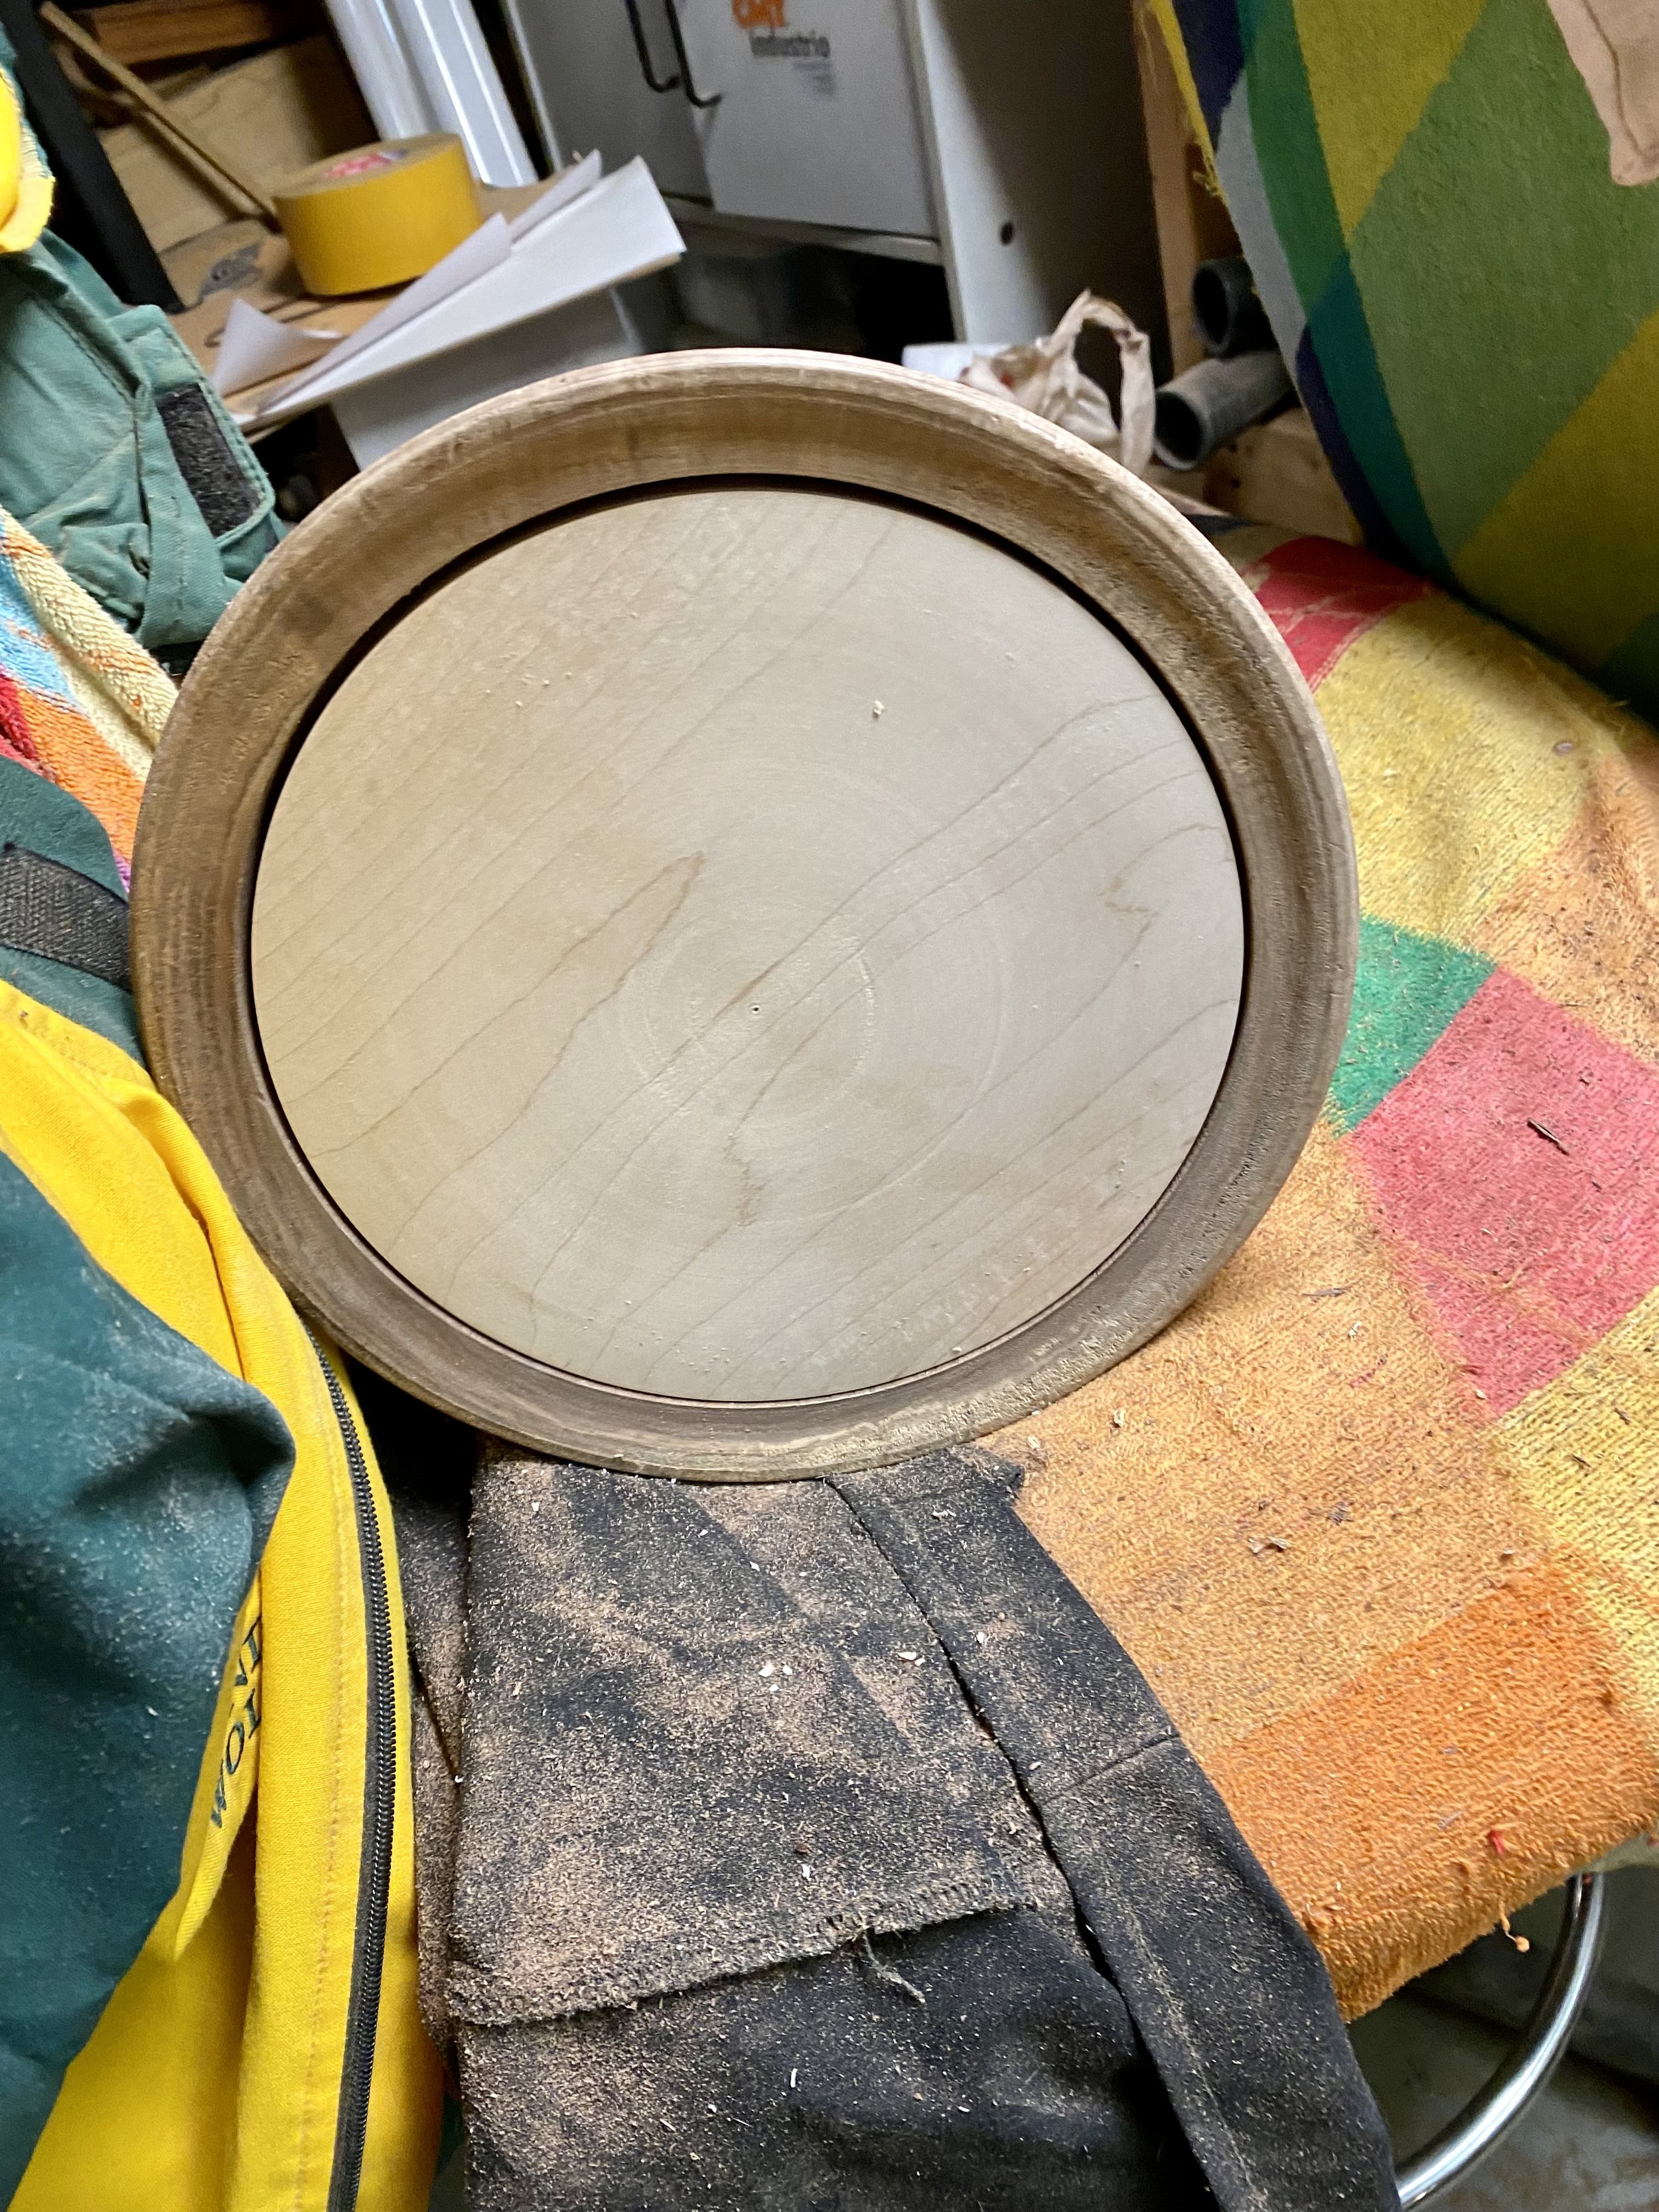
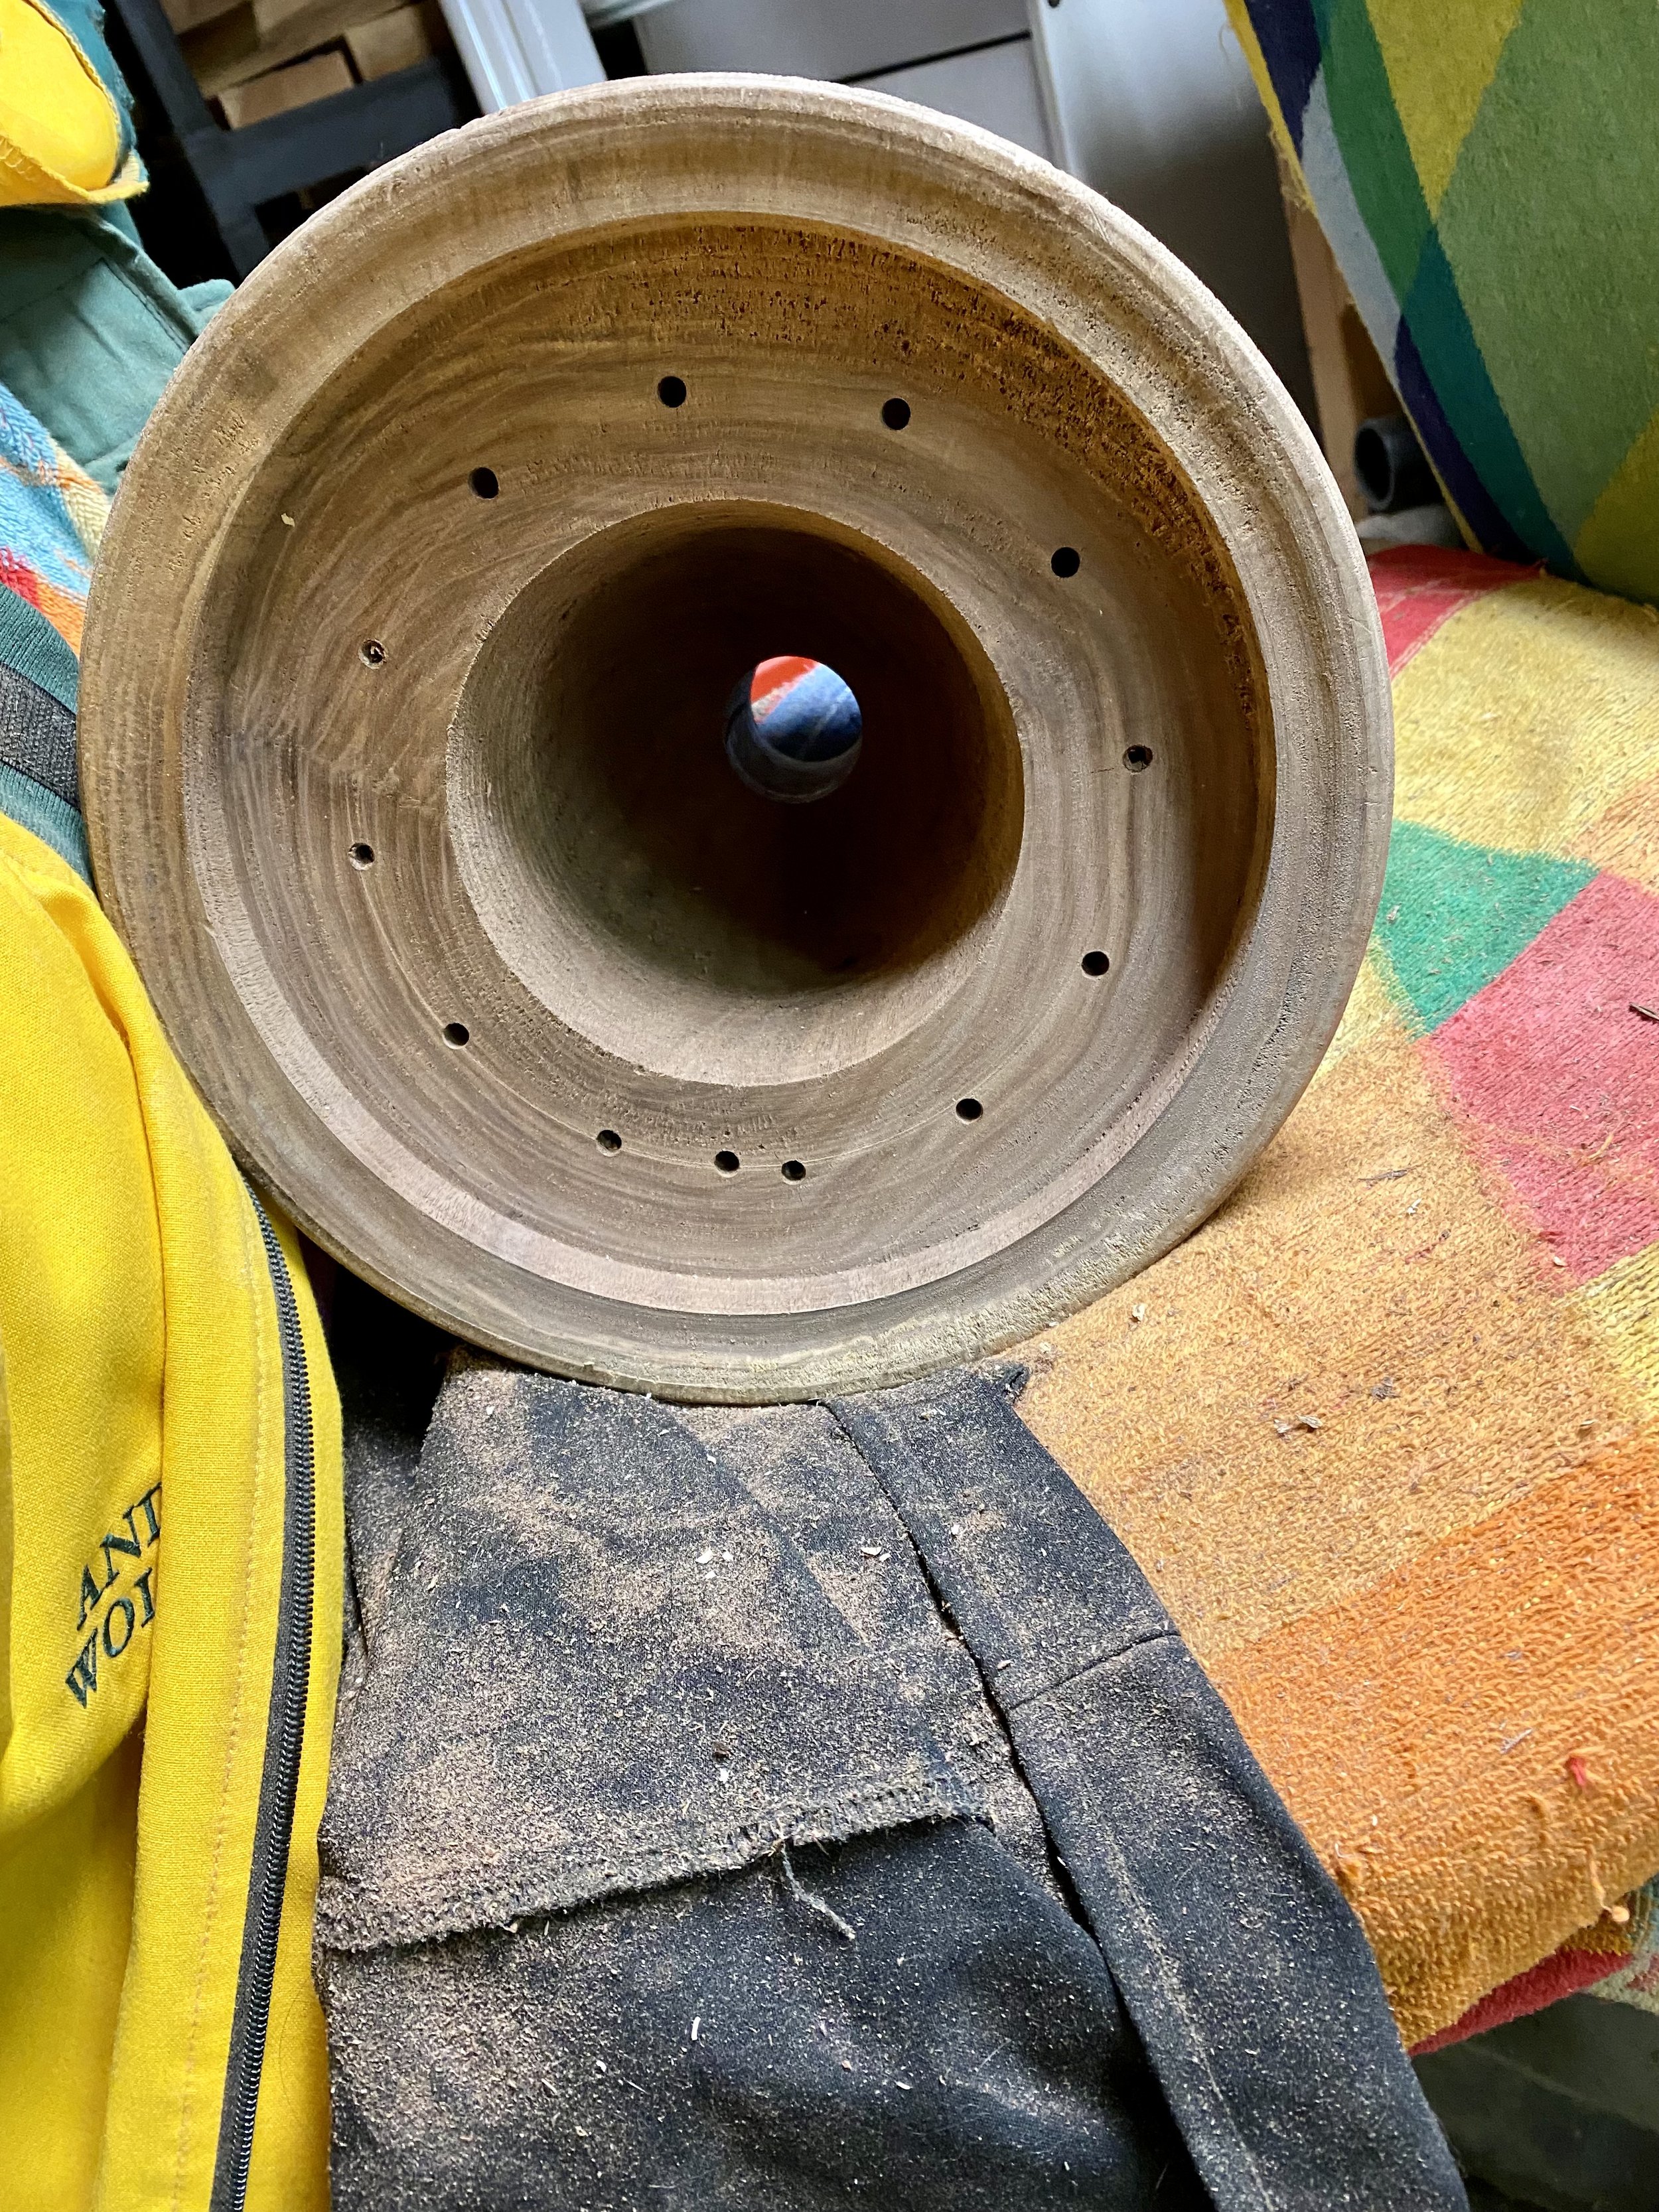
The only log section in my shop large enough for the base was a 20-year-old honey locust piece. Hard as concrete and cracking like crazy. Enough said… I don’t recommend this approach. I also turned a bowl for the top insert and a disk for the inset base (held by magnets).

The final step was to place LED strip lights in the light chamber and wire it. Right now the LEDs are powered by two 12V batteries daisy-chained together. A big thanks goes to Steven Sabin for helping with this step.

The lighting is soft and subtle. This sculpture is not meant to be a lamp, but it does have a lovely ambiance for relaxing in a comfortable room.